前提:CentOS已经安装图形化,安装教程可以百度
[root@localhost ~]# cat /etc/redhat-release
CentOS Linux release 7.4.1708 (Core)
安装tigervnc-server
[root@localhost ~]# yum install -y tigervnc-server
设置vnc连接的密码,密码长度至少6位,很久提示完成密码输入
[root@localhost ~]# vncserver
检查是否配置成功,端口从5901开始,每配置一次,端口号就加1,
[root@localhost ~]# netstat -lant | grep 5901
tcp 0 0 0.0.0.0:5901 0.0.0.0:* LISTEN
tcp6 0 0 :::5901 :::* LISTEN
在windows安装vnc viewer
https://www.realvnc.com/en/connect/download/viewer/
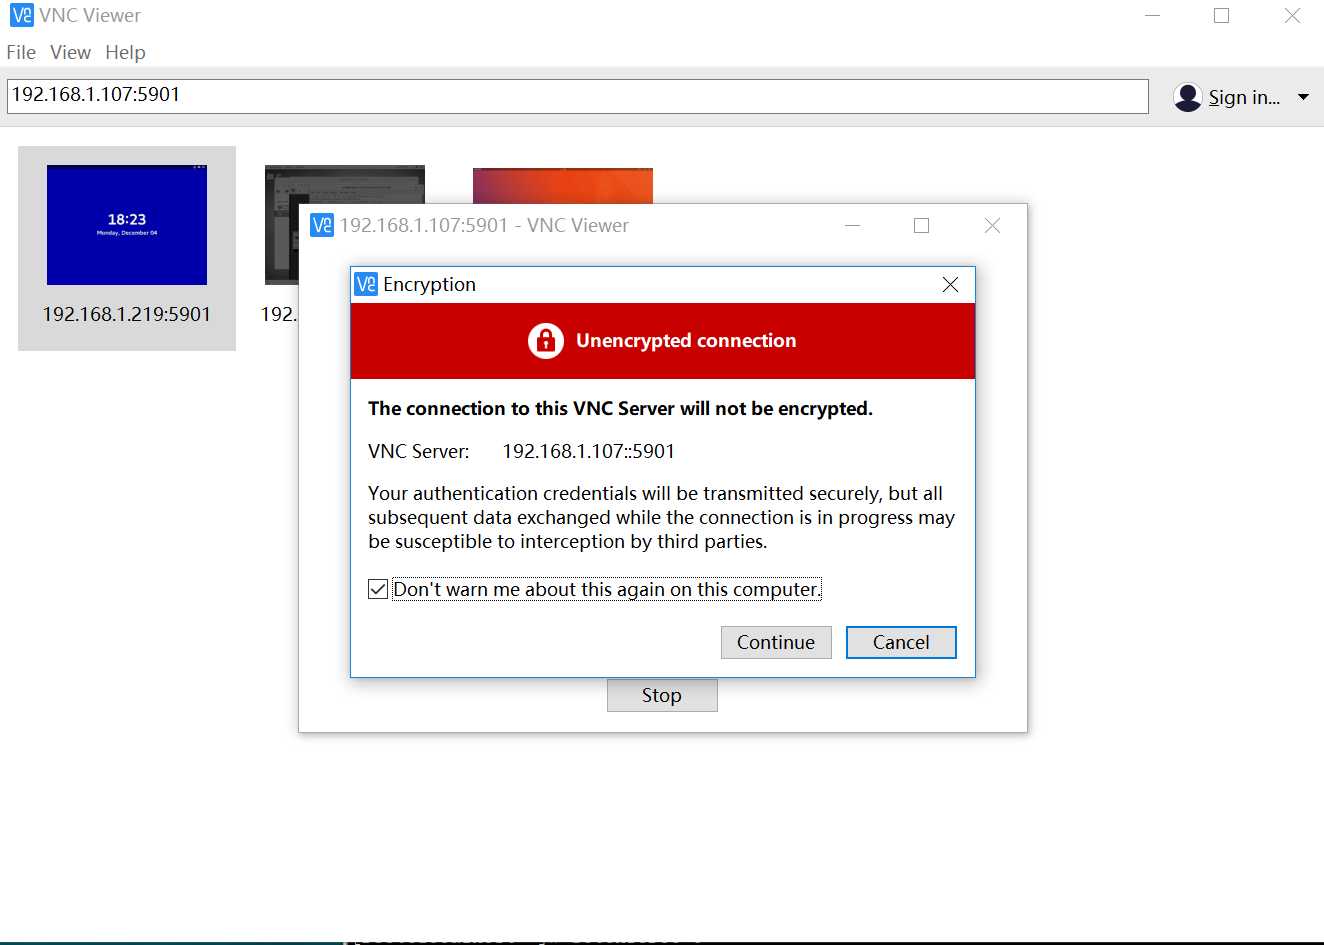
安装好之后输入CentOS的IP和端口号
如192.168.1.2:5901
回车确认,如果连接失败,检查CentOS的firewalld是否关闭,关闭防火墙再次连接
[root@localhost ~]# systemctl stop firewalld
[root@localhost ~]# systemctl disable firewalld
Removed symlink /etc/systemd/system/dbus-org.fedoraproject.FirewallD1.service.
Removed symlink /etc/systemd/system/multi-user.target.wants/firewalld.service.
[root@localhost ~]# setenforce 0