关于项目的创建不再解释,需要了解的请参考:
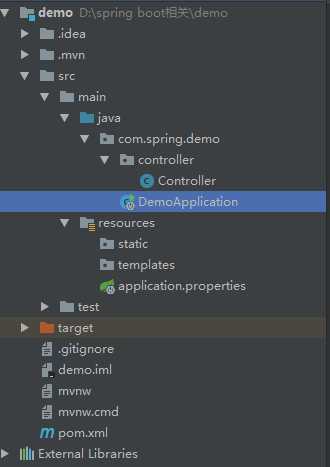
目录结构:

首先我们在上一项目的基础上建立了controller层,位于com.spring.demo包下,这样做的目的是为了使启动应用时可以扫到自定义的Controller
编写Controller.java,
package com.spring.demo.controller;

import org.springframework.web.bind.annotation.RequestMapping;
import org.springframework.web.bind.annotation.RestController;

@RestController
public class Controller {

    @RequestMapping("/")
    String index(){
        return "Hello world";
    }

}
其中@RestController和@RequestMapping注解是来自SpringMVC的注解,
@RestController,一般是使用在类上的,它表示的意思其实就是结合了@Controller和@ResponseBody两个注解,该类下的所有方法都会返回json数据格式,目的是为了解析视 图,.
@RequestMapping注解是是为了建立起url映射
在application.properties中编写自定义的配置,在这里我编辑了访问的端口和默认地址
server.port=8088
server.context-path=/2018/1/13
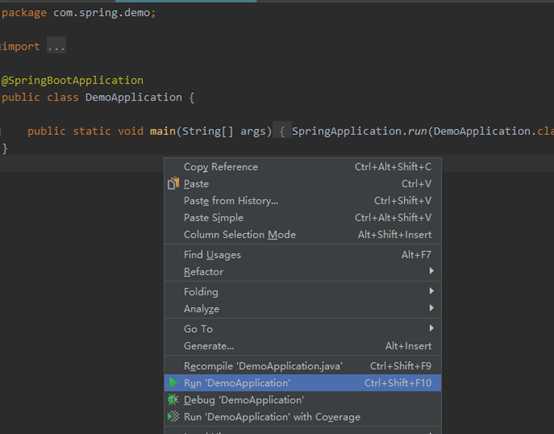
打开DemoApplication启动类

Run,
查看运行的状态:


如上图所示可以发现对端口的更改已生效
现在们访问: http://localhost:8088/2018/1/13/

,
