使用Spring步骤
- 添加依赖
- 创建xml文件
- 配置(需要被管理的类)bean
- 实例化上下文类
- GetBean对象
使用idea新建一个maven项目,在pom.xml中添加依赖:
<dependencies>
        <!-- https://mvnrepository.com/artifact/org.springframework/spring-context -->
        <dependency>
            <groupId>org.springframework</groupId>
            <artifactId>spring-context</artifactId>
            <version>4.3.13.RELEASE</version>
        </dependency>
</dependencies>
创建一个实体,Student.java:
package entity;

public class Student {
    public void hello(){
        System.out.println("hello SPring MVC!");
    }
}
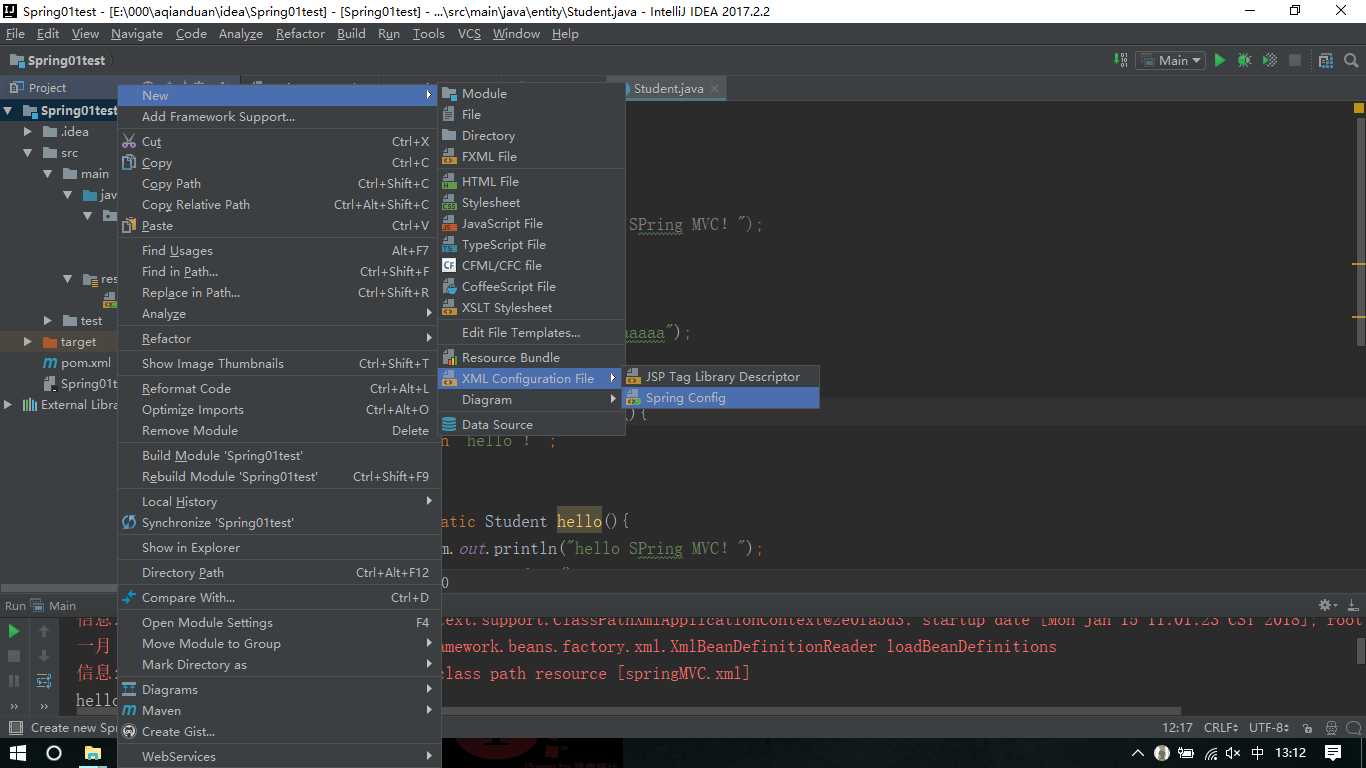
选中项目右键--创建一个Spring Config:
<?xml version="1.0" encoding="UTF-8"?>
<beans xmlns="http://www.springframework.org/schema/beans"
       xmlns:xsi="http://www.w3.org/2001/XMLSchema-instance" xmlns:aop="http://www.springframework.org/schema/aop"
       xsi:schemaLocation="http://www.springframework.org/schema/beans http://www.springframework.org/schema/beans/spring-beans.xsd http://www.springframework.org/schema/aop http://www.springframework.org/schema/aop/spring-aop.xsd">

    <bean id="stu" class="entity.Student"></bean>
</beans>
在实体包下写一个Main.java类用于测试:
package entity;

import org.springframework.context.ApplicationContext;
import org.springframework.context.support.ClassPathXmlApplicationContext;

public class Main {
    public static void main(String[] args) {
        //超类ApplicationContext(是一个接口)--所以需要new子类
        //ClassPath类路径==和代码放在一起的,同在main文件夹下面
        ApplicationContext applicationContext = new ClassPathXmlApplicationContext("springMVC.xml");
        //Ctrl+H (快捷键)-->可看类型的层次
        Student student = (Student) applicationContext.getBean("stu");     //xml的id名
        student.hello();
}
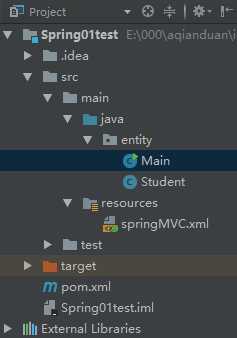
项目目录结构:
问题:

答:分隔符之间可以混用,分别可以使用,;(空格)三种符号作为分隔符,而:则会报错,测试代码如下:
xml中的代码:
<?xml version="1.0" encoding="UTF-8"?>
<beans xmlns="http://www.springframework.org/schema/beans"
       xmlns:xsi="http://www.w3.org/2001/XMLSchema-instance" xmlns:aop="http://www.springframework.org/schema/aop"
       xsi:schemaLocation="http://www.springframework.org/schema/beans http://www.springframework.org/schema/beans/spring-beans.xsd http://www.springframework.org/schema/aop http://www.springframework.org/schema/aop/spring-aop.xsd">
    <bean id="stu" name="student s,st" class="entity.Student"></bean>
    <!--可以混用-->

    <!--<bean id="stu" name="student,s" class="entity.Student"></bean>
    <bean id="stu" name="student;s" class="entity.Student"></bean>-->

</beans>
Main.java测试的代码:
ApplicationContext applicationContext = new ClassPathXmlApplicationContext("springMVC.xml");
        //Ctrl+H -->类型的层次 xsd
        /*Student student = (Student) applicationContext.getBean("stu");
        student.hello();

        Student student1 = (Student) applicationContext.getBean("student");
        student1.hello();

        Student student2 = (Student) applicationContext.getBean("s");
        student2.hello();

        Student student3 = (Student) applicationContext.getBean("st");
        student3.hello();*/
<!--创建对象有三种形式:1.直接new;2.间接使用工厂类new-为什么用:;3.实现接口-->
第一种:即上边提到的一种
第二种:
实体代码:
package entity;

public class Student {

    public static Student hello(){
        System.out.println("hello SPring MVC!");
        return new Student();
    }

}
xml代码:
<bean id="xx" class="entity.Student" factory-method="hello"></bean>
Main测试代码:
Student student4 = (Student) applicationContext.getBean("xx");
第三种:
实体代码:
public Student hello (){
       System.out.println("hello SPring MVC!");
       return new Student();
   }
xml代码(方法一):
<bean id="factory" class="entity.Student"></bean>
    <bean id="yy" class="entity.Student" factory-bean="factory" factory-method="hello"></bean>
xml代码(方法二):
<!--xml中能否写自己:不可以?别名呢?可以-->
<bean id="factory" class="entity.Student" name="student s"></bean>
    <bean id="yy" class="entity.Student" factory-bean="s" factory-method="hello"></bean>
Main测试代码:
Student student5 = (Student) applicationContext.getBean("yy");
  <!--xml配置中能否去id,怎么写-->

实体代码:
public static Student hello(){
        System.out.println("hello SPring MVC!");
        return new Student();
    }
xml代码:
<bean class="entity.Student"></bean>
Main测试代码:
Student student6 =  applicationContext.getBean(Student.class);
student6.hello();