这一章,主要讲下vue基于vue-cli 脚手架做项目时遇到的一些问题及解决方案。
首页,vue做多页面的项目,如官网的制作,该怎么配置页面呢?
下面就来讲下,我是如何配置的吧。
首先:先找到 \build\webpack.base.conf.js文件,在代码中找到出现module.exports的地方,可以看到entry
配置如下:
app: ‘./src/main.js‘, // 源文件已有的
news: ‘./src/js/news.js‘, // news、strategy、material都是自己加的,有多少个子页面就加多少个入口
strategy: ‘./src/js/strategy.js‘,
material: ‘./src/js/material.js‘
第二步:找到\build\webpack.dev.conf.js文件,在代码中找到module.exports的地方,可以看到plugins
配置如下:
  // 源代码已有
  new HtmlWebpackPlugin({
      filename: ‘index.html‘,
      template: ‘index.html‘,
      inject: true,
      chunks: [‘app‘]
    }),
  // 以下为配置添加,根据子页面进行添加
    new HtmlWebpackPlugin({
      filename: ‘news.html‘,
      template: ‘news.html‘,
      inject: true,
      chunks: [‘news‘]
    }),
    new HtmlWebpackPlugin({
      filename: ‘strategy.html‘,
      template: ‘strategy.html‘,
      inject: true,
      chunks: [‘strategy‘]
    }),
    new HtmlWebpackPlugin({
      filename: ‘material.html‘,
      template: ‘material.html‘,
      inject: true,
      chunks: [‘material‘]
    }),
第三步:找到/build/webpack.prod.conf.js文件,找到HTMLWebpackPlugin所在的地方
配置如下:
  // 源代码已有
  new HtmlWebpackPlugin({
      filename: process.env.NODE_ENV === ‘testing‘
        ? ‘index.html‘
        : config.build.index,
      template: ‘index.html‘,
      inject: true,
      minify: {
        removeComments: true,
        collapseWhitespace: true,
        removeAttributeQuotes: true
        // more options:
        // https://github.com/kangax/html-minifier#options-quick-reference
      },
      // necessary to consistently work with multiple chunks via CommonsChunkPlugin
      chunksSortMode: ‘dependency‘,
      chunks: [‘manifest‘, ‘vendor‘, ‘app‘]
    }),
  // 以下均为自己配置的文件
    new HtmlWebpackPlugin({
      filename: config.build.news,
      template: ‘news.html‘,
      inject: true,
      minify: {
        removeComments: true,
        collapseWhitespace: true,
        removeAttributeQuotes: true
      },
      chunksSortMode: ‘dependency‘,
      chunks: [‘manifest‘, ‘vendor‘, ‘news‘]
    }),
    new HtmlWebpackPlugin({
      filename: config.build.strategy,
      template: ‘strategy.html‘,
      inject: true,
      minify: {
        removeComments: true,
        collapseWhitespace: true,
        removeAttributeQuotes: true
      },
      chunksSortMode: ‘dependency‘,
      chunks: [‘manifest‘, ‘vendor‘, ‘strategy‘]
    }),
    new HtmlWebpackPlugin({
      filename: config.build.material,
      template: ‘material.html‘,
      inject: true,
      minify: {
        removeComments: true,
        collapseWhitespace: true,
        removeAttributeQuotes: true
      },
      chunksSortMode: ‘dependency‘,
      chunks: [‘manifest‘, ‘vendor‘, ‘material‘]
    }),
第四步:找到\config\index.js文件,并找到build
配置如下:
    index: path.resolve(__dirname, ‘../dist/index.html‘),  // 源文件已有
    news: path.resolve(__dirname, ‘../dist/news.html‘), // 以下均为配置文件
    strategy: path.resolve(__dirname, ‘../dist/strategy.html‘),
    material: path.resolve(__dirname, ‘../dist/material.html‘),
最后需要修改每个页面的xx.js,xx.vue文件,这里以news为例。
news.js
import Vue from ‘vue‘
import news from ‘./news.vue‘

Vue.config.productionTip = false

/* eslint-disable no-new */
new Vue({
  el: ‘#news‘,
  render: h => h(news)
})
news.vue
<template>
  <div id="news">
    {{msg}}
  </div>
</template>

<script>
export default {
  name: ‘news‘,
  data () {
    return {
      msg: ‘I am news‘
    }
  }
}
</script>
news.html
<!DOCTYPE html>
<html>
  <head>
    <meta charset="utf-8">
    <meta name="viewport" content="width=device-width,initial-scale=1.0">
    <title>news</title>
  </head>
  <body>
    <div id="news"></div>
    <!-- built files will be auto injected -->
  </body>
</html>
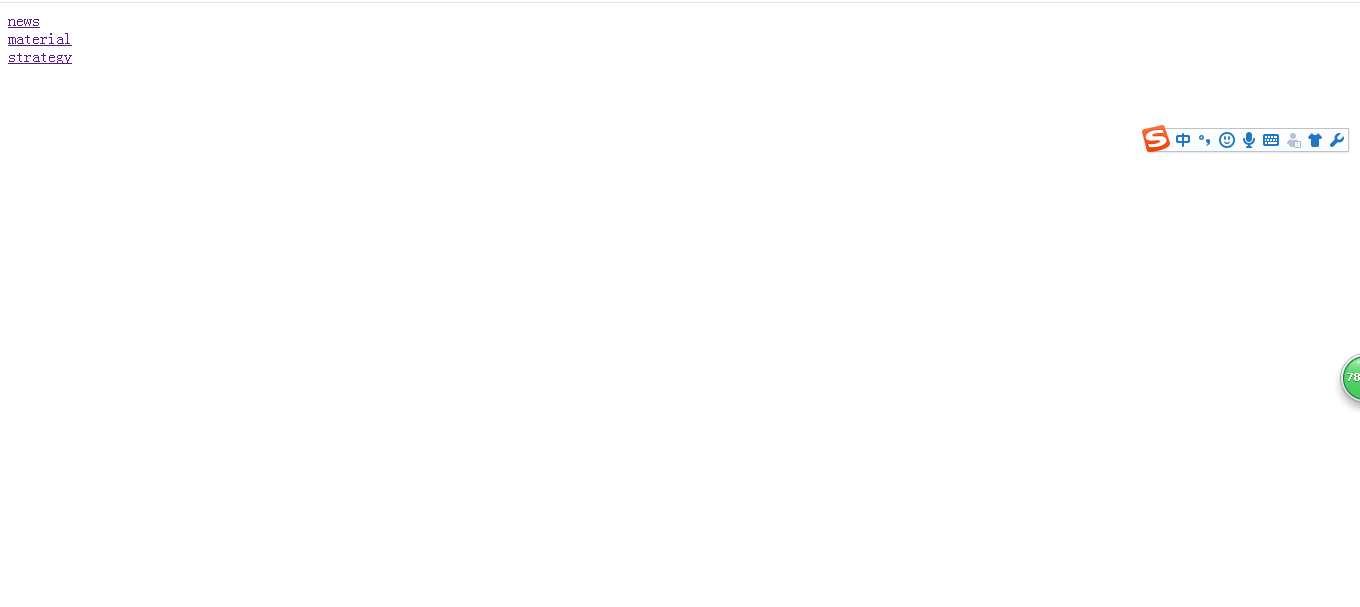
最后是主页面app.vue
<template>
  <div id="app">
    <a href="news.html">news</a><br>
    <a href="material.html">material</a><br>
    <a href="strategy.html">strategy</a><br>
  </div>
</template>
然后重启 npm run dev
就可以看到如下图界面

这个时候vue多页面配置就大功告成了。
