首先:具体的安装步骤在mysql官方文档上都有详细的描述。
这里造轮子是让自己加深理解。
官方文档地址:https://dev.mysql.com/doc/refman/5.6/en/linux-installation-yum-repo.html
目前mysql最新版本为:5.7.x
因为5.7版本比之前版本改动比较大,项目中一般还是在用5.6版本。
1、Adding the MySQL Yum Repository
Go to the Download MySQL Yum Repository page (http://dev.mysql.com/downloads/repo/yum/) in the MySQL Developer Zone.

因为centos版本是7.x,至于为什么是mysql57-community-release-el7-11.noarch.rpm,文档中有如下解释:
The repository packages available below will provide MySQL Server 5.7 by default. Other versions can be obtained by editing the repo setup file installed by the package.
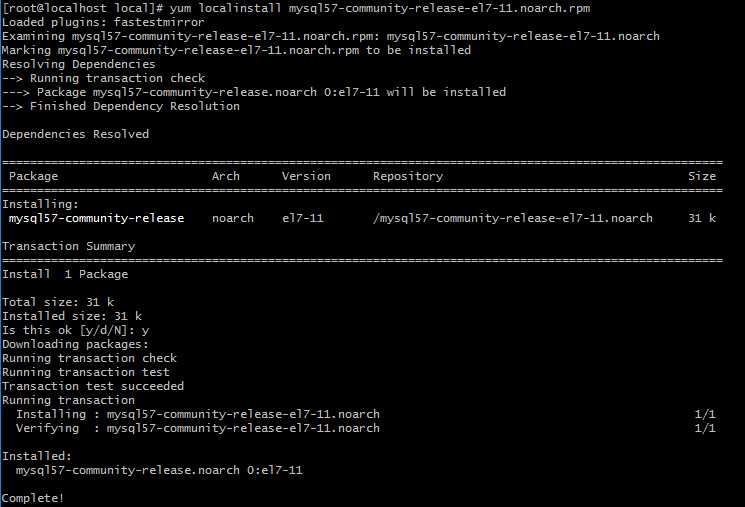
yum localinstall mysql57-community-release-el7-11.noarch.rpm

You can check that the MySQL Yum repository has been successfully added by the following command:
yum repolist enabled | grep "mysql.*-community.*"

Selecting a Release Series
vim /etc/yum.repos.d/mysql-community.repo
# Specify enabled=0 to disable a subrepository,or enabled=1 to enable a subrepository.
# Enable to use MySQL 5.6
[mysql56-community]
name=MySQL 5.6 Community Server
baseurl=http://repo.mysql.com/yum/mysql-5.6-community/el/6/$basearch/
enabled=1
gpgcheck=1
gpgkey=file:///etc/pki/rpm-gpg/RPM-GPG-KEY-mysql
You should only enable subrepository for one release series at any time. When subrepositories for more than one release series are enabled, the latest series will be used by Yum.
Verify that the correct subrepositories have been enabled and disabled by running the following command and checking its output:
yum repolist enabled | grep mysql
2、Install MySQL by the following command:
yum install mysql-community-server
Start the MySQL server with the following command:
systemctl start mysqld.service
Check the status of the MySQL server with the following command:
systemctl status mysqld.service
