phpMyAdmin搭建步骤
提示:该环境需要在lnmp或者lamp环境前提下进行搭建
1.下载源码包
wget https://files.phpmyadmin.net/phpMyAdmin-4.6.4-all-languages.tar.gz
2.将该源码包解压至网站根目录
[root@Ly-vm-01-PY:~]$tar -xvzf phpMyAdmin-4.6.4-all-languages.tar.gz -C /data/www/
3.改名
[root@Ly-vm-01-PY:~]$mv phpMyAdmin-4.6.4-all-languages phpMyAdmin
4.修改配置文件(可以根据数据库的台数进行模块的添加)
[root@Ly-vm-01-PY:~]$cd /data/www/phpMyAdmin
[root@Ly-vm-01-PY:~]$ cp config.sample.inc.php config.inc.php
[root@Ly-vm-01-PY:~]$vim config.inc.php
/**
* First server
*/
$i++;
$cfg[‘Servers‘][$i][‘verbose‘] = ‘一组‘;
$cfg[‘Servers‘][$i][‘host‘] = ‘192.168.1.1‘; #数据库ip地址
$cfg[‘Servers‘][$i][‘port‘] = ‘‘;
$cfg[‘Servers‘][$i][‘socket‘] = ‘‘;
$cfg[‘Servers‘][$i][‘connect_type‘] = ‘tcp‘;
$cfg[‘Servers‘][$i][‘extension‘] = ‘mysqli‘;
$cfg[‘Servers‘][$i][‘auth_type‘] = ‘cookie‘;
$cfg[‘Servers‘][$i][‘user‘] = ‘admin‘;
$cfg[‘Servers‘][$i][‘password‘] = ‘复杂型密码‘;
$cfg[‘Servers‘][$i][‘AllowRoot‘] = false;
$cfg[‘Servers‘][$i][‘hide_db‘] = ‘information_schema|mysql|performance_schema|test‘;
$i++;
$cfg[‘Servers‘][$i][‘verbose‘] = ‘二组‘;
$cfg[‘Servers‘][$i][‘host‘] = ‘192.168.1.2‘; #数据库ip地址
$cfg[‘Servers‘][$i][‘port‘] = ‘‘;
$cfg[‘Servers‘][$i][‘socket‘] = ‘‘;
$cfg[‘Servers‘][$i][‘connect_type‘] = ‘tcp‘;
$cfg[‘Servers‘][$i][‘extension‘] = ‘mysqli‘;
$cfg[‘Servers‘][$i][‘auth_type‘] = ‘cookie‘;
$cfg[‘Servers‘][$i][‘user‘] = ‘admin‘;
$cfg[‘Servers‘][$i][‘password‘] = ‘复杂型密码‘;
$cfg[‘Servers‘][$i][‘AllowRoot‘] = false;
$cfg[‘Servers‘][$i][‘hide_db‘] = ‘information_schema|mysql|performance_schema|test‘;
/**
* phpMyAdmin configuration storage settings.
*/
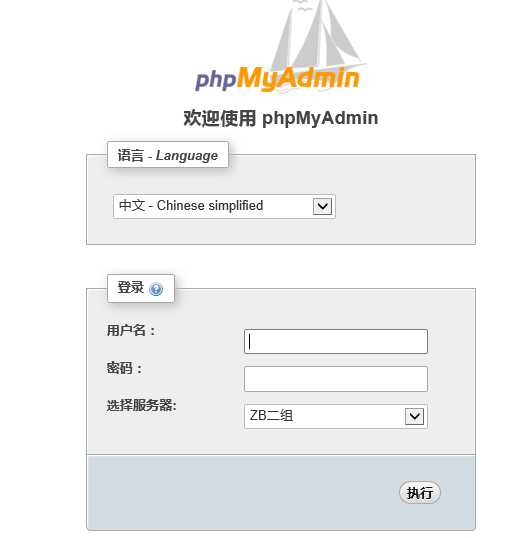
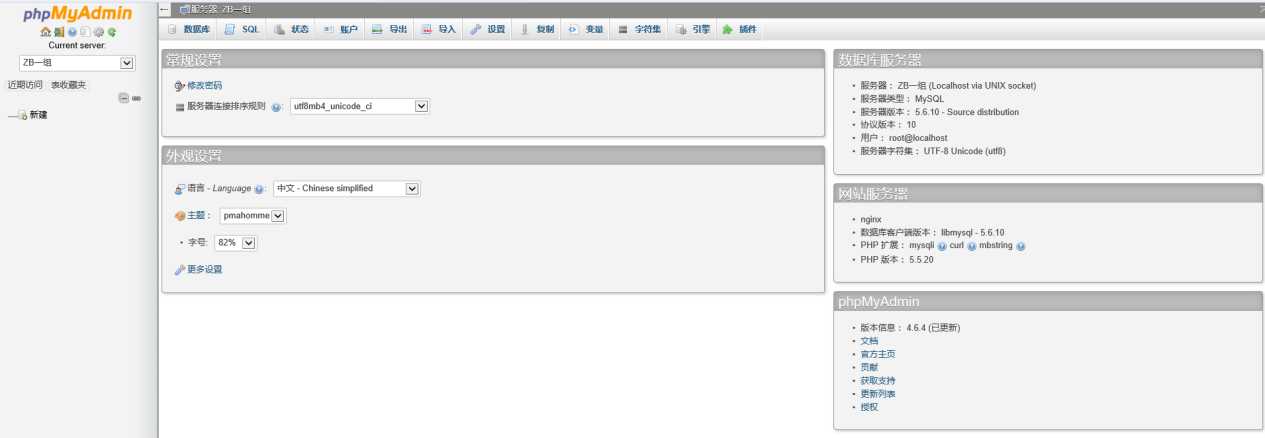
5.搭建完成
6.进行测试
此处的访问链接和上面修改的phpmyadmin的解压目录的名称相关联


7.至此phpmyadmin安装完成
二、htpasswd账号新建和回收
8.Nginx访问限制设置
9.进入nginx的配置文件
添加
location / {
auth_basic "Please Input Password...";
auth_basic_user_file /usr/local/nginx/conf/htpasswd/zb;
}
10.创建验证登录的账户和密码
1、cd /usr/local/nginx/conf/
mkdir htpasswd
cd htpasswd
touch pma.txt
htpasswd -b -c pma.txt 账户 密码
{
参数解释:
-b 表示在htpassswd命令行中一并输入用户名和密码而不是根据提示输入密码
-c 表示新建一个新的加密文件
}
用上面的命令新建的账户的加密信息会写入新建的加密文件pma.txt中
2、在同一个密码文件中新建一个新的用户
htpasswd -b pma.txt 账号 密码
11.账号回收
Htpasswd -D pma.txt 账号
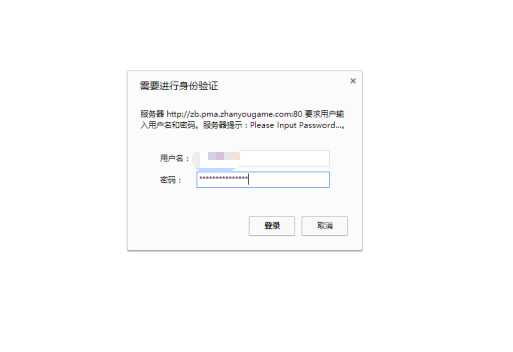
12.重新登录
此处会让你输入验证的账号和密码才会进入phpmyadmin登录界面

