Spring 入门学习
一、准备工作
1.安装jdk 1.8+ 以上版本
2.安装maven 3.2+ 以上版本
3.下载eclipse 并配置好maven
二、搭建项目
可以在eclipse中新建maven项目或者 在https://start.spring.io/ 网址中生成项目
以生成的项目为例,进入上面的网址:
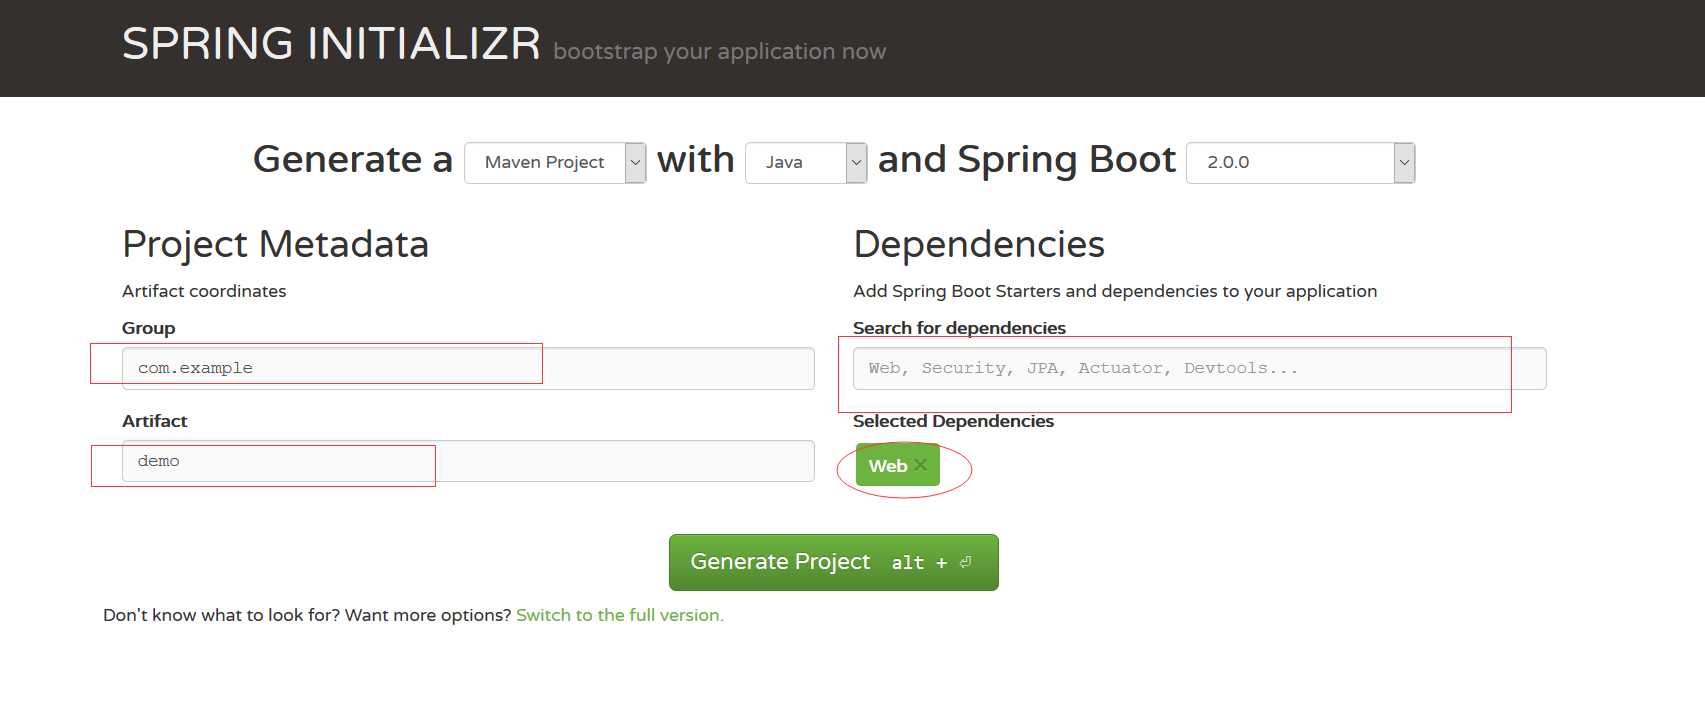
填写好自己的Group和Artifact,右边选择需要的依赖,这里只选择了Web,然后点击生成按钮,保存生成的文件并解压到本地。
打开eclipse,导入生成的项目:
点击File ---- import,弹框中选择下图所示:
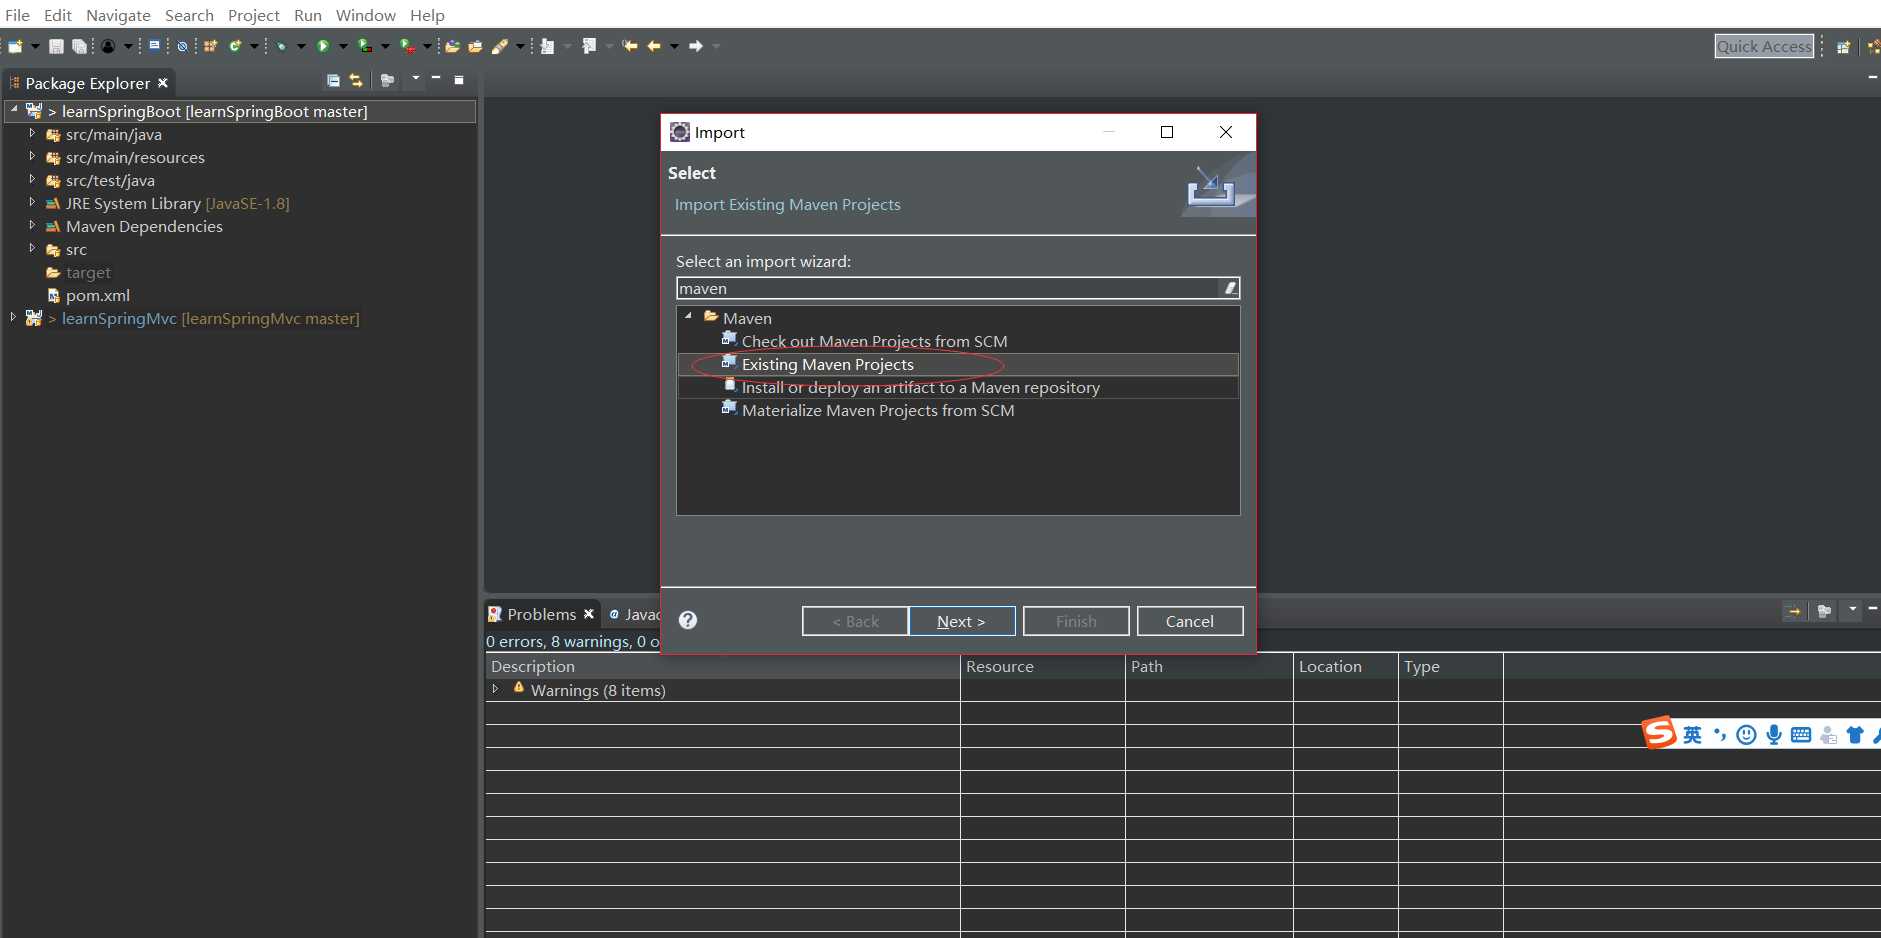
点击Next,找到解压的项目
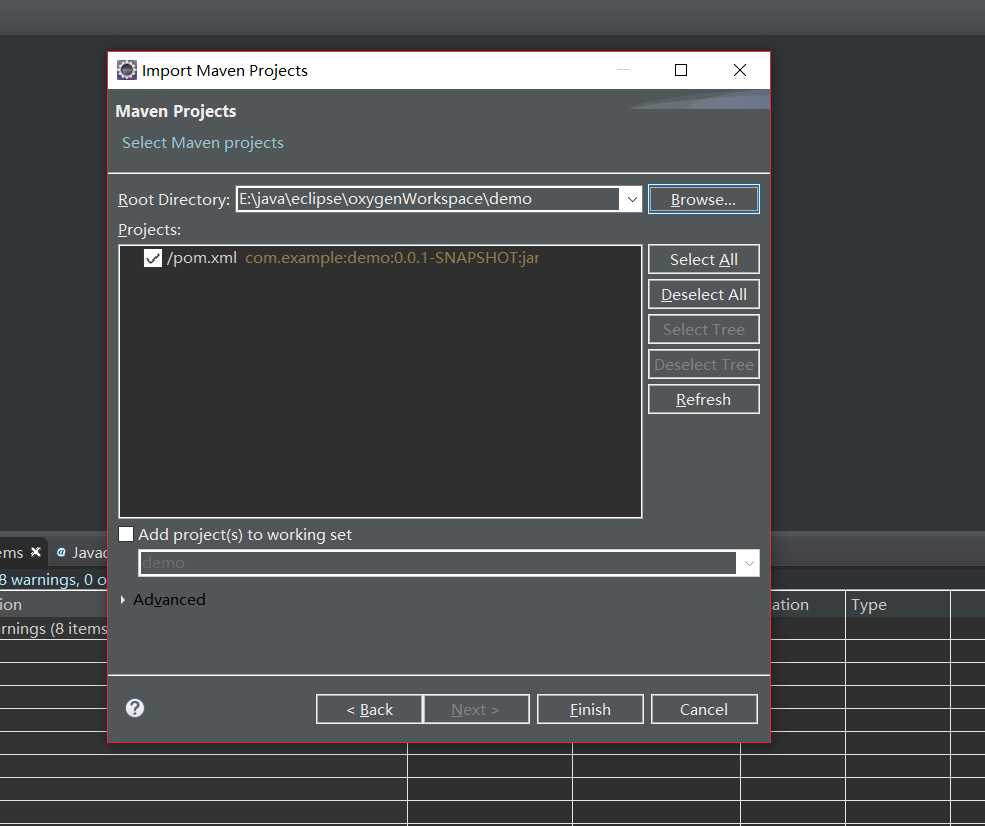
点击finish按钮
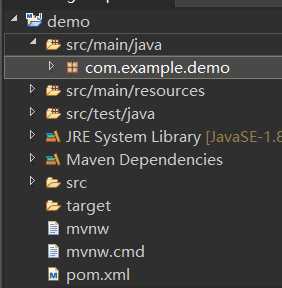
三、测试项目
在demo包下面新建一个package,并新建一个测试的类
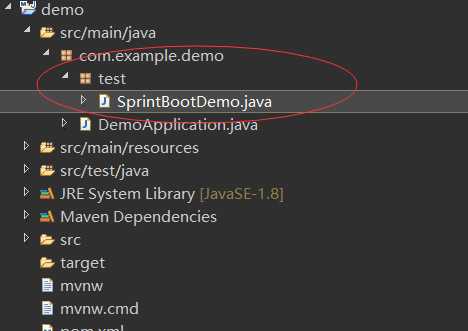
代码:
package com.example.demo.test;

import org.springframework.web.bind.annotation.RequestMapping;
import org.springframework.web.bind.annotation.RestController;

@RestController
public class SprintBootDemo {

    @RequestMapping("/")
    public String index() {
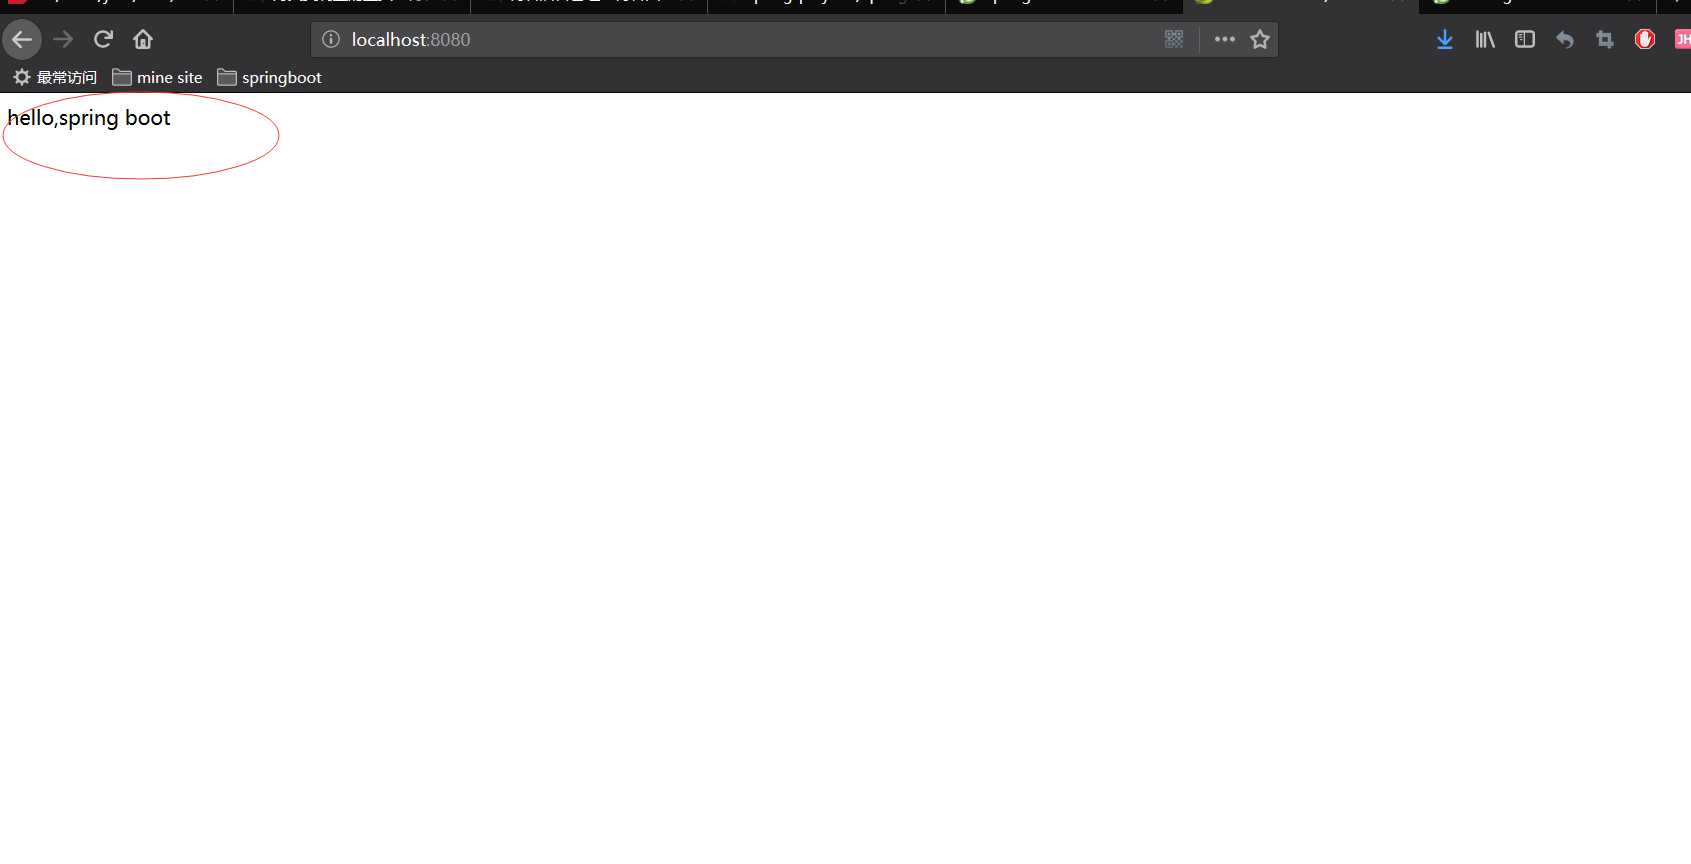
        return "hello,spring boot";
    }
}
对于上面的注解的作用官网中有说明:@RequestMapping maps / to the index() method. When invoked from a browser or using curl on the command line, the method returns pure text. That’s because @RestController combines @Controller and @ResponseBody, two annotations that results in web requests returning data rather than a view.
四:运行项目
找项目中生成的类并打开
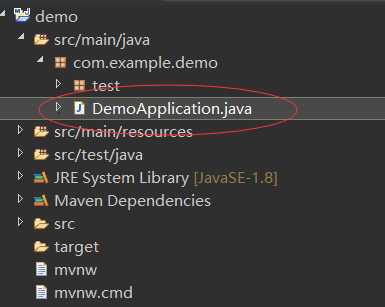
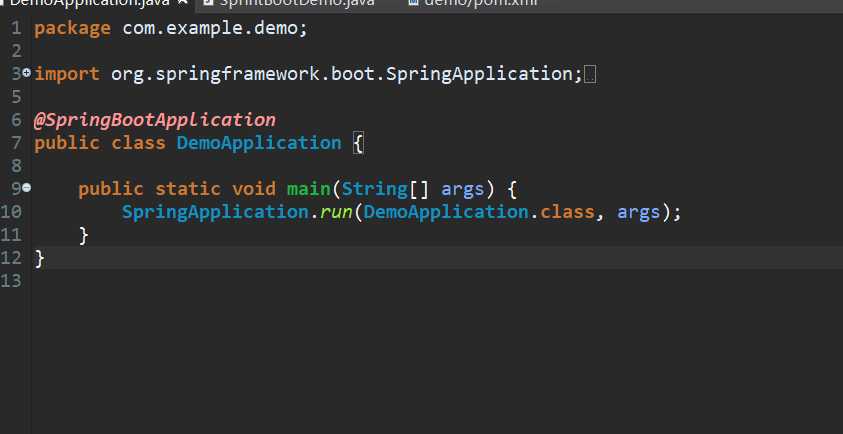
可以看到里面包含了main方法,右键选择Run as -- Java Application ,可以看到控制台已经启动了项目,打开浏览器并输入localhost:8080,可以看到:
五、项目打包启动
如果不用eclipse启用,怎么启动刚刚的项目呢
1.关闭eclipse,找到项目位置并进入含有pom.xml文件的那一层目录:

2.shift+右键打开终端,输入mvn clean命令,成功后输入 mvn package命令,成功后可以看到target目录里面多了很多的文件
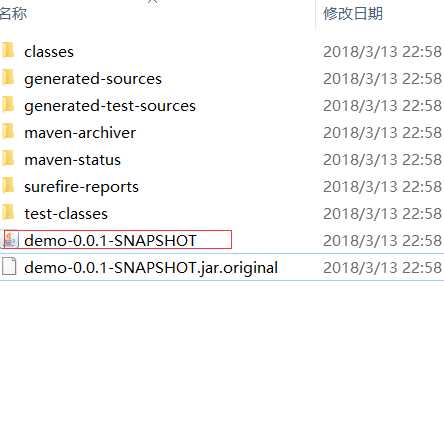
3.接着在终端输入 java -jar .\target\demo-0.0.1-SNAPSHOT.jar,可以看到项目启动起来了,打开浏览器并输入localhost:8080
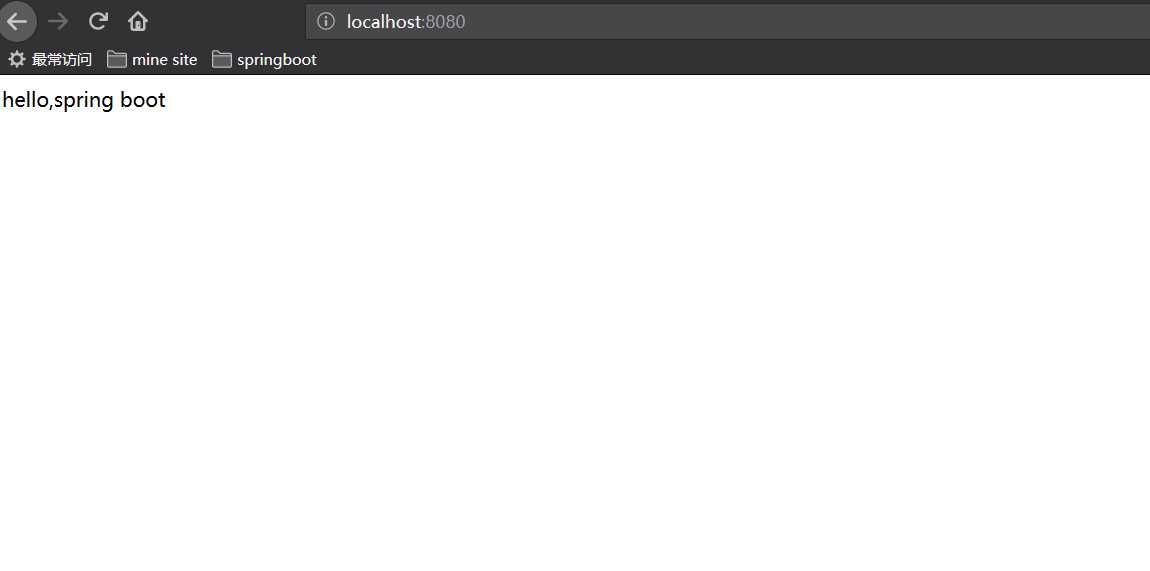
项目运行成功了,使用ctrl+c可以关闭项目的运行
