标签:style blog http color io os 使用 ar strong
我使用的linux是startos5.1,博客是我在http://vb2005xu.iteye.com/blog/2119240
我的本地gcc版本是
写道
kenxu@startos:~/softken$ gcc -v
使用内建 specs。
COLLECT_GCC=gcc
COLLECT_LTO_WRAPPER=/usr/lib/gcc/i686-pc-linux-gnu/4.6.3/lto-wrapper
目标:i686-pc-linux-gnu
配置为:../configure --prefix=/usr --sysconfdir=/etc --libdir=/usr/lib --localstatedir=/var --infodir=/usr/share/info --mandir=/usr/share/man --enable-shared --libexecdir=/usr/lib --enable-threads=posix --enable-__cxa_atexit --enable-clocale=gnu --enable-languages=c,c++,fortran,lto,objc,obj-c++ --with-system-zlib --enable-__cxa_atexit --enable-libstdcxx-time --enable-gnu-unique-object --enable-linker-build-id --with-ppl --enable-cloog-backend=isl --enable-lto --enable-gold --enable-ld=default --enable-plugin --with-plugin-ld=ld.gold --with-linker-hash-style=gnu --enable-checking=release --disable-bootstrap
线程模型:posix
gcc 版本 4.6.3 (GCC for StartOS)
百度云有个linux客户端版本,当前貌似是很简单的雏形代码,不过已经能够正常使用了,
https://github.com/loujiayu/Baiduyun
安装步骤如下
写道
Dependencies
You may need following libraries:
Boost(Boost filesystem)
json-c(https://github.com/json-c/json-c)
openssl
cmake
libcurl
Installation
$ cd Baiduyun
$ mkdir build
$ cd build
$ cmake ..
$ make
我在本地安装过程中,先安装了 Boost库,以及 json-c库,在使用 cmake的时候告诉我找不到 jsonc的so文件,诸如此类错误:
写道
缺少动态连接库.so--cannot open shared object file: No such file or directory
写道
总结下来主要有3种方法:
1. 用ln将需要的so文件链接到/usr/lib或者/lib这两个默认的目录下边
ln -s /where/you/install/lib/*.so /usr/lib
sudo ldconfig
2.修改LD_LIBRARY_PATH
export LD_LIBRARY_PATH=/where/you/install/lib:$LD_LIBRARY_PATH
sudo ldconfig
3.修改/etc/ld.so.conf,然后刷新
vim /etc/ld.so.conf
add /where/you/install/lib
sudo ldconfig
此处我检查了 确实在 /usr/local/lib下存在这个文件,所以 执行了 sudo ldconfig 后再进行cmake 就可以正常生成makefile文件了
接着运行 make 的时候爆出以下错误 -std=gnu++11 不能识别,这个选项应该是在gcc 4.8之后才加入的,故全目录搜索了下,对这个做了下替换,换成 -std=c++0x
另外还有一个问题是 src/filesystem.cc 中头声明中少了 #include <fstream> 头的声明
关于这些bug,详见我提的issue: https://github.com/loujiayu/Baiduyun/issues/1
make 之后在生成了如下文件 baiduyun
这个就是生成的 程序文件,你可以运行它,第一次运行时请使用 -a 参数来获取一个授权码,他会打印一个url,并在当前目录下新建一个名为MyBaidu的目录,你使用浏览器打开这个url并把得到的授权码输入到终端输入框中,回车得到授权,成功之后会在MyBaidu的目录下建立一个.baiduyun 的隐藏文件,此处放置 授权的令牌信息
使用 -h 参数查看支持的选项,当前支持
写道
kenxu@startos:~/softken/yunbaidu$ ./baiduyun -h
Usage: baiduyun [option]
options:
-a authenicate: authenticate your account with access token
-d download: download files from /apps/ldrive
-u upload: upload files from ./Baidu_Yun
-s synchronise: detect files need to be downloaded or uploaded and do it
-h help: help message
当你使用 -d 参数时,确实会建立一个名为 Baidu_Yun 的目录,其对应着 你百度云中的我的应用数据->ldrive
之后 要上传下载的文件都会放在这里,比如 你把本地一个文件传到百度云,只需要
写道
kenxu@startos:~/softken/yunbaidu$ ls Baidu_Yun/
kenvim.tar.gz vim-note.txt
kenxu@startos:~/softken/yunbaidu$ ./baiduyun -u kenvim.tar.gz
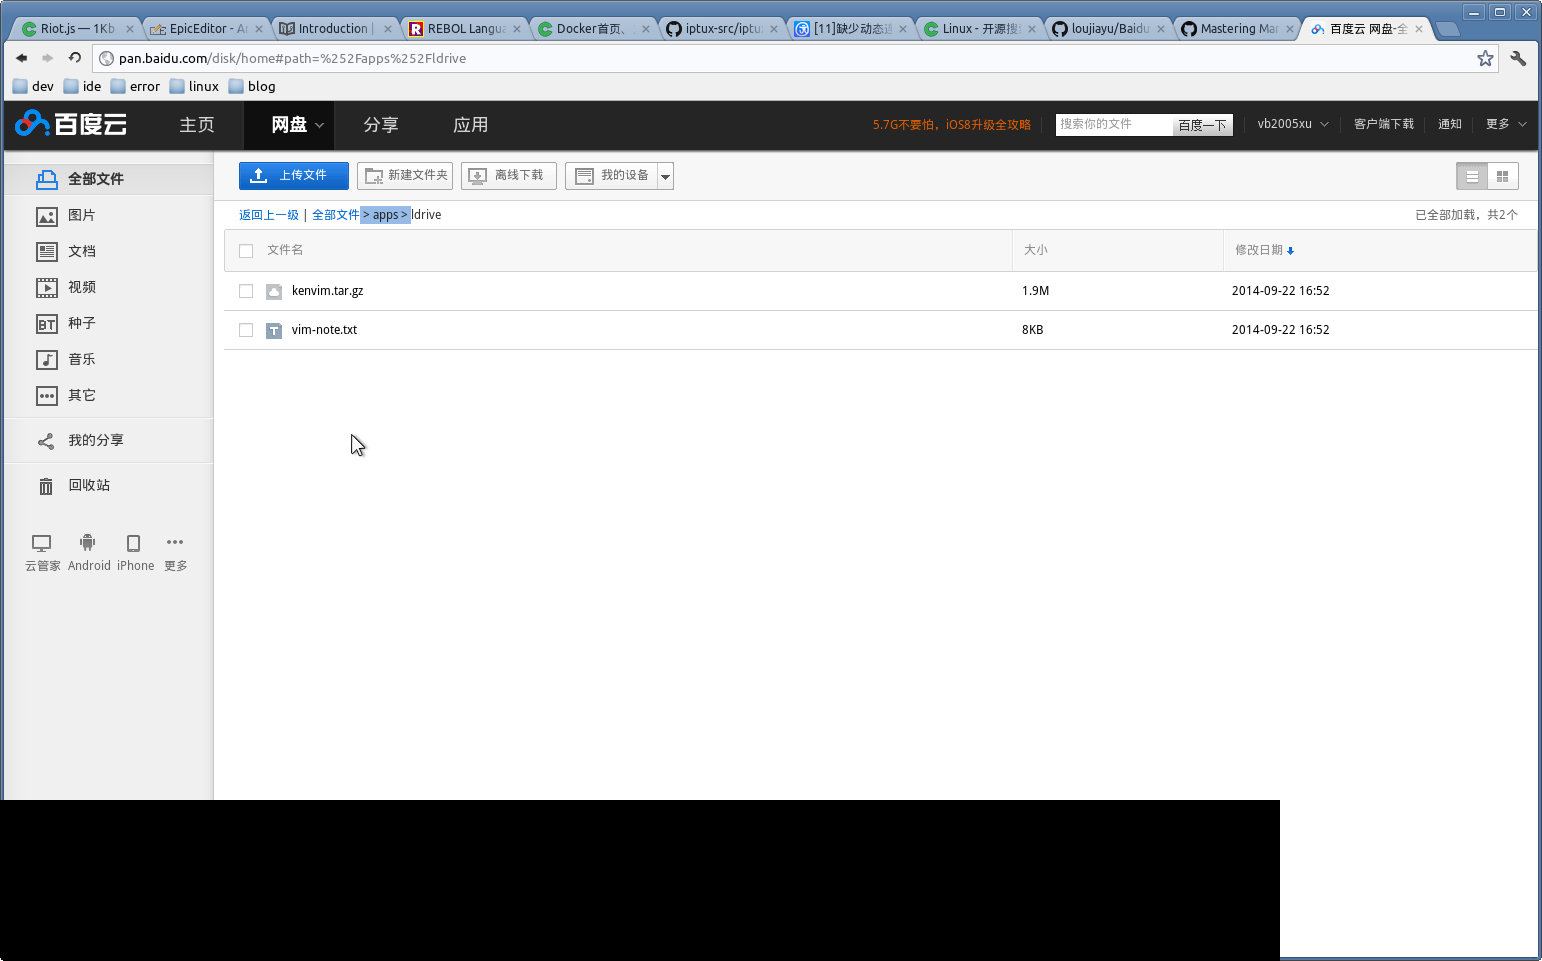
运行成功之后,稍作等待,然后你在你的百度云中就能看到

可以建一个软链,把这个文件夹映射到某个地方,呵呵
附件是我从 github 上捡下来的代码
试用linux上的百度云客户端
标签:style blog http color io os 使用 ar strong
原文地址:http://my.oschina.net/u/1174918/blog/317228
