项目中有个需求,需要以跑马灯的形势滚动展示用户的实时数据,跑马灯需要有用户头像,内容的长度不固定,并且可以点击,滚动效果还要足够流畅,本着不重复造轮子的心理,在网上各种搜索,发现都没法找到满足需求的demo,没办法,本来(ˇ?ˇ) 想~偷个懒来着,现在只有自己动手造轮子了。
整体思路大概就是在scrollView中添加多个view,让这几个view依次排列在在scrollView中,动态计算scrollView的frame,让其宽度刚好是所有view的总宽度和,然后把scrollView的x初始值设置在屏幕以外,通过一个定时器,让scrollView每隔一段时间就移动一定的距离,这个时间可以微调,确保不会出现滚动的时候抖动的问题,当scrollView滚出可见区域了,再把scrollView的frame恢复到初始值即可
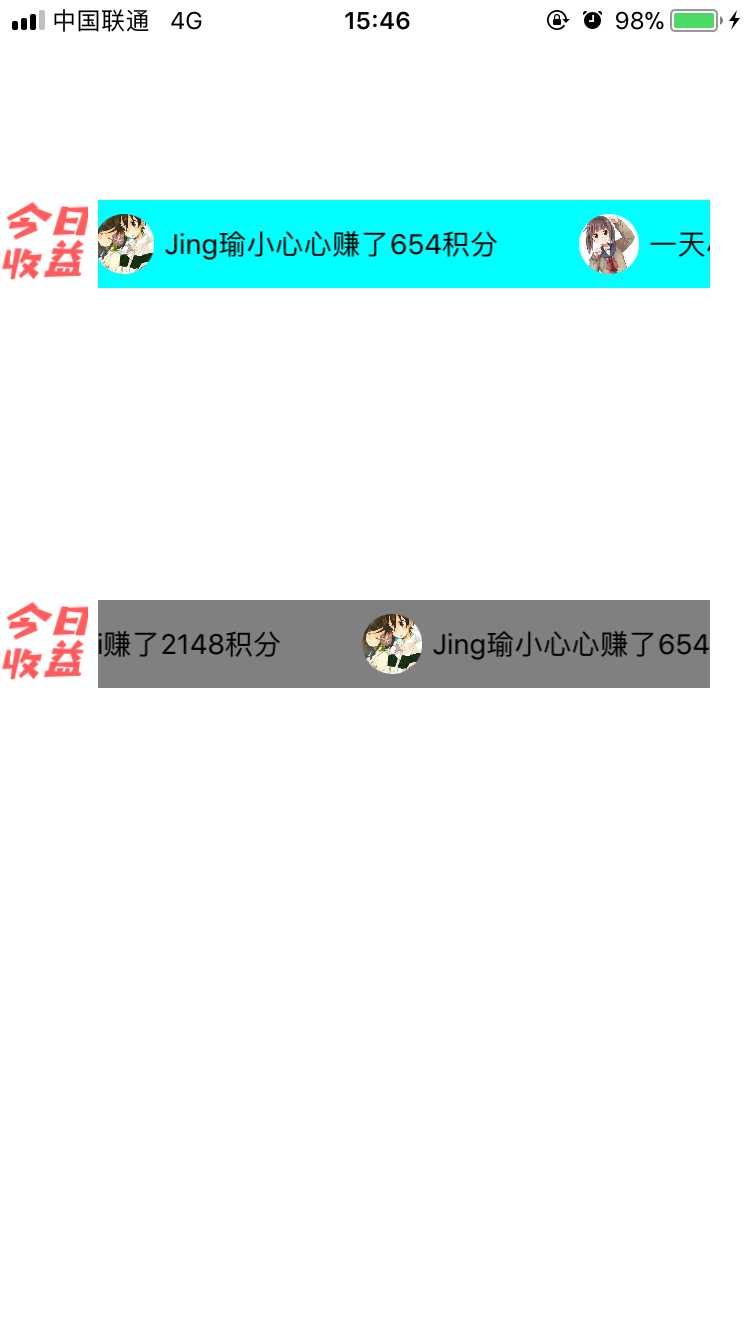
先看下效果图吧,由于博客园好像不支持gif图片上传,所有整了几张静态图,如果想要完整效果和代码的话,可以前往我的github https://github.com/qqcc1388/MarqueeViewDemo 查看demo源码和动态效果


我的这个demo中分为3个部分
- HXQMarqueeView 用来显示跑马灯的显示区域,接受滚动的数据源,并且手动控制动画的开启。
- HXQBoardView 跑马灯中每组数据的显示区域,这个视图的长度是根据传入文字的多少,动态计算的,如果文字或者头像被点击了,可以通过block将点击的model传递到上一层
- HXQMarqueeModel 跑马灯数据model 主要参数是文字内容和头像参数(头像是网络图片),设置完文字后,在setTitle这个方法中会动态的把文字的总宽度计算一遍,并赋值为titleWith,width的宽度为文字+头像的总宽度
部分实现代码
//
//  HXQMarqueeView.m
//  hxquan
//
//  Created by Tiny on 2018/3/2.
//  Copyright ? 2018年 Tiny. All rights reserved.
//

#import "HXQMarqueeView.h"
#import "HXQMarqueeModel.h"
#import "HXQBoardView.h"
#import "UIView+Extionsiton.h"

@interface HXQMarqueeView ()

@property (nonatomic, strong) NSTimer *timer;
@property (nonatomic, strong) UIScrollView *scrollView;
@property (nonatomic, strong) NSMutableArray *viewList;
@property (nonatomic, strong) NSArray *models;
@property (nonatomic, copy) void (^itelClick)(HXQMarqueeModel *);


@end

@implementation HXQMarqueeView

-(void)dealloc{
    [self.timer  invalidate];
    self.timer = nil;
}

-(NSMutableArray *)viewList{
    if (!_viewList) {
        _viewList = [NSMutableArray array];
    }
    return _viewList;
}

-(NSTimer *)timer{
    if (!_timer) {
        _timer = [NSTimer timerWithTimeInterval:0.008f target:self selector:@selector(refreshProgress) userInfo:nil repeats:YES];
        [[NSRunLoop currentRunLoop] addTimer:_timer forMode:NSRunLoopCommonModes];
    }
    return _timer;
}

-(instancetype)initWithFrame:(CGRect)frame{

    if (self = [super initWithFrame:frame]) {

        [self setupUI];
    }
    return self;
}

-(void)setupUI{
    self.scrollView = [[UIScrollView alloc] initWithFrame:self.bounds];
    self.scrollView.scrollEnabled = NO;
    self.scrollView.showsVerticalScrollIndicator = NO;
    self.scrollView.showsHorizontalScrollIndicator = NO;
    [self addSubview:self.scrollView];
}

-(void)setItems:(NSArray *)items{

    _models = items;
    //移除动画
    [self.scrollView.layer removeAllAnimations];

    //先移除之前的item
    for (UIView *v in self.scrollView.subviews) {
        if ([v isKindOfClass:[HXQBoardView class]]) {
            [v removeFromSuperview];
        }
    }
    [self.viewList removeAllObjects];

    //创建新的item
    HXQBoardView *last = nil;
    CGFloat margin = 20;
    for (int i = 0; i < items.count; i++) {
        HXQMarqueeModel *model = items[i];
        HXQBoardView * lb = [[HXQBoardView alloc] initWithFrame:CGRectMake(last.frame.origin.x + last.bounds.size.width + margin, 0, model.width, 44) Model:model];
        __weak typeof(self) weakself = self;
        lb.boardItemClick = ^(HXQMarqueeModel *xModel) {
            if (weakself.itelClick) {
                weakself.itelClick(xModel);
            }
        };
        lb.tag = i;
        [self.scrollView addSubview:lb];
        [self.viewList addObject:lb];
        last = lb;
    }
    //设置scrollView的contentSize
    self.scrollView.contentSize = CGSizeMake(last.frame.origin.x+last.bounds.size.width, 0);
    CGSize contetnsize = self.scrollView.contentSize;
    self.scrollView.frame = CGRectMake(self.bounds.size.width,0,contetnsize.width+self.bounds.size.width, 44);
    self.clipsToBounds = YES;
}

-(void)refreshProgress{

    self.scrollView.x -=0.5 ;
    if (self.scrollView.x <= -self.scrollView.contentSize.width) {
        self.scrollView.x = self.bounds.size.width;
    }

}

- (void)startAnimation {
    if (!self.timer.isValid) {
        [self.timer fire];
    }
}

-(void) stopAnimation{  //结束动画
    if (self.timer.isValid) {
        [self.timer invalidate];
        self.timer = nil;
    }
}

#pragma mark - Private
-(void)addMarueeViewItemClickBlock:(void (^)(HXQMarqueeModel *))block{
    self.itelClick = block;
}
//demo使用起来也很简单 只需要3行代码即可(前提是数据源要准备好哦??)
    //创建跑马灯
    HXQMarqueeView *marqueeView = [[HXQMarqueeView alloc] initWithFrame:CGRectMake(0 100,self.view.bounds.size.width, 44)];
    [self.view addSubview:marqueeView];
    //初始化数据源
    [marqueeView setItems:modelList];
    //开始动画
    [marqueeView startAnimation];
    //如果需要监听点击回调,请实现这个方法
    [marqueeView addMarueeViewItemClickBlock:^(HXQMarqueeModel *model) {
        NSLog(@"%@",model.title);
    }];
更多详情请参考demo: https://github.com/qqcc1388/MarqueeViewDemo