asp.net core 通过ajax上传图片
.net core前端代码,因为是通过ajax调用,首先要保证ajax能调用后台代码,具体参见上一篇.net core 使用ajax调用后台代码。
前端代码如下:
@Html.AntiForgeryToken()
@{await Html.RenderPartialAsync("_ValidationScriptsPartial");}
<div>
        <form id="uploadForm">
            AJAX上传多文件: <input type="file" name="file" multiple />
            <input type="button" value="上传" onclick="doUpload()" />
        </form>
    </div>
    <script>
        function doUpload() {
            var formData = new FormData($("#uploadForm")[0]);
            $.ajax({
                  url: "Train?handler=Upload",
                beforeSend: function (xhr) {
                    xhr.setRequestHeader("XSRF-TOKEN",
                        $(‘input:hidden[name="__RequestVerificationToken"]‘).val());
                },
                type: ‘POST‘,
                data: formData,
                async: false,
                cache: false,
                contentType: false,
                processData: false,
                success: function (returndata) {
                    alert(returndata);
                },
                error: function (returndata) {
                    alert(returndata);
                }
            });
        }
    </script>
后端代码:
 [HttpPost]
        public ActionResult OnPostUpload([FromServices]IHostingEnvironment environment)
        {
            List<TmpUrl> list = new List<TmpUrl>();
            var files = Request.Form.Files;
            string webRootPath = environment.WebRootPath;
            string contentRootPath = environment.ContentRootPath;
            foreach (var formFile in files)
            {
                if (formFile.Length > 0)
                {
                    var fileName = Guid.NewGuid().ToString()+".jpg";
                    var path = Path.Combine(environment.WebRootPath + "\\images\\upload", fileName);
                    using (var stream = new FileStream(path, FileMode.CreateNew))
                    {
                         formFile.CopyToAsync(stream);
                        TmpUrl tu = new TmpUrl();
                        tu.Url = @"/images/upload/"+ fileName;
                        list.Add(tu);
                    }
                }
            }

            return new JsonResult(list);

        }
注:var stream = new FileStream(path, FileMode.CreateNew,开始这里的path指定了一个文件夹,没有包括文件名称,没有指定具体的路径,一直报错
提示:路径访问禁止,access deny...,文件夹的所有权限都改了(添加net work 、IIS User),还是不行..。坑啊,改成完整路径就可以了。
结合wangEditor图片上传接口
这里是使用自定义的图片上传接口,具体实现就是上面的,然后返回图片的url,调用wangEditor里的insert(imageUrl)方法在文本编辑器中插入图片。
后端代码和就是上面那一段后端代码,前端代码如下:
<head>
    <meta charset="UTF-8">
    <title>wangEditor demo</title>
    <script src="~/js/wangEditor.js"></script>
    <script src="~/js/jquery.js"></script>
</head>
<div id="editor">
        <p>欢迎使用 <b>wangEditor</b> 富文本编辑器</p>
    </div>

    @{await Html.RenderPartialAsync("_ValidationScriptsPartial");}
    <script type="text/javascript">
        var E = window.wangEditor;
        var editor = new E(‘#editor‘);

        //editor.customConfig.uploadImgServer = ‘Train?handler=Upload‘; //上传URL
        editor.customConfig.uploadImgMaxSize = 3 * 1024 * 1024;
        editor.customConfig.uploadImgMaxLength = 5;
        //editor.customConfig.uploadFileName = ‘myFileName‘;

        editor.customConfig.customUploadImg = function (files, insert) {
            // files 是 input 中选中的文件列表
            // insert 是获取图片 url 后,插入到编辑器的方法
            var uploadData = new FormData();
            for (var i = 0; i < files.length; i++) {
                uploadData.append(files[i].name, files[i]);
            }

            $.ajax({
                type: "POST",
                url: "Train?handler=Upload",
                beforeSend: function (xhr) {
                    xhr.setRequestHeader("XSRF-TOKEN",
                        $(‘input:hidden[name="__RequestVerificationToken"]‘).val());
                },
                data: uploadData,
                processData: false,
                contentType: false,
                async: false,
                success: function (response) {
                    alert(response);
                    for (var i = 0; i < response.length; i++) {
                        insert(response[i].url);
                    }
                },
                failure: function (response) {
                    alert(response);
                }
            });

            //editor.customConfig.uploadImgHooks = {
            //    customInsert: function (insertImg, result, editor) {
            //        // 图片上传并返回结果,自定义插入图片的事件(而不是编辑器自动插入图片!!!)
            //        // insertImg 是插入图片的函数,editor 是编辑器对象,result 是服务器端返回的结果

            //        // 举例:假如上传图片成功后,服务器端返回的是 {url:‘....‘} 这种格式,即可这样插入图片:
            //        for (var i = 0; i < length; i++) {

            //        }
            //        //var url = result.data;
            //        //insertImg(url);

            //        // result 必须是一个 JSON 格式字符串!!!否则报错
            //    }
            //}
            // 通过 url 参数配置 debug 模式。url 中带有 wangeditor_debug_mode=1 才会开启 debug 模式
            editor.customConfig.debug = location.href.indexOf(‘wangeditor_debug_mode=1‘) > 0;
            //editor.customConfig.uploadImgShowBase64 = true   // 使用 base64 保存图片

            // 上传代码返回结果之后,将图片插入到编辑器中
            //insert(imgUrl)
        }

        editor.create();
    </script>
wangEditor
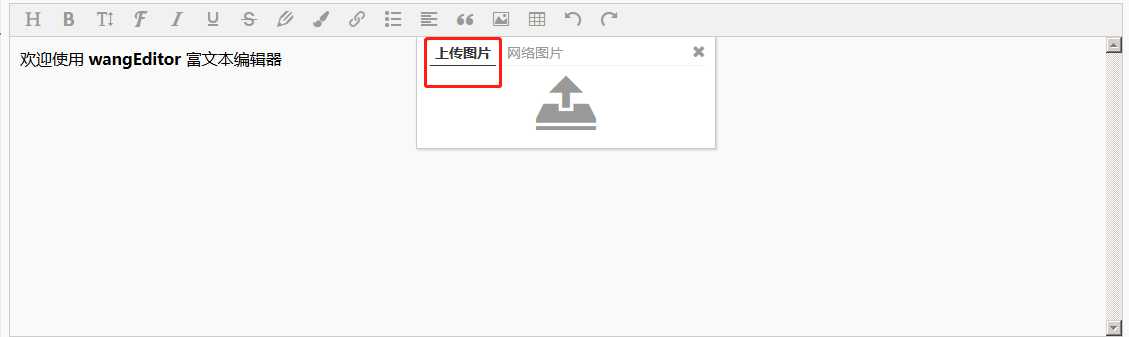
这个文本编辑器可以上传本地图片、网络图片,上传本地图片按钮默认是不显示的,只有在配置中启用了本地上传相关配置才显示, editor.customConfig一系列的。