标签:my.cnf 连接 image option pass /etc username ubunt src
在目录/etc/mysql下找到my.cnf,用vim编辑,找到my.cnf里面的
bind-address = 127.0.0.1
将其注释。如图:

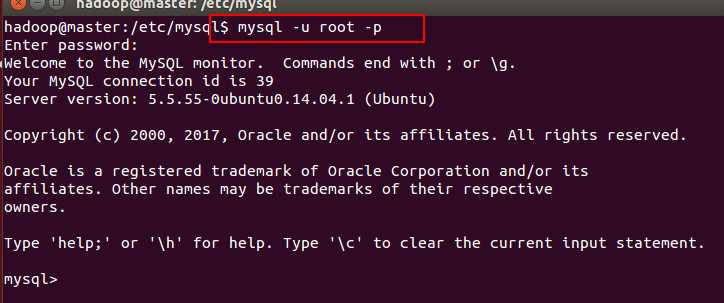
然后用root登陆Mysql数据库。如图:

然后在mysql>这里输入:grant all on *.* to username@‘%‘ identified by ‘password;
------------------------------------------------------------------------------------------------------------
grant all privileges on *.* to root@"%" identified by "111" with grant option;
flush privileges;
第一行命令解释如下,*.*:第一个*代表数据库名;第二个*代表表名。这里的意思是所有数据库里的所有表都授权给用户。root:授予root账号。“%”:表示授权的用户IP可以指定,这里代表任意的IP地址都能访问MySQL数据库。“password”:分配账号对应的密码,这里密码自己替换成你的mysql root帐号密码。
第二行命令是刷新权限信息,也即是让我们所作的设置马上生效。
-------------------------------------------------------------------------------------------------------------
注意:username是用户名,password是要自己填写的一个名字,例如:
grant all on *.* to root@‘%‘ identified by ‘123456‘;,如图:

然后>exit;退出。
最后重启mysql就能远程连接了

标签:my.cnf 连接 image option pass /etc username ubunt src
原文地址:https://www.cnblogs.com/lmg-jie/p/8973870.html