标签:文件 har 模板引擎 new title xpl hello cat 3.0
在应用系统开发的过程中,不可避免的需要使用静态资源(浏览器看的懂,他可以有变量,例:HTML页面,css样式文件,文本,属性文件,图片等);
并且SpringBoot内置了Thymeleaf模板引擎,可以使用模板引擎进行渲染处理,默认版本为2.1,可以重新定义Thymeleaf的版本号,在maven的配置文件中配置如下内容:
<properties>
    <thymeleaf.version>3.0.2.RELEASE</thymeleaf.version>
    <thymeleaf-layout-dialect.version>2.1.1</thymeleaf-layout-dialect.version>
</properties>
Spring Boot默认提供静态资源目录位置需置于classpath下,目录名需符合如下规则:
/META-INF/resources
SpringBoot默认会从META-INF/resources下的static、public、resources三个目录下查找对应的静态资源,而模板引擎的模板默认需要放在resources的templates目录下;
1、静态资源的访问

2、Thymeleaf模板引擎
①、使用Thymeleaf前,需引入依赖类库:
<!-- 使用thymeleaf模板-->
<dependency>
     <groupId>org.springframework.boot</groupId>
     <artifactId>spring-boot-starter-thymeleaf</artifactId>
</dependency>
②、创建启动类Application.java;
③、创建控制层HelloController.java;
package com.cn.controller;/**
 * @Description: Created by xpl on 2018-05-01 13:23.
 */

import org.springframework.web.bind.annotation.RequestMapping;
import org.springframework.web.bind.annotation.RestController;
import org.springframework.web.servlet.ModelAndView;

import java.util.HashMap;

/**
 * Created by xpl on 2018-05-01 13:23
 **/

@RestController
public class HelloController {

    @RequestMapping("/getThymeleaf")
    public ModelAndView getThymeleaf() {
        ModelAndView modelAndView = new ModelAndView("hello");
        modelAndView.addAllObjects(new HashMap<String, String>(){
            {
                this.put("name","Andy");
            }
        });
        return modelAndView;
    }

}
④、创建Thymeleaf模板hello.html,访问变量使用th:进行访问;
<!DOCTYPE html>
<html lang="en">
<head>
    <meta charset="UTF-8">
    <title>
        Title</title>
</head>
<body>

<h1>Hello,</h1>
<h1 th:text="${name}"/>
</body>
</html>
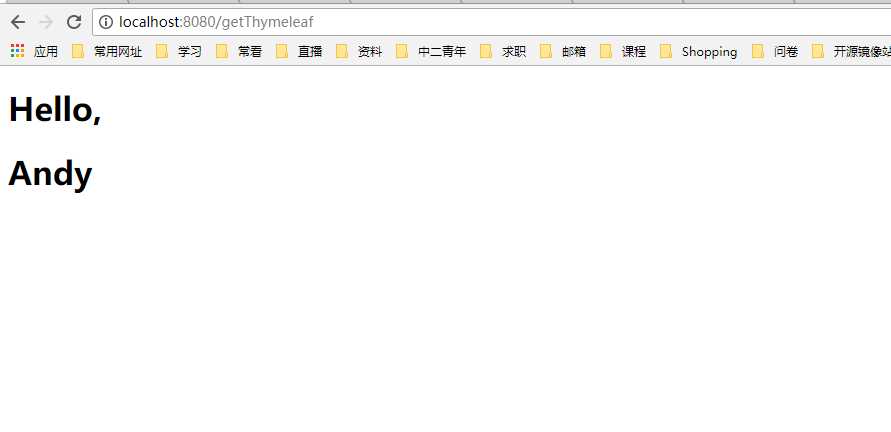
⑤、启动项目,并访问http://localhost:8080/getThymeleaf,如下:

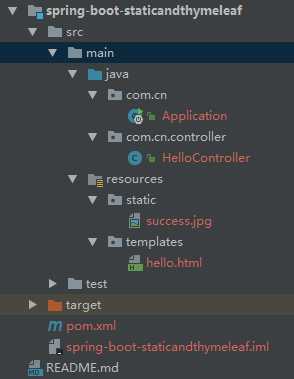
目录结构如下:

完整示例:https://gitee.com/lfalex/spring-boot-example
版权声明:本文为博主原创文章,转载请注明出处,谢谢!
(二)SpringBoot基础篇- 静态资源的访问及Thymeleaf模板引擎的使用
标签:文件 har 模板引擎 new title xpl hello cat 3.0
原文地址:https://www.cnblogs.com/lfalex0831/p/8976112.html