标签:intent git get show imageview 错误信息 步骤 没有 截图
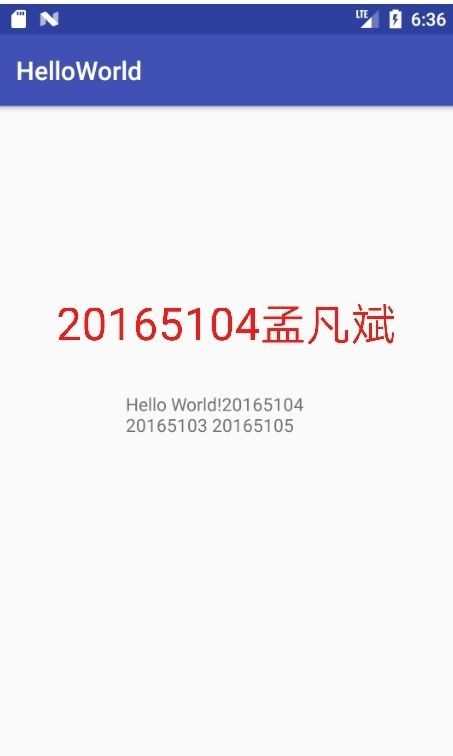
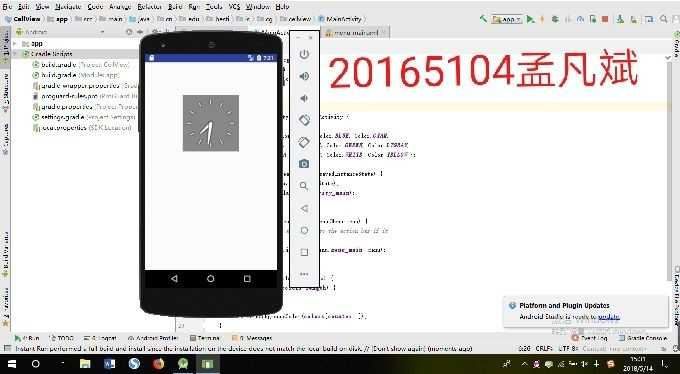
下好.zip文件后,就可以开始配置模拟显示屏。根据要求,在.xml文件里加入学号信息。运行结果如下图。
run——>Debug‘app‘可以对代码进行单步调试。设置断点以后可以让运行停在断点处,然后切换到Debug窗口,观察参数变化。run后在屏幕下方的框里会显示错误信息,和idea一样,在错误处根据提示快速可以进行修改调整
java目录,选择new——>Activity——>Gallery,建立空的新活动,命名为ThirdActivity.xml中增加学号信息并在MainActivity中新增代码import android.content.Intent;
Intent intent = new Intent(this,ThirdActivity.class);
startActivity(intent);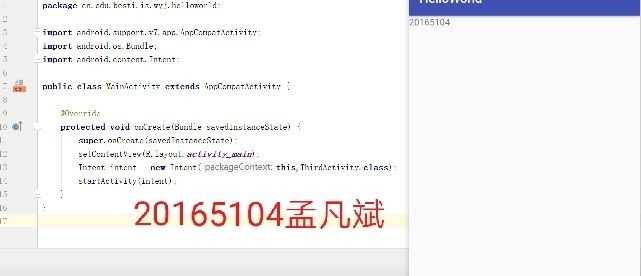
import android.widget.Toast;

Toast toast = Toast.makeText(MainActivity.this, "20165104孟凡斌", Toast.LENGTH_LONG);
        toast.show();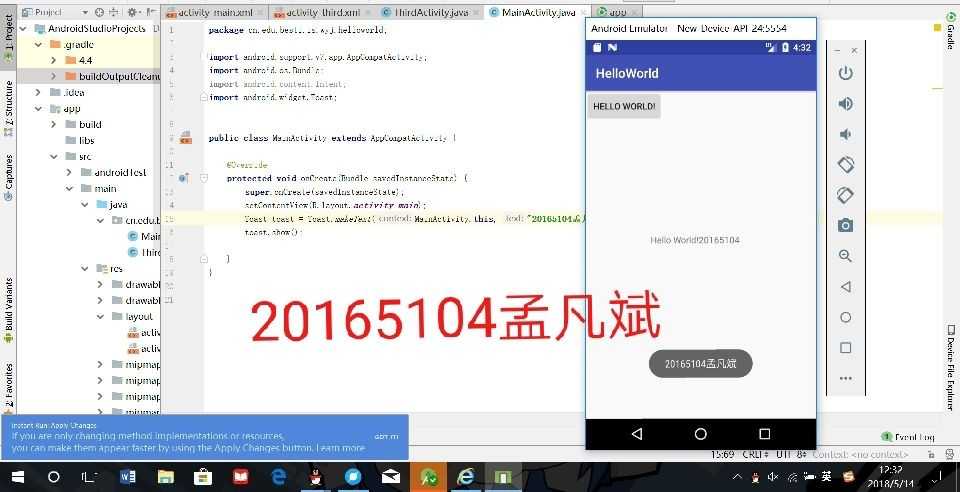
.xml——>Design里调整布局,修改.xml代码如下:<?xml version="1.0" encoding="utf-8"?>
<android.support.constraint.ConstraintLayout xmlns:android="http://schemas.android.com/apk/res/android"
xmlns:app="http://schemas.android.com/apk/res-auto"
xmlns:tools="http://schemas.android.com/tools"
android:layout_width="match_parent"
android:layout_height="match_parent"
tools:context=".MainActivity">
<TextView
android:layout_width="wrap_content"
android:layout_height="wrap_content"
android:text="Hello World!20165322"
app:layout_constraintBottom_toBottomOf="parent"
app:layout_constraintHorizontal_bias="0.54"
app:layout_constraintLeft_toLeftOf="parent"
app:layout_constraintRight_toRightOf="parent"
app:layout_constraintTop_toTopOf="parent"
app:layout_constraintVertical_bias="0.032" />
<Button
android:id="@+id/button"
android:layout_width="wrap_content"
android:layout_height="wrap_content"
android:text="Button"
tools:layout_editor_absoluteX="148dp"
tools:layout_editor_absoluteY="422dp"
tools:ignore="MissingConstraints" />
<ImageView
android:id="@+id/imageView"
android:layout_width="180dp"
android:layout_height="276dp"
app:srcCompat="@android:drawable/btn_star_big_off"
tools:layout_editor_absoluteX="102dp"
tools:layout_editor_absoluteY="100dp"
tools:ignore="MissingConstraints" />
</android.support.constraint.ConstraintLayout>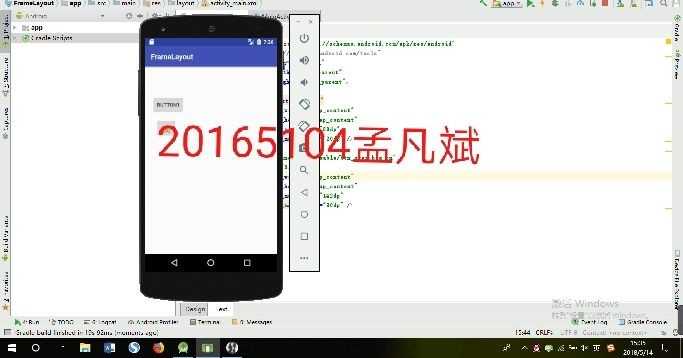
标签:intent git get show imageview 错误信息 步骤 没有 截图
原文地址:https://www.cnblogs.com/20165104mfb/p/9065105.html