标签:分享图片 知识点 osi else tst 思路分析 content 弹出对话框 sha
1、模拟bootstrap中的模态框
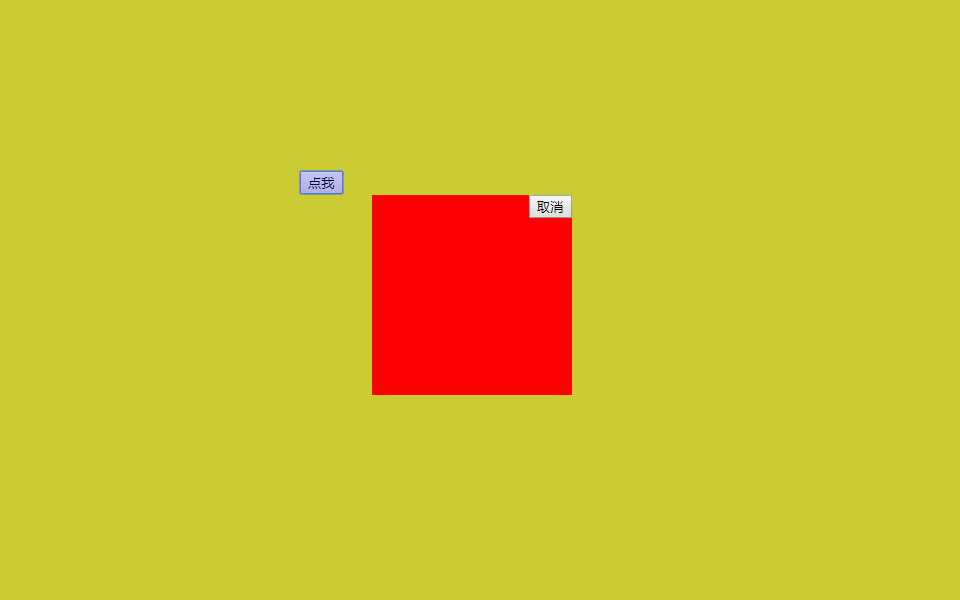
效果图:(点我后,弹出对话框,最下面的内容可以看到,但是有一定的透明度。)
思路分析:
整体分为三层,最底层(点我),中间透明层(实现透明效果),最顶层(最新内容展示)
很明显,三个div就可以实现,正常情况上面2层div隐藏起来,通过点击“点我”后,上面2层div浮现出来,这样就实现了动画效果。
代码如下:
<!DOCTYPE html>
<html>
<head>
<meta http-equiv="Content-Type" content="text/html; charset=gb2312">
<title>小白教程</title>
</head>
<body>
<!DOCTYPE html>
<html lang="en">
<head>
    <meta charset="UTF-8">
    <title>Title</title>
    <style>
	body{
	   margin:0;
	}
        .back{
            background-color:yellow;
            height: 2000px;
        }

        .shade{
            position: fixed;
            top: 0;
            bottom: 0;
            left:0;
            right: 0;
            background-color: blue;
            opacity: 0.2;
        }

        .hide{
            display: none;
        }

        .models{
            position: fixed;
            top: 50%;
            left: 50%;
            margin-left: -100px;
            margin-top: -100px;
            height: 200px;
            width: 200px;
            background-color: red;

        }
	#ID1{
		margin-left:500px;
		margin-top:200px;
	}
	#ID2{
		float:right;
	}
    </style>
</head>
<body>
<div class="back">
    <input id="ID1" type="button" value="点我" onclick="action(‘show‘)">
</div>

<div class="shade hide"></div>
<div class="models hide">
    <input id="ID2" type="button" value="取消" onclick="action(‘hide‘)">
</div>

<script>

    function action(act){
		//获取遮罩层节点、最外层节点
        var shadeNode=document.getElementsByClassName("shade")[0];
        var topNode=document.getElementsByClassName("models")[0];

		//点我后,如果参数为show,则遮罩层和最外层展示出来;如果参数为hide,则遮罩层和最外层隐藏起来。
        if(act=="show"){
              shadeNode.classList.remove("hide");
              topNode.classList.remove("hide");
        }else {
              shadeNode.classList.add("hide");
              topNode.classList.add("hide");
        }

    }
</script>
</body>
</html>

</body>

</html>
知识点分析:
1、body设置margin为0.保证html页面置顶。
2、遮罩层和最外层的position为fixed;
3、遮罩层铺满屏幕,top、right、bottom、left都设为0;
4、最外层位置居中,这个重点说一下:
一般情况下,我们设置最外层div的距离top为50%,left为50%。
但是,这个和我们预想的有些差距,因为div本身有高度和宽度,所以看上去不是居中的位置,这时候我们需要把div整体向上、向左移动50%(height和width)。
            top: 50%;
            left: 50%;
            margin-left: -100px;
            margin-top: -100px;
            height: 200px;
            width: 200px;
标签:分享图片 知识点 osi else tst 思路分析 content 弹出对话框 sha
原文地址:https://www.cnblogs.com/skyflask/p/9092574.html