不多说,直接上干货!
为什么要在Win下来安装Zookeeper呢?
其实玩过大数据的人很清楚,在Linux下我更不说了。在win下,如Disconf 、Dubbo等应用。
所以,它的应用是非常广的。
ZooKeeper是一个分布式的,开放源码的分布式应用程序协调服务,是Google的Chubby一个开源的实现,是Hadoop和Hbase的重要组件。它是一个为分布式应用提供一致性服务的软件,提供的功能包括:配置维护、域名服务、分布式同步、组服务等。
ZooKeeper的目标就是封装好复杂易出错的关键服务,将简单易用的接口和性能高效、功能稳定的系统提供给用户。
ZooKeeper包含一个简单的原语集,提供Java和C的接口。
ZooKeeper代码版本中,提供了分布式独享锁、选举、队列的接口,代码在zookeeper-3.4.8\src\recipes。其中分布锁和队列有Java和C两个版本,选举只有Java版本。
zookeeper下载地址:
http://archive.apache.org/dist/zookeeper/zookeeper-3.4.8/
(可自行在官网下载自己需要的版本)
我这里以zookeeper-3.4.8为例。

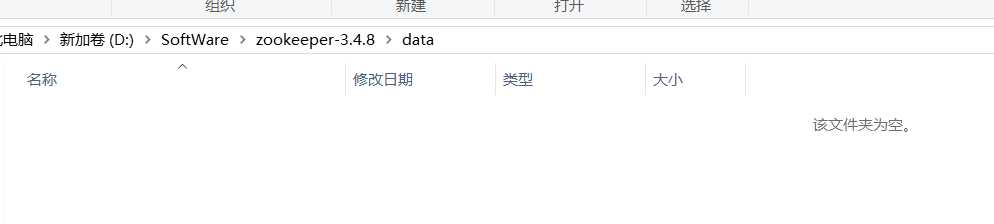
我的是解压到指定目录下 D:\SoftWare\zookeeper-3.4.8
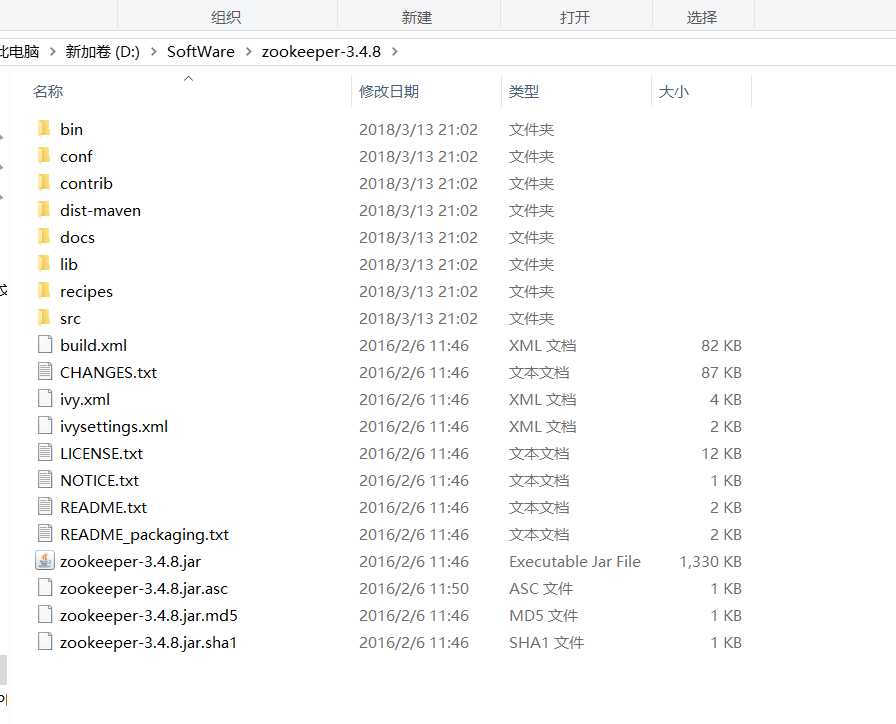
本博文,只关心其bin目录和conf目录。
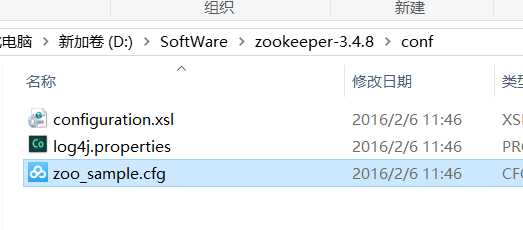
以下是默认的内容
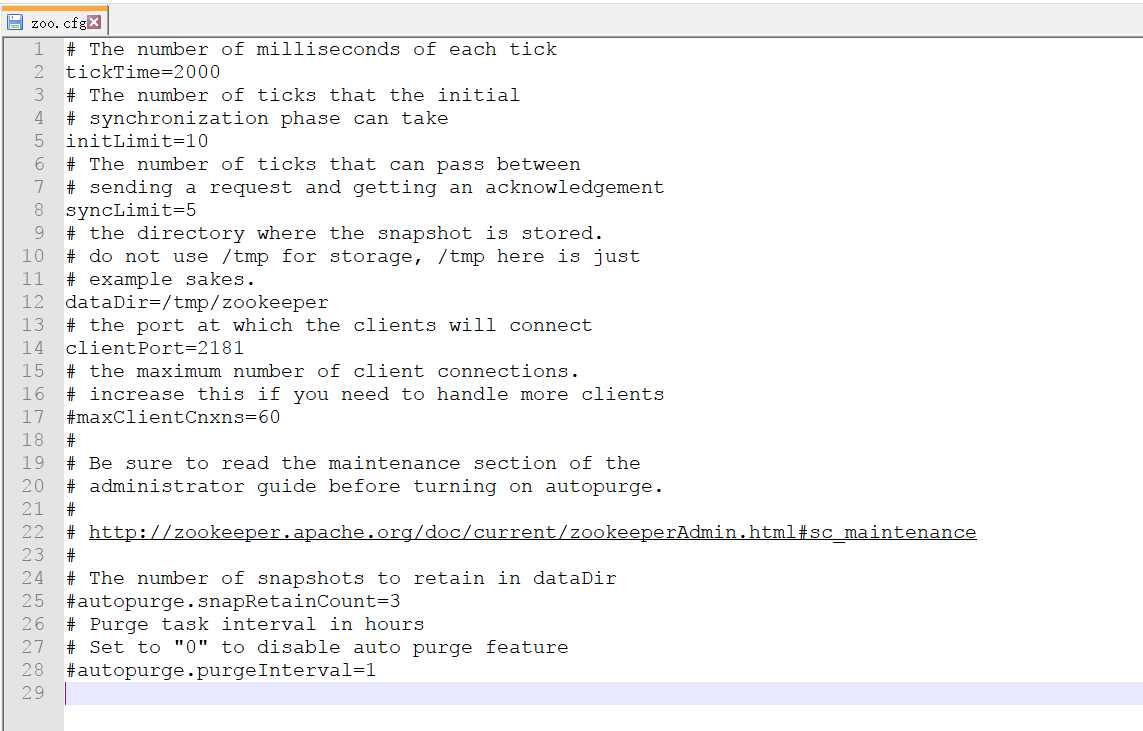

# The number of milliseconds of each tick
tickTime=2000
# The number of ticks that the initial
# synchronization phase can take
initLimit=10
# The number of ticks that can pass between
# sending a request and getting an acknowledgement
syncLimit=5
# the directory where the snapshot is stored.
# do not use /tmp for storage, /tmp here is just
# example sakes.
dataDir=/tmp/zookeeper
# the port at which the clients will connect
clientPort=2181
# the maximum number of client connections.
# increase this if you need to handle more clients
#maxClientCnxns=60
#
# Be sure to read the maintenance section of the
# administrator guide before turning on autopurge.
#
# http://zookeeper.apache.org/doc/current/zookeeperAdmin.html#sc_maintenance
#
# The number of snapshots to retain in dataDir
#autopurge.snapRetainCount=3
# Purge task interval in hours
# Set to "0" to disable auto purge feature
#autopurge.purgeInterval=1
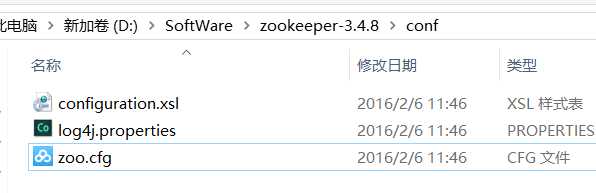
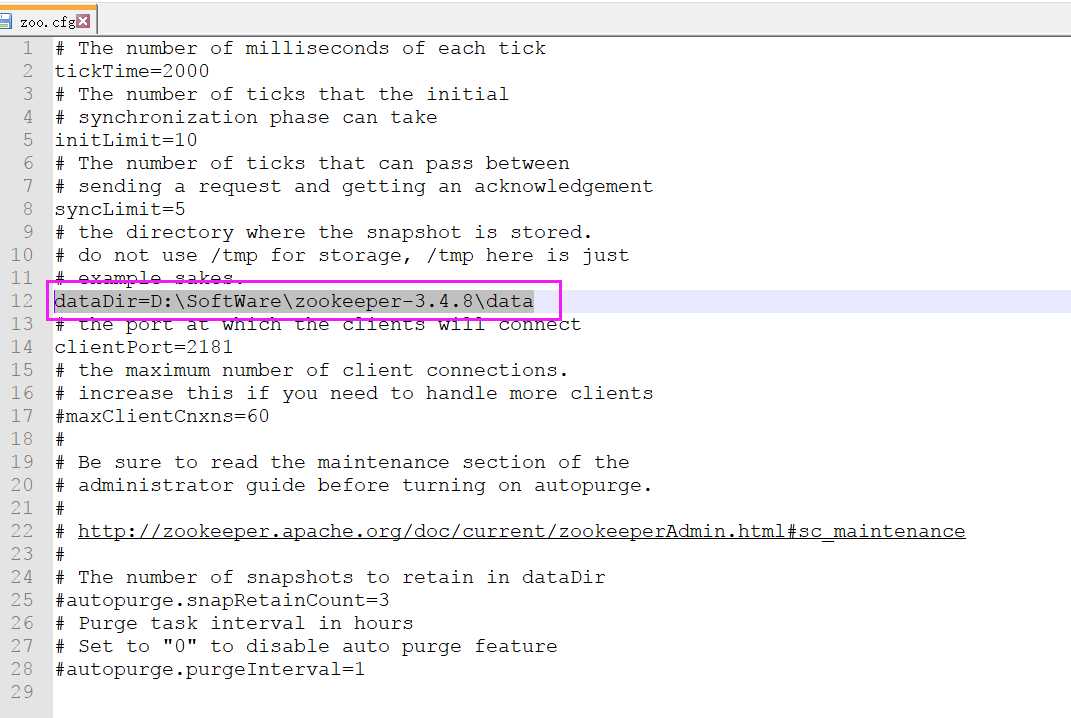
主要修改配置中的 dataDir ,根据自己实际修改即可,如下
比如我这里是
dataDir=D:\SoftWare\zookeeper-3.4.8\data
所以,我的为
# The number of milliseconds of each tick
tickTime=2000
# The number of ticks that the initial
# synchronization phase can take
initLimit=10
# The number of ticks that can pass between
# sending a request and getting an acknowledgement
syncLimit=5
# the directory where the snapshot is stored.# do not use /tmp for storage, /tmp here is just
# example sakes.
dataDir=D:\SoftWare\zookeeper-3.4.8\data
# the port at which the clients will connect
clientPort=2181
# the maximum number of client connections.
# increase this if you need to handle more clients
#maxClientCnxns=60
#
# Be sure to read the maintenance section of the
# administrator guide before turning on autopurge.
#
# http://zookeeper.apache.org/doc/current/zookeeperAdmin.html#sc_maintenance
#
# The number of snapshots to retain in dataDir
#autopurge.snapRetainCount=3
# Purge task interval in hours
# Set to "0" to disable auto purge feature
#autopurge.purgeInterval=1
进入cmd下进bin目录,执行 zkserver.cmd 即可启动
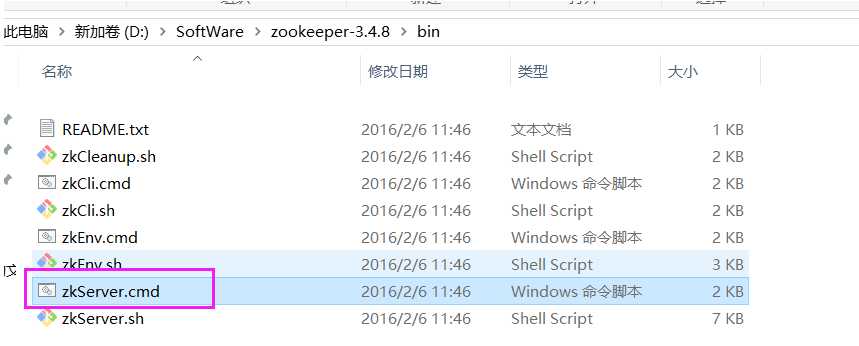
至此,完成!
下载的Zookeeper是.cmd的批处理命令运行的,默认没有提供以windows服务的方式运行的方案!!!
为此,本文下载prunsrv 来作为zookeeper的服务管理。
将zookeeper做成 windows 服务,避免每次关闭后,再启动还需要使用cmd。
下载prunsrv
下载地址:http://archive.apache.org/dist/commons/daemon/binaries/windows/ ,找到commons-daemon-1.0.15-bin-windows
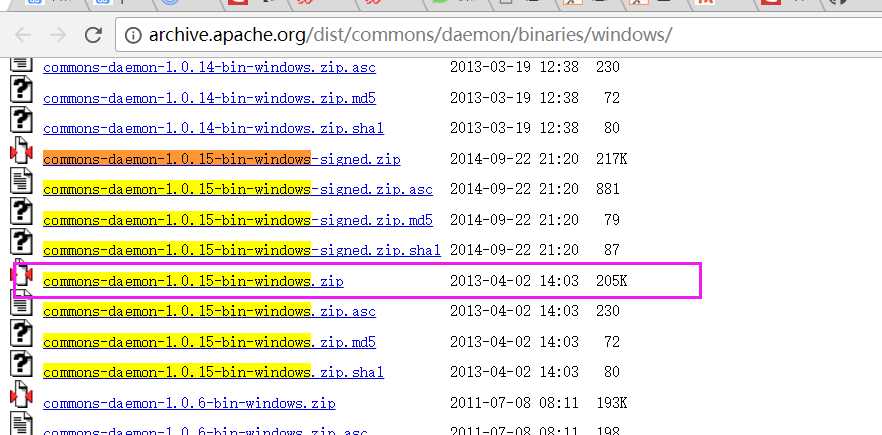

解压后复制以下文件
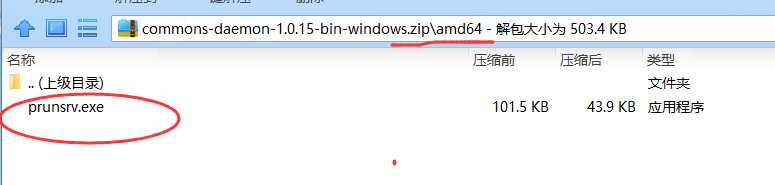
注意:64位系统的机器用amd64/prunsrv.exe
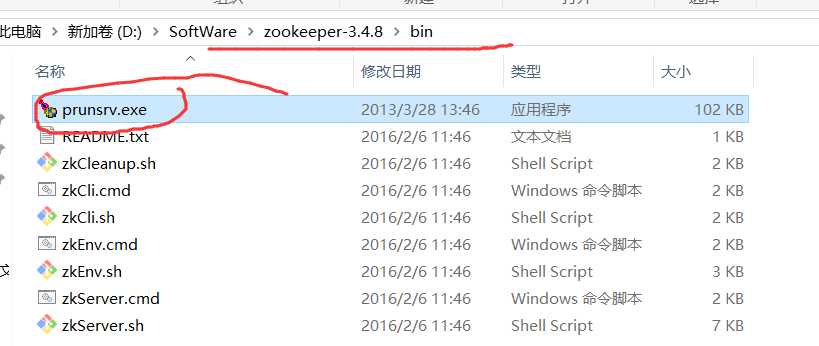
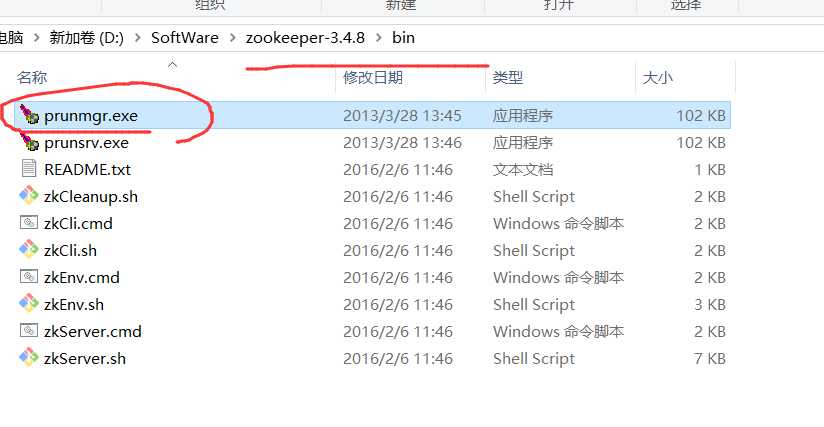
(1)复制 commons-daemon-1.0.15-bin-windows/amd64/prunsrv.exe 至 zookeeper-3.4.8\bin目录下
这是做服务的执行程序
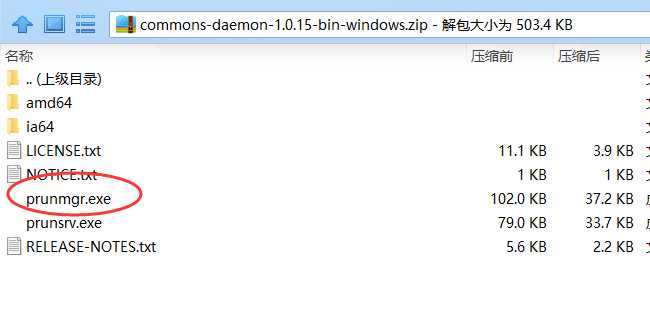
(2)复制 commons-daemon-1.0.15-bin-windows/prunmgr.exe 至 zookeeper-3.4.8\bin目录下
监控服务配置及运行的程序
为Zookeeper配置环境变量
添加ZOOKEEPER_SERVICE, ZOOKEEPER_HOME两个环境变量
ZOOKEEPER_SERVICE:服务名称(不要有中文),我这里取的是,命名为zookeeper_service
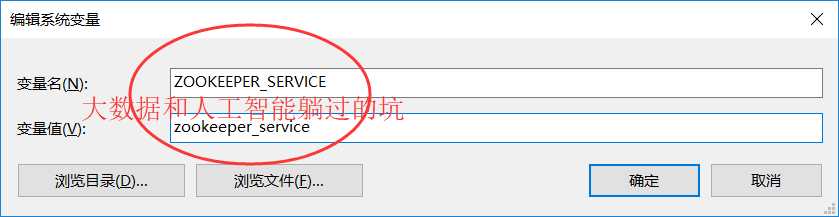
ZOOKEEPER_HOME:设置到zookeeper-3.4.8目录下

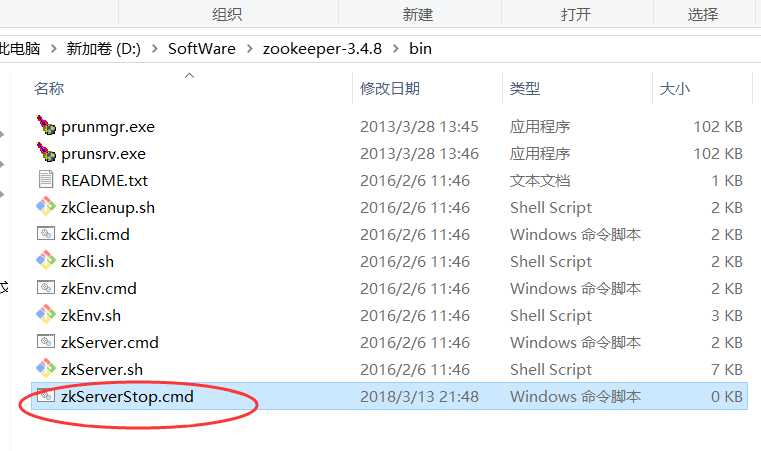
新建 zkServerStop.cmd 文件
在zookeeper-3.4.8\bin目录下添加一个 zkServerStop.cmd 文件.
(注:cmd文件或者下面的bat文件,我们都可以先创建一个文本文件,然后把下面的内容copy进去,然后修改文本文件的后缀名即可)
内容如下:
@echo off
 setlocal
 TASKLIST /svc | findstr /c:"%ZOOKEEPER_SERVICE%" > %ZOOKEEPER_HOME%\zookeeper_svc.pid
 FOR /F "tokens=2 delims= " %%G IN
(%ZOOKEEPER_HOME%\zookeeper_svc.pid) DO (
    @set zkPID=%%G
 )
 taskkill /PID %zkPID% /T /F
 del %ZOOKEEPER_HOME%/zookeeper_svc.pid
 endlocal
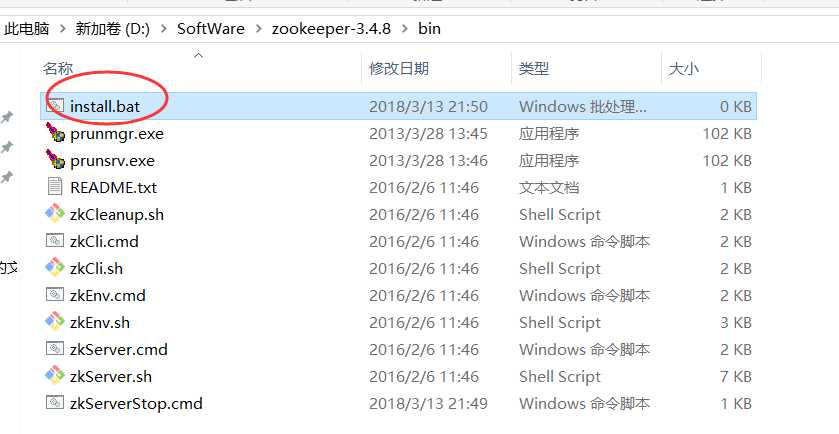
新建一个批处理安装文件install.bat
(注: install.bat 文件也需要放在zookeeper-3.4.8\bin 目录下才可以)
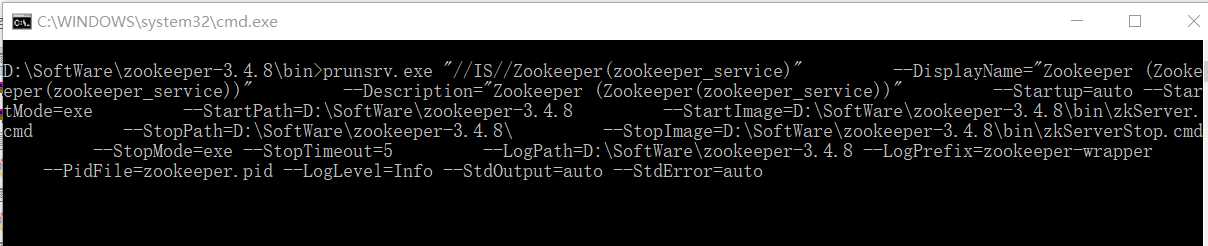
prunsrv.exe "//IS//%ZOOKEEPER_SERVICE%" ^        --DisplayName="Zookeeper (%ZOOKEEPER_SERVICE%)" ^
        --Description="Zookeeper (%ZOOKEEPER_SERVICE%)" ^
        --Startup=auto --StartMode=exe ^
        --StartPath=%ZOOKEEPER_HOME% ^
        --StartImage=%ZOOKEEPER_HOME%\bin\zkServer.cmd ^
        --StopPath=%ZOOKEEPER_HOME%\ ^
        --StopImage=%ZOOKEEPER_HOME%\bin\zkServerStop.cmd ^
        --StopMode=exe --StopTimeout=5 ^
        --LogPath=%ZOOKEEPER_HOME% --LogPrefix=zookeeper-wrapper ^
        --PidFile=zookeeper.pid --LogLevel=Info --StdOutput=auto --StdError=auto
最后在cmd中以管理员身份运行install.bat
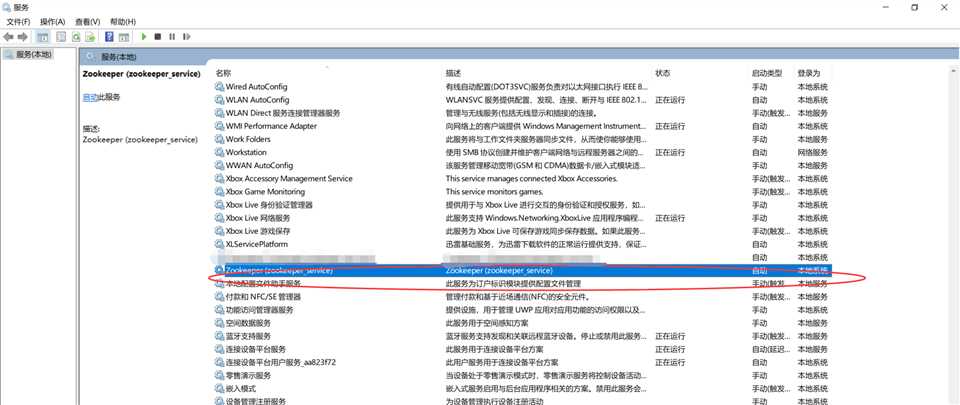
(注:其实我想说在zookeeper-3.4.8\bin目录下,双击install.bat文件就可以了,然后进入服务管理,就可以看到相应的服务了,不过这时候还没启动,右击启动即可。)
查看: 开始→运行(Windows+R快捷键也能调出运行) 输入:services.msc确定
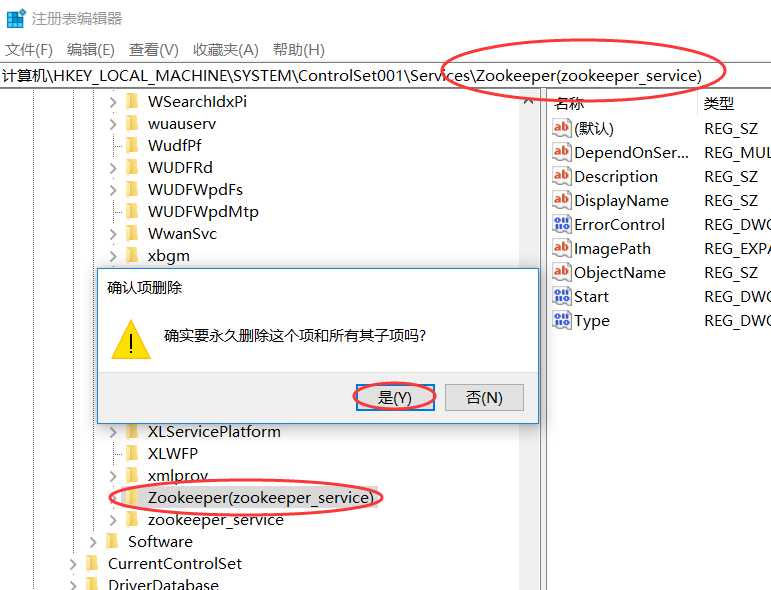
如果你想彻底删除这个服务,则
开始”——“运行”——“regedit”)然后依次打开HKEY_LOCAL_MACHINE\SYSTEM\ControlSet001\Services