标签:style blog http io ar for 文件 div 2014
前言
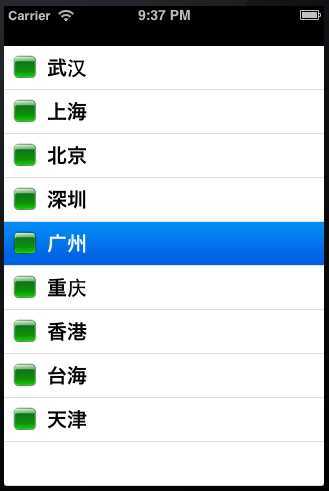
TableView可以帮助我们现实通用的列表样式,如这样:

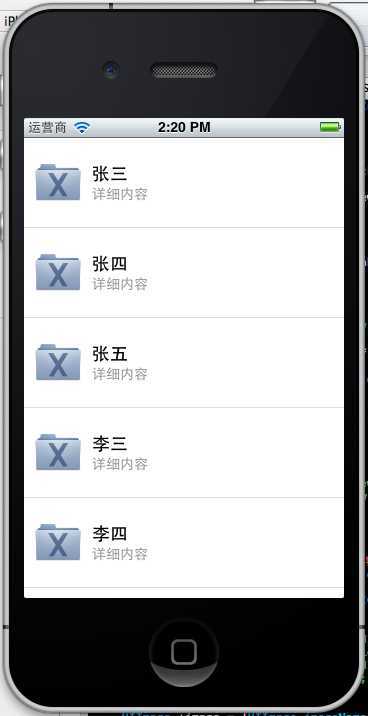
但是我们有时有需要一些更具定制化的Cell,比如:

也就是说我们会在Cell中布局一些空间,更丰富的显示我们的信息。
让代码飞一会儿
首先我们自定义一个Swift class继承TableViewCell:
import UIKit

class CustomOneCell: UITableViewCell {

    @IBOutlet weak var middleLabel: UILabel!
    @IBOutlet weak var leftLabel: UILabel!
    @IBOutlet weak var rightLabel: UILabel!

    required init(coder aDecoder: NSCoder!) {
        super.init(coder: aDecoder)
    }

    override init(style: UITableViewCellStyle, reuseIdentifier: String!) {
        super.init(style: style, reuseIdentifier: reuseIdentifier)
    }

    override func awakeFromNib() {
        super.awakeFromNib()
        // Initialization code
    }

    override func setSelected(selected: Bool, animated: Bool) {
        super.setSelected(selected, animated: animated)

        // Configure the view for the selected state
    }

}
为简单起见,拖入3个Label显示信息。
建立ViewController继承UITableViewController或者对应的Delegate:
import UIKit

class ViewController: UITableViewController, UITableViewDataSource, UITableViewDelegate {

    var items = ["Item 1", "Item2", "Item3", "Item4"]

    override func viewDidLoad() {
        super.viewDidLoad()
    }

    // MARK: - UITableViewDataSource
    override func tableView(tableView: UITableView!, numberOfRowsInSection section: Int) -> Int {
        return items.count
    }

    override func tableView(tableView: UITableView!, cellForRowAtIndexPath indexPath: NSIndexPath!) -> UITableViewCell! {
        let identifier = "Cell"
        var cell: CustomOneCell! = tableView.dequeueReusableCellWithIdentifier(identifier) as? CustomOneCell
        if cell == nil {
            tableView.registerNib(UINib(nibName: "CustomCellOne", bundle: nil), forCellReuseIdentifier: identifier)
            cell = tableView.dequeueReusableCellWithIdentifier(identifier) as? CustomOneCell
        }

        return cell
    }
}
关键是在装载Cell时候的代码:
        let identifier = "Cell"
        var cell: CustomOneCell! = tableView.dequeueReusableCellWithIdentifier(identifier) as? CustomOneCell
        if cell == nil {
            tableView.registerNib(UINib(nibName: "CustomCellOne", bundle: nil), forCellReuseIdentifier: identifier)
            cell = tableView.dequeueReusableCellWithIdentifier(identifier) as? CustomOneCell
        }

        return cell
为Cell class中的控件赋值:
    cell.middleLabel.text = items[indexPath.row]
    cell.leftLabel.text = items[indexPath.row]
    cell.rightLabel.text = items[indexPath.row]
展示结果:

但是并没有正式的展示出响应的信息。
发现重要的是需要在ViewController中的ViewLoad装载进入对应nib文件:
tableView.registerNib(UINib(nibName: "CustomOneCell", bundle: nil), forCellReuseIdentifier: "CustomCellOne")
最终代码:
import UIKit

class ViewController: UITableViewController, UITableViewDataSource, UITableViewDelegate {

    var items = ["Item 1", "Item2", "Item3", "Item4"]

    override func viewDidLoad() {
        super.viewDidLoad()

        tableView.registerNib(UINib(nibName: "CustomOneCell", bundle: nil), forCellReuseIdentifier: "CustomCellOne")
    }

    // MARK: - UITableViewDataSource
    override func tableView(tableView: UITableView!, numberOfRowsInSection section: Int) -> Int {
        return items.count
    }

    override func tableView(tableView: UITableView!, cellForRowAtIndexPath indexPath: NSIndexPath!) -> UITableViewCell! {

        let cell = tableView.dequeueReusableCellWithIdentifier("CustomCellOne", forIndexPath: indexPath) as CustomOneCell

        cell.middleLabel.text = items[indexPath.row]
        cell.leftLabel.text = items[indexPath.row]
        cell.rightLabel.text = items[indexPath.row]

        return cell
    }

}
这样就可以动态的装载自定义tableviewCell了。
[爱上Swift] day 6:在TableView中加载自定义TableViewCell
标签:style blog http io ar for 文件 div 2014
原文地址:http://www.cnblogs.com/xiguain/p/4000613.html