标签:code path 文件 javascrip add rip targe 地址 filter
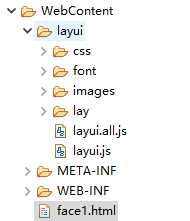
本示例使用的是eclipse,其他编辑器也一样。将资源放到相应目录即可。
使用的都是html/css/js等,所以后端使用什么语言都没有关系
在layui官网( http://www.layui.com)下载layui的包
解压,将layui的文件放到webcontent下
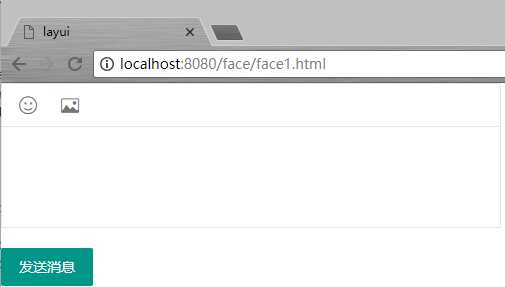
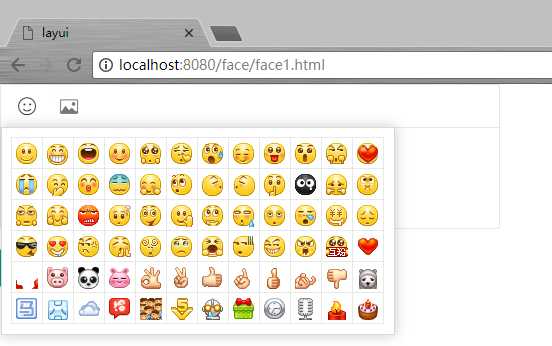
使用layui的富文本编辑器发送表情
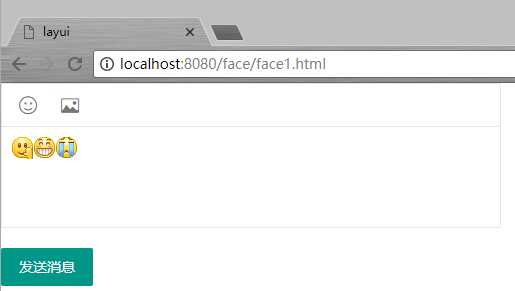
点击发送消息
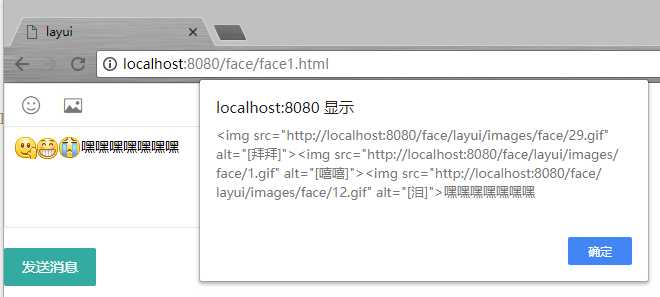
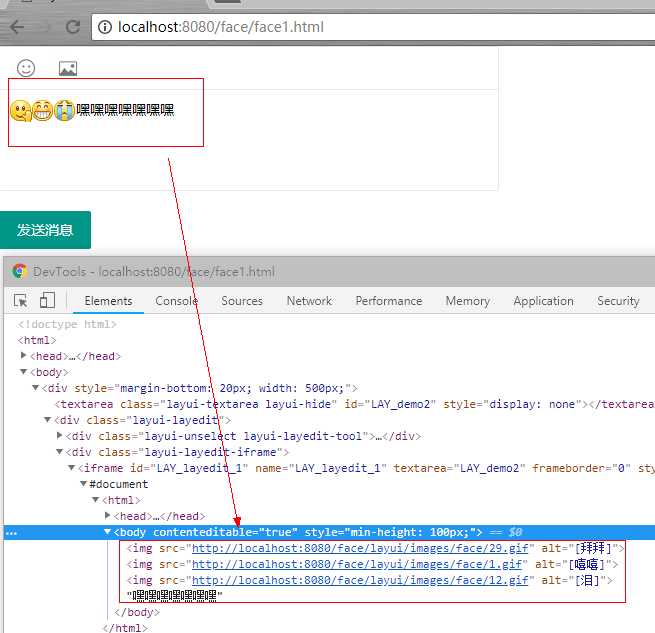
查看源码,表情的本质,只是插入图片而已。
代码示例
<!DOCTYPE html>
<html>
<head>
  <meta charset="utf-8">
  <title>layui</title>
  <meta name="renderer" content="webkit">
  <meta http-equiv="X-UA-Compatible" content="IE=edge,chrome=1">
  <meta name="viewport" content="width=device-width, initial-scale=1, maximum-scale=1">

  <link rel="stylesheet" href="layui/css/layui.css"  media="all">
  <!-- 注意:如果你直接复制所有代码到本地,上述css路径需要改成你本地的 -->
  <script src="layui/layui.js" charset="utf-8"></script>
    <!-- 注意:如果你直接复制所有代码到本地,上述js路径需要改成你本地的 -->
</head>
<body>

<div style="margin-bottom: 20px; width: 500px;">
  <textarea class="layui-textarea" id="LAY_demo2" style="display: none"></textarea>
</div>

<div class="site-demo-button" style="margin-top: 20px;">
  <button class="layui-btn site-demo-layedit" data-type="content">发送消息</button>
</div>

<script>
layui.use(‘layedit‘, function(){
  var layedit = layui.layedit
  ,$ = layui.jquery;

    //自定义工具栏
  var index = layedit.build(‘LAY_demo2‘, {
    tool: [‘face‘, ‘image‘]
    ,height: 100
  })
  //编辑器外部操作
  var active = {
    content: function(){
      alert(layedit.getContent(index)); //获取编辑器内容
    }
  };

  $(‘.site-demo-layedit‘).on(‘click‘, function(){
    var type = $(this).data(‘type‘);
    active[type] ? active[type].call(this) : ‘‘;//根据data-type="content" 触发对应事件
  });


});
</script>

</body>
</html>
layui富文本编辑器官方示例:http://www.layui.com/demo/layedit.html
layui富文本编辑器的API:http://www.layui.com/doc/modules/layedit.html
插件下载地址:http://www.jq22.com/jquery-info365
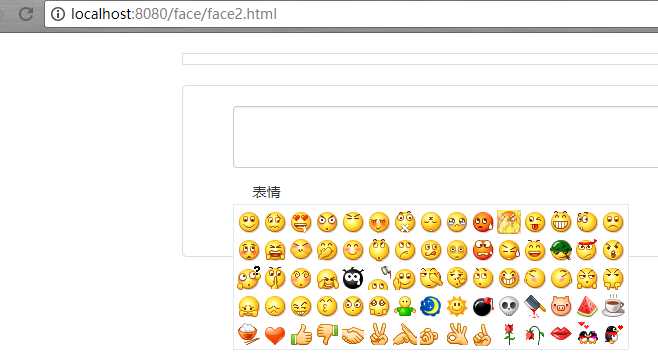
点击表情
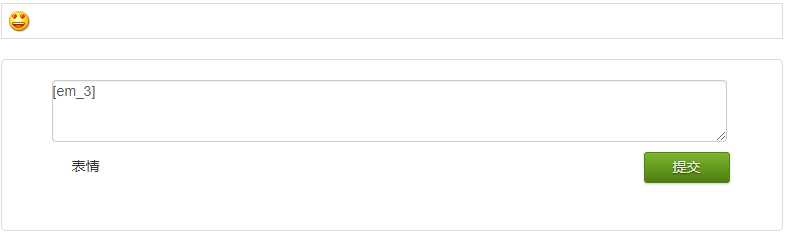
点击发送
示例代码
<!doctype html> <html lang="en"> <head> <meta charset="UTF-8"> <meta http-equiv="X-UA-Compatible" content="IE=edge,chrome=1"> <meta name="author" content="jQuery插件库(www.jq22.com)"> <meta name="weburl" content="http://www.jq22.com/"> <title>基于jQuery开发的全能表单验证插件</title> <link href="qqFace/css/bootstrap.min.css" rel="stylesheet" media="screen"> <link rel="stylesheet" href="qqFace/css/reset.css"> <style> .comment { width: 680px; margin: 20px auto; position: relative; background: #fff; padding: 20px 50px 50px; border: 1px solid #DDD; border-radius: 5px; } .comment h3 { height: 28px; line-height: 28px } .com_form { width: 100%; position: relative } .input { width: 99%; height: 60px; border: 1px solid #ccc } .com_form p { height: 28px; line-height: 28px; position: relative; margin-top: 10px; } span.emotion { width: 42px; height: 20px; padding-left: 20px; cursor: pointer } span.emotion:hover { background-position: 2px -28px } .qqFace { margin-top: 4px; background: #fff; padding: 2px; border: 1px #dfe6f6 solid; } .qqFace table td { padding: 0px; } .qqFace table td img { cursor: pointer; border: 1px #fff solid; } .qqFace table td img:hover { border: 1px #0066cc solid; } #show { width: 770px; margin: 20px auto; background: #fff; padding: 5px; border: 1px solid #DDD; vertical-align: top; } .sub_btn { position: absolute; right: 0px; top: 0; display: inline-block; zoom: 1; /* zoom and *display = ie7 hack for display:inline-block */ *display: inline; vertical-align: baseline; margin: 0 2px; outline: none; cursor: pointer; text-align: center; font: 14px/100% Arial, Helvetica, sans-serif; padding: .5em 2em .55em; text-shadow: 0 1px 1px rgba(0,0,0,.6); -webkit-border-radius: 3px; -moz-border-radius: 3px; border-radius: 3px; -webkit-box-shadow: 0 1px 2px rgba(0,0,0,.2); -moz-box-shadow: 0 1px 2px rgba(0,0,0,.2); box-shadow: 0 1px 2px rgba(0,0,0,.2); color: #e8f0de; border: solid 1px #538312; background: #64991e; background: -webkit-gradient(linear, left top, left bottom, from(#7db72f), to(#4e7d0e)); background: -moz-linear-gradient(top, #7db72f, #4e7d0e); filter: progid:DXImageTransform.Microsoft.gradient(startColorstr=‘#7db72f‘, endColorstr=‘#4e7d0e‘); } .sub_btn:hover { background: #538018; background: -webkit-gradient(linear, left top, left bottom, from(#6b9d28), to(#436b0c)); background: -moz-linear-gradient(top, #6b9d28, #436b0c); filter: progid:DXImageTransform.Microsoft.gradient(startColorstr=‘#6b9d28‘, endColorstr=‘#436b0c‘); } </style> </head> <body> <div id="show"></div> <div class="comment"> <div class="com_form"> <textarea class="input" id="saytext" name="saytext"></textarea> <p> <input type="button" class="sub_btn" value="提交"> <span class="emotion">表情</span></p> </div> </div> </body> <script src="qqFace/js/jquery.min.js"></script> <script type="text/javascript" src="qqFace/js/jquery.qqFace.js"></script> <script type="text/javascript"> $(function(){ $(‘.emotion‘).qqFace({ id : ‘facebox‘, assign:‘saytext‘, path:‘qqFace/arclist/‘ //表情存放的路径 }); $(".sub_btn").click(function(){ var str = $("#saytext").val(); $("#show").html(replace_em(str)); }); }); //查看结果 function replace_em(str){ str = str.replace(/\</g,‘<‘); str = str.replace(/\>/g,‘>‘); str = str.replace(/\n/g,‘<br/>‘); str = str.replace(/\[em_([0-9]*)\]/g,‘<img src="qqFace/arclist/$1.gif" border="0" />‘); //填写gif的路径 return str; } </script> </html>
https://github.com/ggb2312/webchat-face
标签:code path 文件 javascrip add rip targe 地址 filter
原文地址:https://www.cnblogs.com/gj-blog/p/9413293.html