MQ消息队列的简称是一种应用程序对应用程序的通信方法。说白了也就是通过队列的方式来对应用程序进行数据通信。而无需专用链接来链接它们。
MQ的通讯方式
1.数据报的方式 Datagram (Send and forget)
应用程序在创建完消息后。利用MQ的API将消息发送到队列中。它充分利用了MQ(once and once only )
2.请求和应答方式 Request/Reply
发送消息之后需等待对方处理结果。 需考虑如下问题:
a.等待应答的时间是多少?
b.如果没有应答怎么办。
c.本次session是否需要保留?
MQ的开发流程
1.让应用程序与队列管理器链接,通过MQconnect调用来进行此链接。
2.使用MQOpen调用为输出打开一个队列
3.应用程序使用MQPut调用将其数据放到队列上。
4.调用MQOpen调用打开输入队列
5.使用MQGet从队列上接收数据
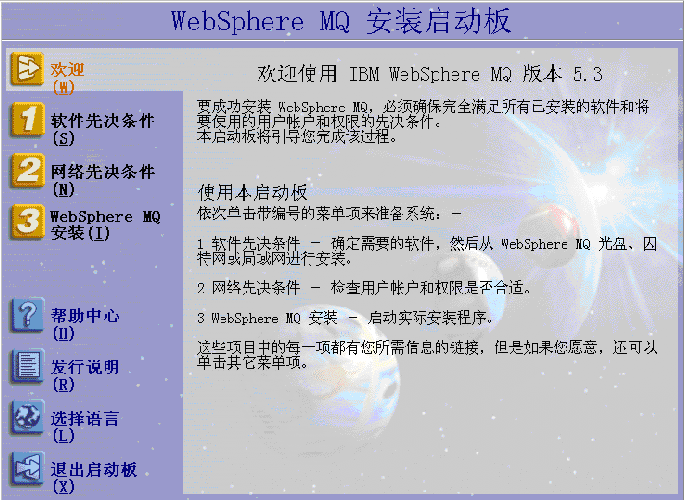
安装步骤。(此处为转载文章,作者已经证实所有步骤。)
服务端的安装:
Windows版服务器CD-ROM插入CD-ROM驱动器。
安装启动板"窗口为止。
- WebSphere MQ CD
- 因特网
- 网络
注意:对于定制安装,可能不需要所有的必备软件。
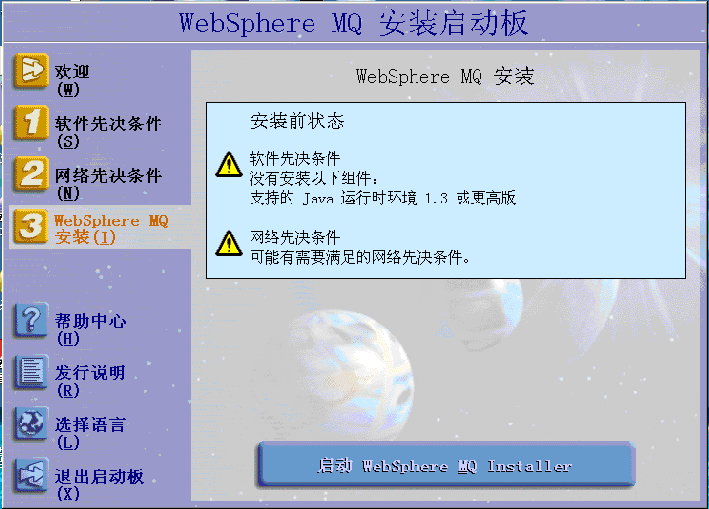
MQ"安装选项
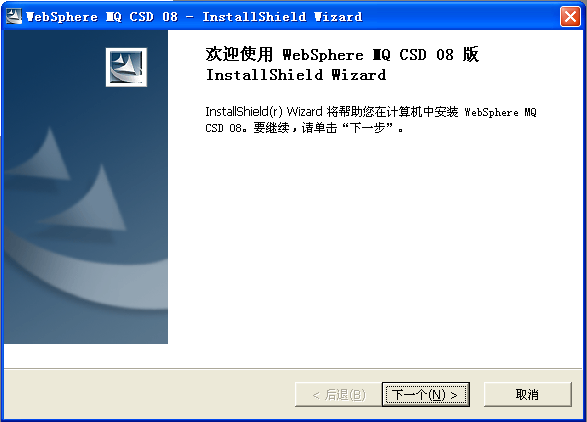
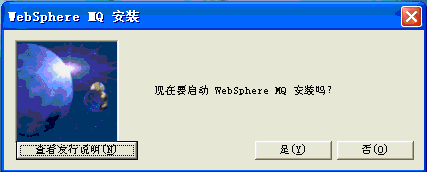
(9)选择启动WebSphere
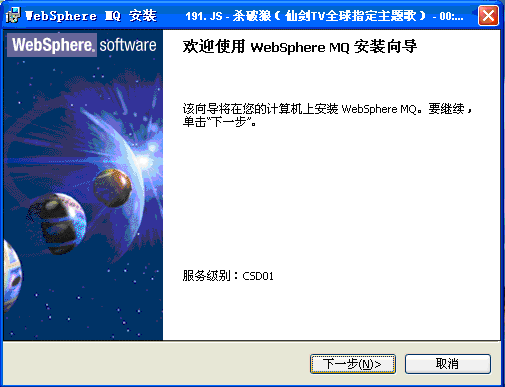
MQ安装程序,然后等待,直到显示了带有欢迎信息的"WebSphere MQ安装"窗口为止。
(10)单击"下一步"按钮继续。
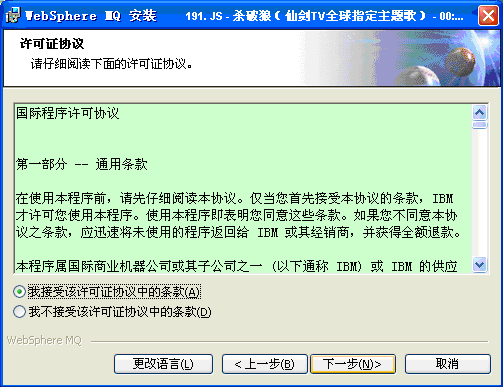
(11)阅读面板上的信息和许可证条款,选择接受,然后单击"下一步"。
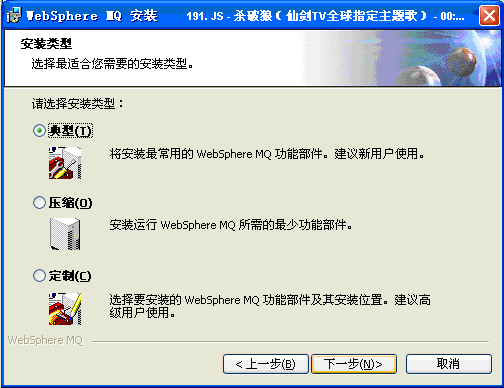
(12)如果机器上未安装过此产品的前一个版本,则显示"安装类型"面板。选择希望的安装类型(一般选择"典型"安装即可),然后单击"下一步"按钮。
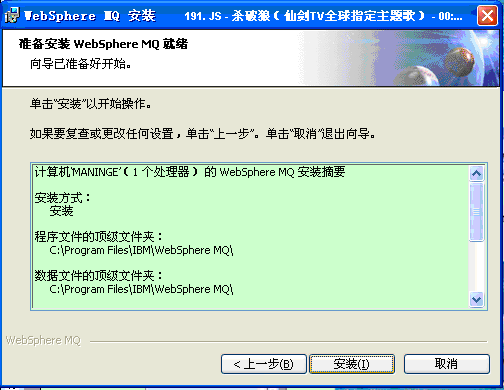
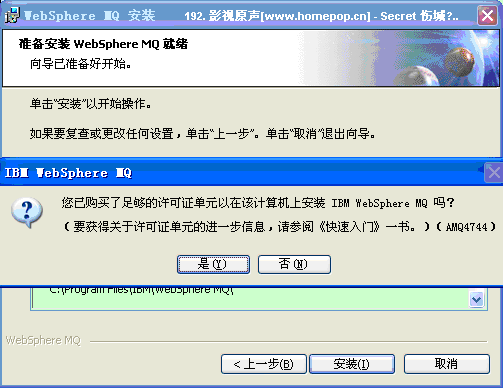
(13)"WebSphere
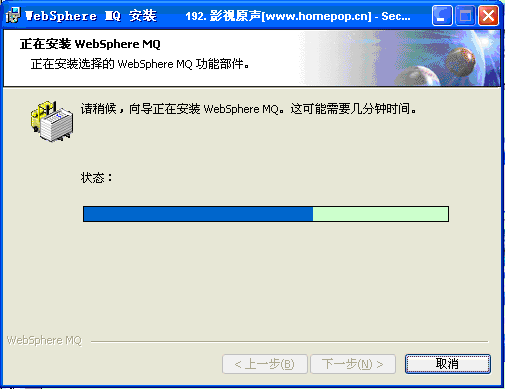
MQ安装"窗口显示"安装WebSphere MQ就绪"信息。该窗口还显示用户选中的安装摘要,单击"安装"开始正式安装。
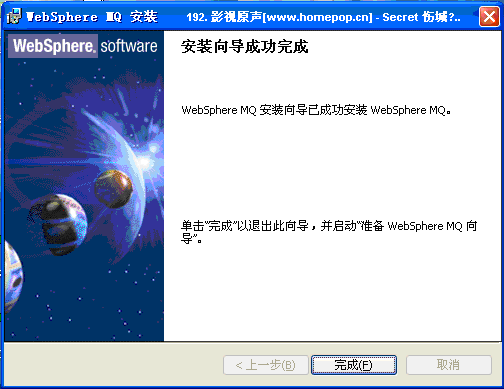
MQ后,"WebSphere MQ安装"窗口显示以下信息:安装向导成功完成。
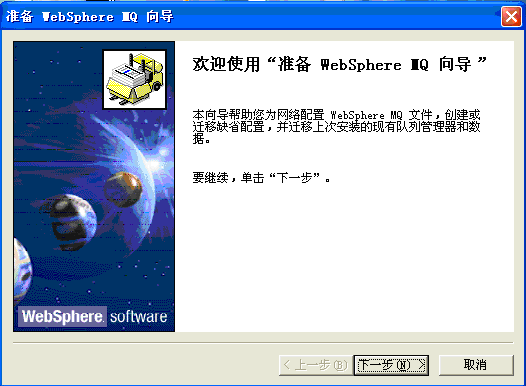
MQ"向导。
 安装图示
安装图示


且包含JAVA实现的客户端程序。由此构成一个完整的客户端-服务器的流程。
服务端配置
WebSphere MQ"->"WebSphere MQ 资源管理器",进入WebSphere MQ
资源管理器界面。如下图所示:
图9 服务端配置
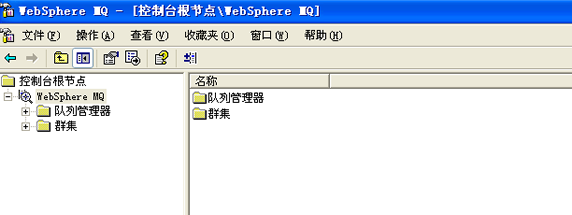
图10 创建名为"QM_JACK"的队列管理器
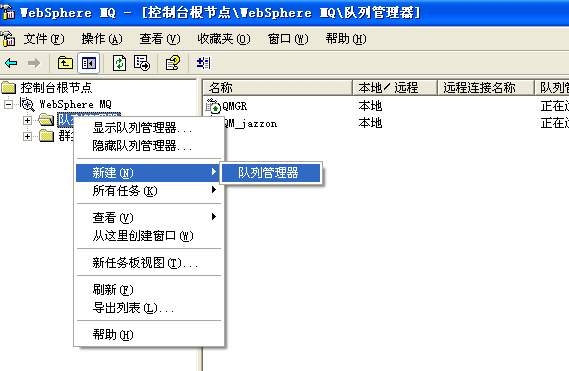
图11 在队列管理中输入"QM_JACK"
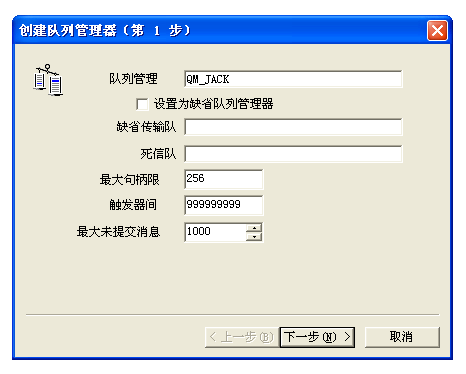
图12 设置队列日志
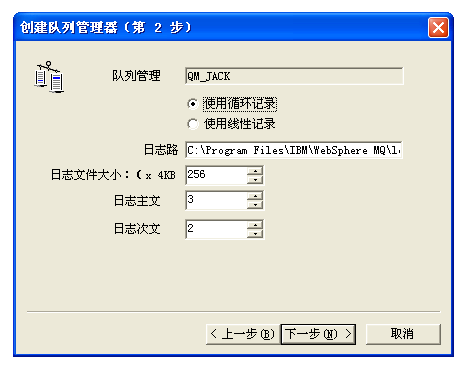
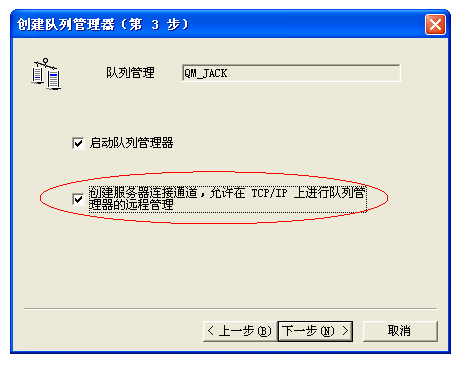
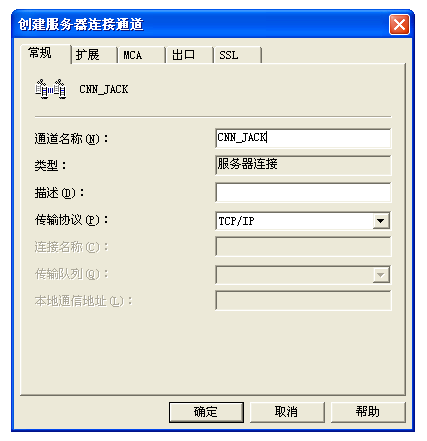
图13 创建服务器连接通道
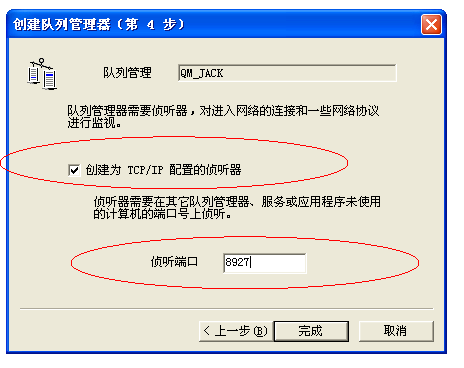
图
14 设置队列管理器QM_JACK的侦听端口
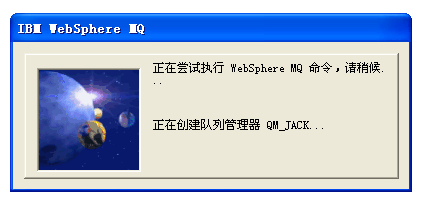
图
15 系统等待界面
图
16 系统队列管理器QM_JACK创建成功
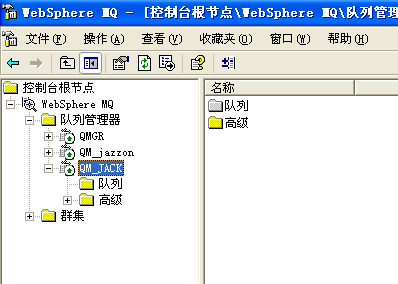
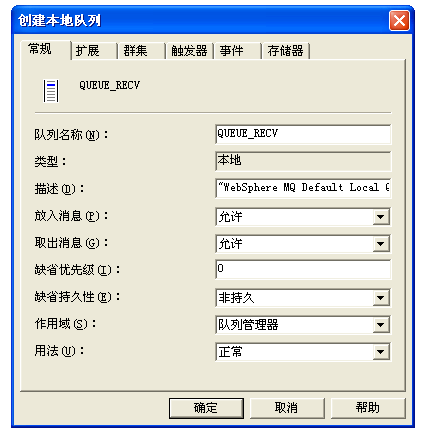
图17 定义本地队列 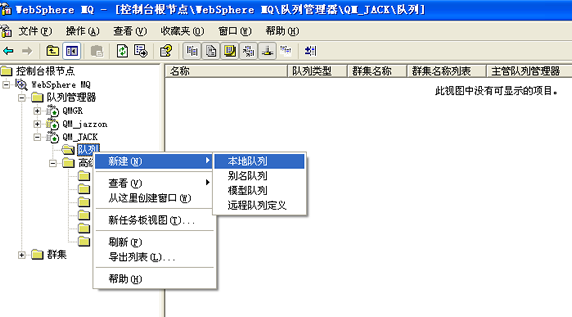 图18 定义本地队列
 图
19
图
19 创建服务器连接通道
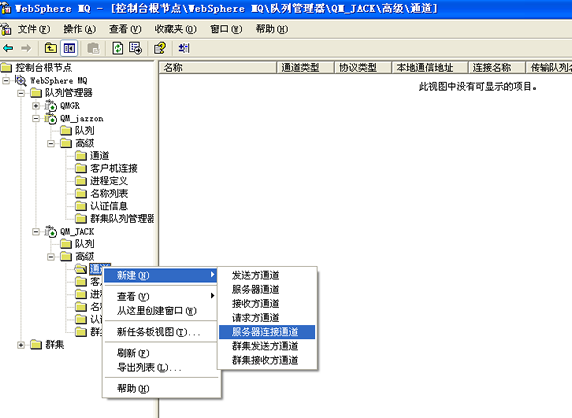 图20 创建服务器连接通道
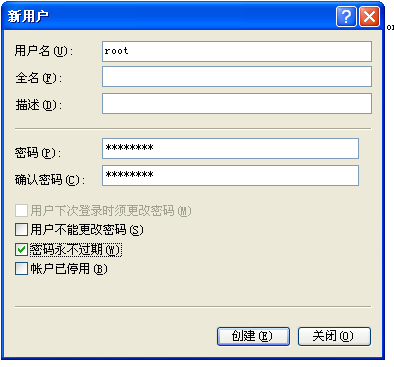
Linux下的root用户使用,那么,我们就需要在MQ的服务端(也就是Windows
xp系统中添加名为"root"的用户)所在的计算机系统中添加名为"root"的用户。具体步骤如下:
图21 创建系统用户
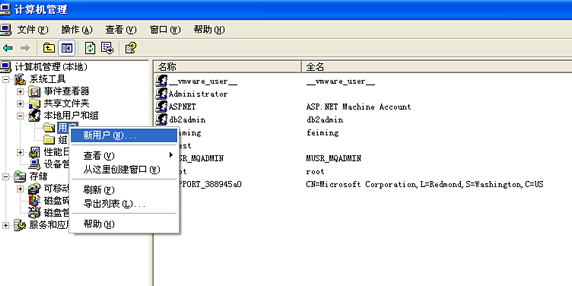
图22 创建系统用户
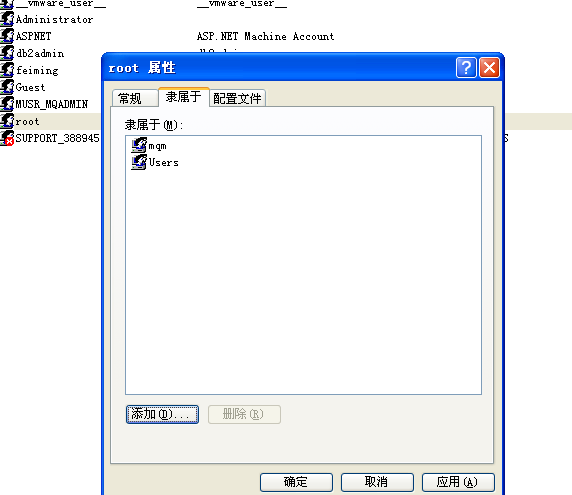
Server后系统自动创建的)。具体操作如下:
图23 设置系统用户所在组
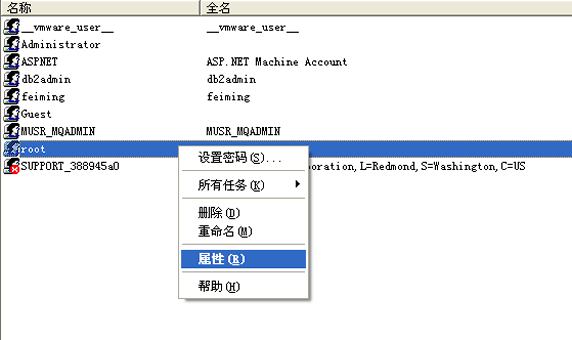 图24 设置系统用户所在组
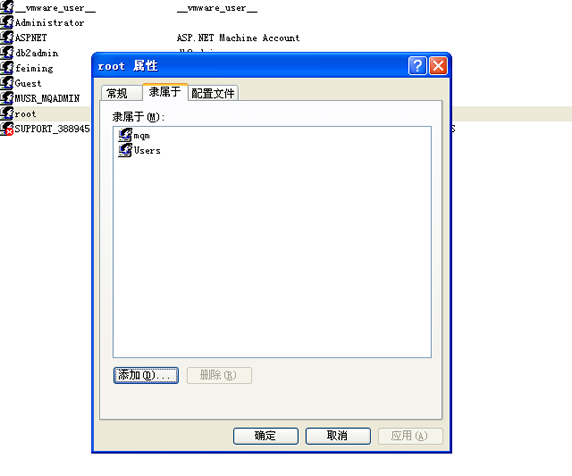
图25
设置系统用户所在组
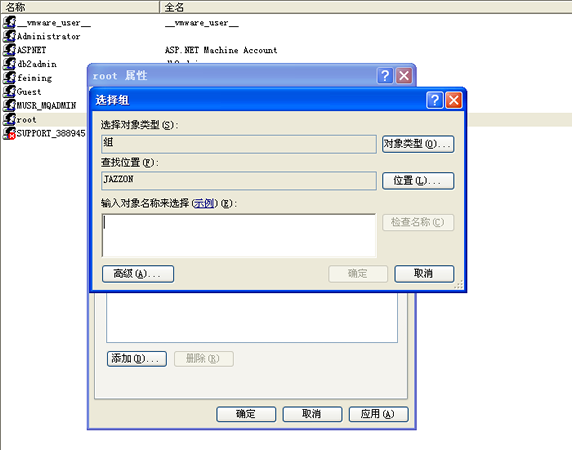
图26 设置系统用户所在组
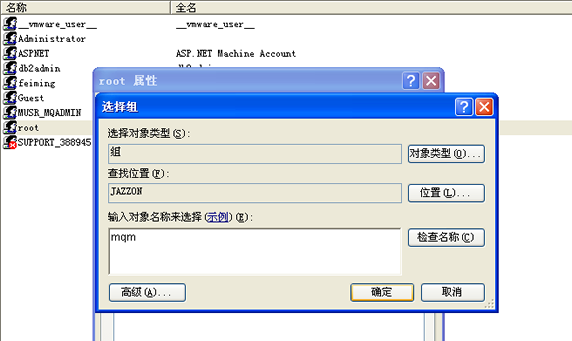
图27 设置系统用户所在组

import java.io.File;
import java.io.FileInputStream;
import java.io.InputStream;
import java.util.Properties;
import org.apache.commons.logging.Log;
import org.apache.commons.logging.LogFactory;
import com.ibm.mq.MQC;
import com.ibm.mq.MQEnvironment;
import com.ibm.mq.MQException;
import com.ibm.mq.MQGetMessageOptions;
import com.ibm.mq.MQMessage;
import com.ibm.mq.MQQueue;
import com.ibm.mq.MQQueueManager;

/**
 * 函数功能: MQjava客户端实现
 */

public class MQClient {

    /**
     * Logger for this class
     */
    private static final Log logger = LogFactory.getLog(MQClient.class);
    private String strExtraSendXmlFileName = "D:\\jndi.properties";
    private static Properties props;

    static {
    props = new Properties();
    props.put("mqHostName", "139.31.89.67");
    props.put("mqPort", "4032");
    props.put("mqCCSID", "1381");
    props.put("mqUserName", "liujx");
    props.put("mqPassword", "linux");
    props.put("mqQManager", "Monitor_Queue_Manager");
    props.put("mqChannel", "Monitor_Conn_Chanel");
    props.put("mqLocalOutQueue", "Q_RECEIVE");
    props.put("mqLocalInQueue", "Q_RECEIVE");

    }

    /**
     *
     * 函数功能:TODO 主测试方法 <br>
     * 相关参数: <br>
     *
     * @param args
     *            修改记录: <br>
     */

    public static void main(String[] args) {

    MQClient test = new MQClient();
    // 发送消息
    test.putMsg();
    // 接收消息
    test.getMsg();
    }

    public void putMsg() {
    // MQ发送数据
    try {
        // 建立MQ客户端应用上下文环境
        MQEnvironment.hostname = props.getProperty("mqHostName");
        MQEnvironment.port = Integer.parseInt(props.getProperty("mqPort"));
        MQEnvironment.CCSID = Integer
            .parseInt(props.getProperty("mqCCSID"));
        MQEnvironment.channel = props.getProperty("mqChannel");
        MQEnvironment.userID = props.getProperty("mqUserName");
        MQEnvironment.password = props.getProperty("mqPassword");
        // 连接队列管理器
        MQQueueManager qMgr = new MQQueueManager(
            props.getProperty("mqQManager"));
        int openOptions = MQC.MQOO_OUTPUT | MQC.MQOO_FAIL_IF_QUIESCING;
        // 打开队列
        MQQueue q = null;
        try {
        q = qMgr.accessQueue(props.getProperty("mqLocalOutQueue"),
            openOptions);
        } catch (MQException me) {
        System.out.println("打开队列出现通讯异常" + me.getMessage() + "\n");
        return;
        }
        InputStream fins = new FileInputStream(new File(
            strExtraSendXmlFileName));
        byte[] data = new byte[fins.available()];
        fins.read(data);
        fins.close();
        MQMessage msg = new MQMessage();
        msg.write(data);
        // 放入消息
        q.put(msg);
        System.out.println("客户端发送数据包成功..");
        // 关闭队列
        q.close();
        // 断开队列管理器连接
        qMgr.disconnect();
    } catch (MQException e) {
        if (logger.isDebugEnabled())
        logger.debug(e.getMessage());
        e.printStackTrace();
    } catch (Exception e) {
        if (logger.isDebugEnabled())
        logger.debug(e.getMessage());
        e.printStackTrace();
    }
    }

    /**
     *
     * 函数功能:TODO 获取数据 <br>
     * 修改记录: <br>
     */
    public void getMsg() {
    // MQ接收数据
    try {
        // 建立用上下文环境
        MQEnvironment.hostname = props.getProperty("mqHostName");
        MQEnvironment.port = Integer.parseInt(props.getProperty("mqPort"));
        MQEnvironment.CCSID = Integer
            .parseInt(props.getProperty("mqCCSID"));
        MQEnvironment.channel = props.getProperty("mqChannel");
        MQEnvironment.userID = props.getProperty("mqUserName");
        MQEnvironment.password = props.getProperty("mqPassword");
        // 建立队列管理器
        MQQueueManager qMgr = new MQQueueManager(
            props.getProperty("mqQManager"));
        int openOptions = MQC.MQOO_INPUT_AS_Q_DEF
            | MQC.MQOO_FAIL_IF_QUIESCING;
        // 打开队列
        MQQueue q = qMgr.accessQueue(props.getProperty("mqLocalInQueue"),
            openOptions);
        MQGetMessageOptions mgo = new MQGetMessageOptions();
        mgo.options |= MQC.MQGMO_NO_WAIT;
        // 构造返回消息
        MQMessage msg = new MQMessage();
        if ((msg = fetchOneMsg(q)) != null) {
        byte[] xmlData = new byte[msg.getDataLength()];
        msg.readFully(xmlData);
        logger.info(new String(xmlData));
        System.out.println("接收服务器端返回数据包成功..\n接收数据为:\n"
            + new String(xmlData));
        }
        // 关闭队列
        q.close();
        // 断开队列管理器
        qMgr.disconnect();
    } catch (MQException e) {
        logger.error(e);
        e.printStackTrace();
    } catch (Exception e) {
        logger.error(e);
        e.printStackTrace();
    }
    }

    /**
     *
     * 函数功能:TODO 从队列中取出消息 <br>
     * 相关参数: <br>
     *
     * @param q
     * @return
     * @throws Exception
     *             修改记录: <br>
     */
    private static MQMessage fetchOneMsg(MQQueue q) throws Exception {
    MQGetMessageOptions mgo = new MQGetMessageOptions();
    mgo.options |= MQC.MQGMO_NO_WAIT;
    MQMessage msg = new MQMessage();
    try {
        // 获取消息
        q.get(msg, mgo);
    } catch (MQException e) {
        return null;
    }
    return msg;
    }
}