标签:modify sample 像素 ima 快速 add ogre 快速入门 ttf
这里我们来看一下cocos自动给我们生成的工程里有些什么东西,并且分析一下这些代码的用途,来为我们以后编写cocos程序铺下基础。
这里我建议看我这份随笔的看官先看看cocos官网的快速入门手册,不然可能会比较迷糊(因为待会要分析一些代码,如果以前没见过的话会比较昏)。传送门在这里
其中一些基本不需要程序员干涉的代码我可能会不予分析。你也可以查看官方API手册。传送门在这里
下面的代码分析,如果是非常有用的东西我会在分析中用蓝色标出。
首先我们进入相关的系统(你的如果是mac就打开proj.ios_mac文件夹下的工程,是windows就打开proj.win32文件夹下的工程,以此类推)的工程。我这里是mac,运行一下cocos给我们生成的代码,结果如下:
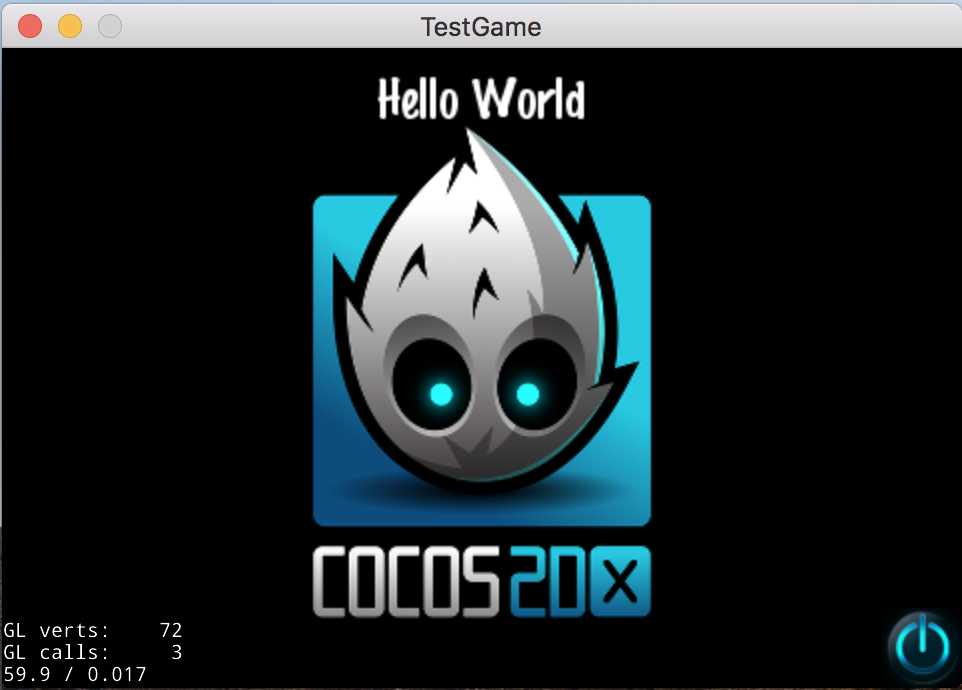
既然是自己的demo嘛,当然要给自己打个广告啦(那个居中的图标显然是cocos的logo)
这个界面里面有一些我们可以直接看出来的东西:
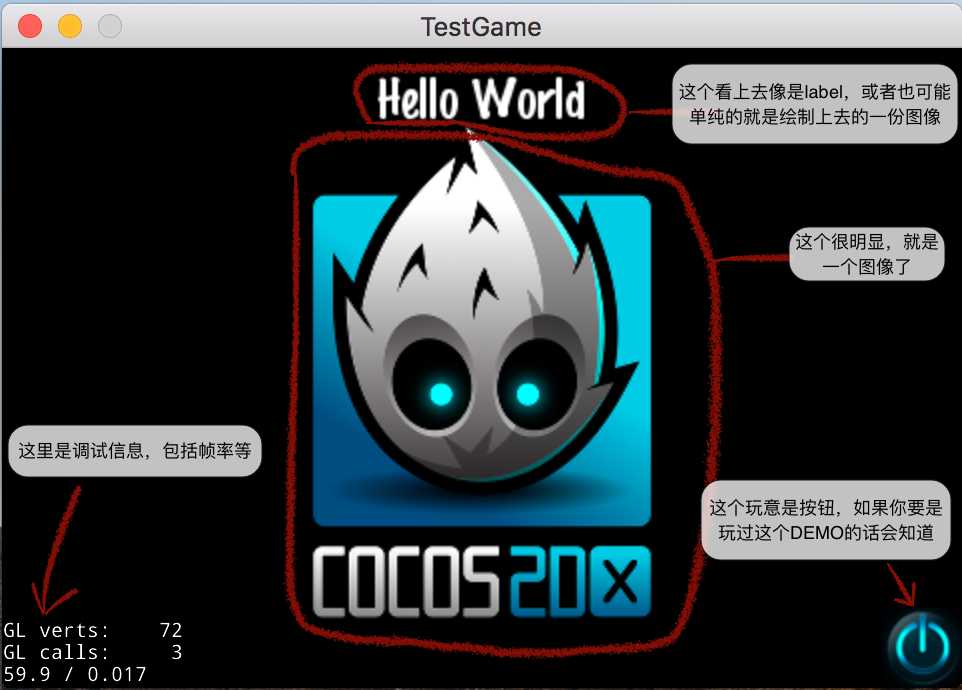
这里所有的元素都是我根据以往用过的引擎猜测的,实际上我们还是要看一下代码。不过我们目前知道大概有这么些东西了,待会可以针对着看一下。
然后我们可以看看这些资源在哪里,我通过XCODE可以直接看到:
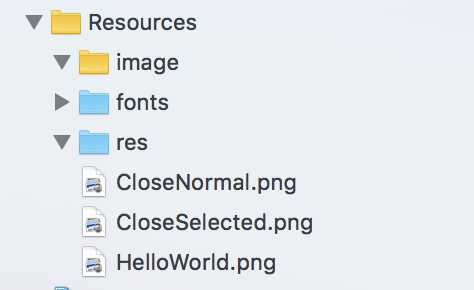
这里logo是HelloWorld.png,右下角的开关机图标是CloseNormal.png,而那个CloseSelected.png是按下按钮的图片。
分析AppDelegate
好的,到我们的分析阶段了。AppDelegate分为头文件和实现文件。我们当然是先看头文件啦。这个文件在Classes文件夹下。
 1 #ifndef  _APP_DELEGATE_H_
 2 #define  _APP_DELEGATE_H_
 3
 4 #include "cocos2d.h"
 5
 6 /**
 7 @brief    The cocos2d Application.
 8
 9 Private inheritance here hides part of interface from Director.
10 */
11 class  AppDelegate : private cocos2d::Application
12 {
13 public:
14     AppDelegate();  //构造函数
15     virtual ~AppDelegate();  //析构函数
16
17     virtual void initGLContextAttrs();  //这个暂时不知道是干什么的
18
19     /**
20     @brief    Implement Director and Scene init code here.
21     @return true    Initialize success, app continue.
22     @return false   Initialize failed, app terminate.
23     */
24     virtual bool applicationDidFinishLaunching();
25
26     /**
27     @brief  Called when the application moves to the background
28     @param  the pointer of the application
29     */
30     virtual void applicationDidEnterBackground();
31
32     /**
33     @brief  Called when the application reenters the foreground
34     @param  the pointer of the application
35     */
36     virtual void applicationWillEnterForeground();
37 };
38
39 #endif // _APP_DELEGATE_H_
第4行包含了cocos2d的头文件。
第11行定义了AppDelegate类,继承自cocos2d的Application类。
这里堆AppDelegate类的几个虚函数在注释上都有一定的说明了:
第24行的applicationDidFinishLaunching()是在程序初始化的时候自动调用的函数。在这里面我们可以初始化导演(Director)和场景(Scence)。如果程序初始化成果会返回True,否则返回False。
第30行的applicationDidEnterBackground()是在程序失去焦点的时候调用。这里面一般是加入用来停止程序的代码。
第36行的applicationWillEnterForeground()是在程序获得焦点的时候调用,可以在里面加入继续游戏的代码。
接下来看看实现文件:
  1 #include "AppDelegate.h"
  2 #include "HelloWorldScene.h"
  3
  4 // #define USE_AUDIO_ENGINE 1
  5 // #define USE_SIMPLE_AUDIO_ENGINE 1
  6
  7 #if USE_AUDIO_ENGINE && USE_SIMPLE_AUDIO_ENGINE
  8 #error "Don‘t use AudioEngine and SimpleAudioEngine at the same time. Please just select one in your game!"
  9 #endif
 10
 11 #if USE_AUDIO_ENGINE
 12 #include "audio/include/AudioEngine.h"
 13 using namespace cocos2d::experimental;
 14 #elif USE_SIMPLE_AUDIO_ENGINE
 15 #include "audio/include/SimpleAudioEngine.h"
 16 using namespace CocosDenshion;
 17 #endif
 18
 19 USING_NS_CC;
 20
 21 static cocos2d::Size designResolutionSize = cocos2d::Size(480, 320);
 22 static cocos2d::Size smallResolutionSize = cocos2d::Size(480, 320);
 23 static cocos2d::Size mediumResolutionSize = cocos2d::Size(1024, 768);
 24 static cocos2d::Size largeResolutionSize = cocos2d::Size(2048, 1536);
 25
 26 AppDelegate::AppDelegate()
 27 {
 28 }
 29
 30 AppDelegate::~AppDelegate()
 31 {
 32 #if USE_AUDIO_ENGINE
 33     AudioEngine::end();
 34 #elif USE_SIMPLE_AUDIO_ENGINE
 35     SimpleAudioEngine::end();
 36 #endif
 37 }
 38
 39 // if you want a different context, modify the value of glContextAttrs
 40 // it will affect all platforms
 41 void AppDelegate::initGLContextAttrs()    //这个真心没看懂是个啥
 42 {
 43     // set OpenGL context attributes: red,green,blue,alpha,depth,stencil,multisamplesCount
 44     GLContextAttrs glContextAttrs = {8, 8, 8, 8, 24, 8, 0};
 45
 46     GLView::setGLContextAttrs(glContextAttrs);
 47 }
 48
 49 // if you want to use the package manager to install more packages,
 50 // don‘t modify or remove this function
 51 static int register_all_packages()
 52 {
 53     return 0; //flag for packages manager
 54 }
 55
 56 bool AppDelegate::applicationDidFinishLaunching() {
 57     // initialize director
 58     auto director = Director::getInstance();
 59     auto glview = director->getOpenGLView();
 60     if(!glview) {
 61 #if (CC_TARGET_PLATFORM == CC_PLATFORM_WIN32) || (CC_TARGET_PLATFORM == CC_PLATFORM_MAC) || (CC_TARGET_PLATFORM == CC_PLATFORM_LINUX)
 62         glview = GLViewImpl::createWithRect("TestGame", cocos2d::Rect(0, 0, designResolutionSize.width, designResolutionSize.height));
 63 #else
 64         glview = GLViewImpl::create("TestGame");
 65 #endif
 66         director->setOpenGLView(glview);
 67     }
 68
 69     // turn on display FPS
 70     director->setDisplayStats(true);
 71
 72     // set FPS. the default value is 1.0/60 if you don‘t call this
 73     director->setAnimationInterval(1.0f / 60);
 74
 75     // Set the design resolution
 76     glview->setDesignResolutionSize(designResolutionSize.width, designResolutionSize.height, ResolutionPolicy::NO_BORDER);  //不知道是干啥的
 77     auto frameSize = glview->getFrameSize();
 78     // if the frame‘s height is larger than the height of medium size.
 79     if (frameSize.height > mediumResolutionSize.height)
 80     {
 81         director->setContentScaleFactor(MIN(largeResolutionSize.height/designResolutionSize.height, largeResolutionSize.width/designResolutionSize.width));
 82     }
 83     // if the frame‘s height is larger than the height of small size.
 84     else if (frameSize.height > smallResolutionSize.height)
 85     {
 86         director->setContentScaleFactor(MIN(mediumResolutionSize.height/designResolutionSize.height, mediumResolutionSize.width/designResolutionSize.width));
 87     }
 88     // if the frame‘s height is smaller than the height of medium size.
 89     else
 90     {
 91         director->setContentScaleFactor(MIN(smallResolutionSize.height/designResolutionSize.height, smallResolutionSize.width/designResolutionSize.width));
 92     }
 93
 94     register_all_packages();
 95
 96     // create a scene. it‘s an autorelease object
 97     auto scene = HelloWorld::createScene();
 98
 99     // run
100     director->runWithScene(scene);
101
102     return true;
103 }
104
105 // This function will be called when the app is inactive. Note, when receiving a phone call it is invoked.
106 void AppDelegate::applicationDidEnterBackground() {
107     Director::getInstance()->stopAnimation();
108
109 #if USE_AUDIO_ENGINE
110     AudioEngine::pauseAll();
111 #elif USE_SIMPLE_AUDIO_ENGINE
112     SimpleAudioEngine::getInstance()->pauseBackgroundMusic();
113     SimpleAudioEngine::getInstance()->pauseAllEffects();
114 #endif
115 }
116
117 // this function will be called when the app is active again
118 void AppDelegate::applicationWillEnterForeground() {
119     Director::getInstance()->startAnimation();
120
121 #if USE_AUDIO_ENGINE
122     AudioEngine::resumeAll();
123 #elif USE_SIMPLE_AUDIO_ENGINE
124     SimpleAudioEngine::getInstance()->resumeBackgroundMusic();
125     SimpleAudioEngine::getInstance()->resumeAllEffects();
126 #endif
127 }
第18行以上的乱七八糟的东西我们就先不看了,无非就是包含头文件啊,使用命名空间什么的。这些暂时不管。
第19行是一个宏,可以进入到里面看看(这个宏后面用到的还比较多):
#define USING_NS_CC using namespace cocos2d
可以看到就是使用cocos2d的命名空间。
那么我们可以想,我是不是更改一下这些玩意就可以改变窗口大小了呢?嗯……可以尝试一下,就先从designResolutionSize下手吧。
我这里将designResolutionSize参数改成1024,480,果然窗口的大小改变了:
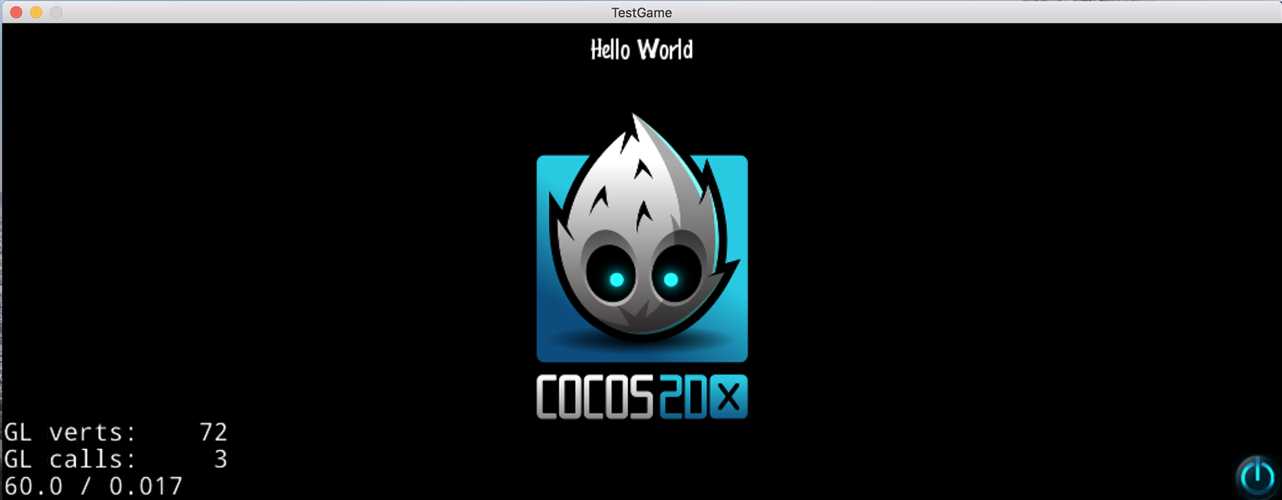
不过改变了其他三个尺寸之后窗口没什么变化。暂时先不管吧,反正现在知道designResolutionSize变量存储的是当前窗口的大小就行了
这里关于APPDelegate文件就分析完了。我们看出来好像这个文件里面没有什么和我们一开始看到的界面元素有关系。好像都是一些对游戏初始化的工作。所以以后我们不会大幅度更改这里面的代码。
分析HelloWorldScene文件
那么首先还是来看看其头文件:
 1 #ifndef __HELLOWORLD_SCENE_H__
 2 #define __HELLOWORLD_SCENE_H__
 3
 4 #include "cocos2d.h"
 5
 6 class HelloWorld : public cocos2d::Scene
 7 {
 8 public:
 9     static cocos2d::Scene* createScene();
10
11     virtual bool init();
12
13     // a selector callback
14     void menuCloseCallback(cocos2d::Ref* pSender);
15
16     // implement the "static create()" method manually
17     CREATE_FUNC(HelloWorld);
18 };
19
20 #endif // __HELLOWORLD_SCENE_H__
这个头文件挺简单的,定义了一个HelloWorld类继承自cocos2d::Scene。
#define CREATE_FUNC(__TYPE__) static __TYPE__* create() { __TYPE__ *pRet = new(std::nothrow) __TYPE__(); if (pRet && pRet->init()) { pRet->autorelease(); return pRet; } else { delete pRet; pRet = nullptr; return nullptr; } }
显然,这个宏其实是定义了一个static __TYPE__* create()函数。
接下来看看实现文件:
  1 #include "HelloWorldScene.h"
  2 #include "SimpleAudioEngine.h"
  3
  4 USING_NS_CC;
  5
  6 Scene* HelloWorld::createScene()
  7 {
  8     return HelloWorld::create();
  9 }
 10
 11 // Print useful error message instead of segfaulting when files are not there.
 12 static void problemLoading(const char* filename)
 13 {
 14     printf("Error while loading: %s\n", filename);
 15     printf("Depending on how you compiled you might have to add ‘Resources/‘ in front of filenames in HelloWorldScene.cpp\n");
 16 }
 17
 18 // on "init" you need to initialize your instance
 19 bool HelloWorld::init()
 20 {
 21     //////////////////////////////
 22     // 1. super init first
 23     if ( !Scene::init() )
 24     {
 25         return false;
 26     }
 27
 28     auto visibleSize = Director::getInstance()->getVisibleSize();
 29     Vec2 origin = Director::getInstance()->getVisibleOrigin();
 30
 31     /////////////////////////////
 32     // 2. add a menu item with "X" image, which is clicked to quit the program
 33     //    you may modify it.
 34
 35     // add a "close" icon to exit the progress. it‘s an autorelease object
 36     auto closeItem = MenuItemImage::create(
 37                                            "CloseNormal.png",
 38                                            "CloseSelected.png",
 39                                            CC_CALLBACK_1(HelloWorld::menuCloseCallback, this));
 40
 41     if (closeItem == nullptr ||
 42         closeItem->getContentSize().width <= 0 ||
 43         closeItem->getContentSize().height <= 0)
 44     {
 45         problemLoading("‘CloseNormal.png‘ and ‘CloseSelected.png‘");
 46     }
 47     else
 48     {
 49         float x = origin.x + visibleSize.width - closeItem->getContentSize().width/2;
 50         float y = origin.y + closeItem->getContentSize().height/2;
 51         closeItem->setPosition(Vec2(x,y));
 52     }
 53
 54     // create menu, it‘s an autorelease object
 55     auto menu = Menu::create(closeItem, NULL);
 56     menu->setPosition(Vec2::ZERO);
 57     this->addChild(menu, 1);
 58
 59     /////////////////////////////
 60     // 3. add your codes below...
 61
 62     // add a label shows "Hello World"
 63     // create and initialize a label
 64
 65     auto label = Label::createWithTTF("Hello World", "fonts/Marker Felt.ttf", 24);
 66     if (label == nullptr)
 67     {
 68         problemLoading("‘fonts/Marker Felt.ttf‘");
 69     }
 70     else
 71     {
 72         // position the label on the center of the screen
 73         label->setPosition(Vec2(origin.x + visibleSize.width/2,
 74                                 origin.y + visibleSize.height - label->getContentSize().height));
 75
 76         // add the label as a child to this layer
 77         this->addChild(label, 1);
 78     }
 79
 80     // add "HelloWorld" splash screen"
 81     auto sprite = Sprite::create("HelloWorld.png");
 82     if (sprite == nullptr)
 83     {
 84         problemLoading("‘land.png‘");
 85     }
 86     else
 87     {
 88         // position the sprite on the center of the screen
 89         sprite->setPosition(Vec2(visibleSize.width/2 + origin.x, visibleSize.height/2 + origin.y));
 90
 91         // add the sprite as a child to this layer
 92         this->addChild(sprite, 0);
 93     }
 94     return true;
 95 }
 96
 97
 98 void HelloWorld::menuCloseCallback(Ref* pSender)
 99 {
100     //Close the cocos2d-x game scene and quit the application
101     Director::getInstance()->end();
102
103     #if (CC_TARGET_PLATFORM == CC_PLATFORM_IOS)
104     exit(0);
105 #endif
106
107 }
那么知道了这些之后,你可以更改一下代码来产生自己的界面。我这里改变了label的显示,并且改变了logo(把你要替换logo的图片放在Resource/res下,而且最好是png。我一开始使用bmp不能读取):
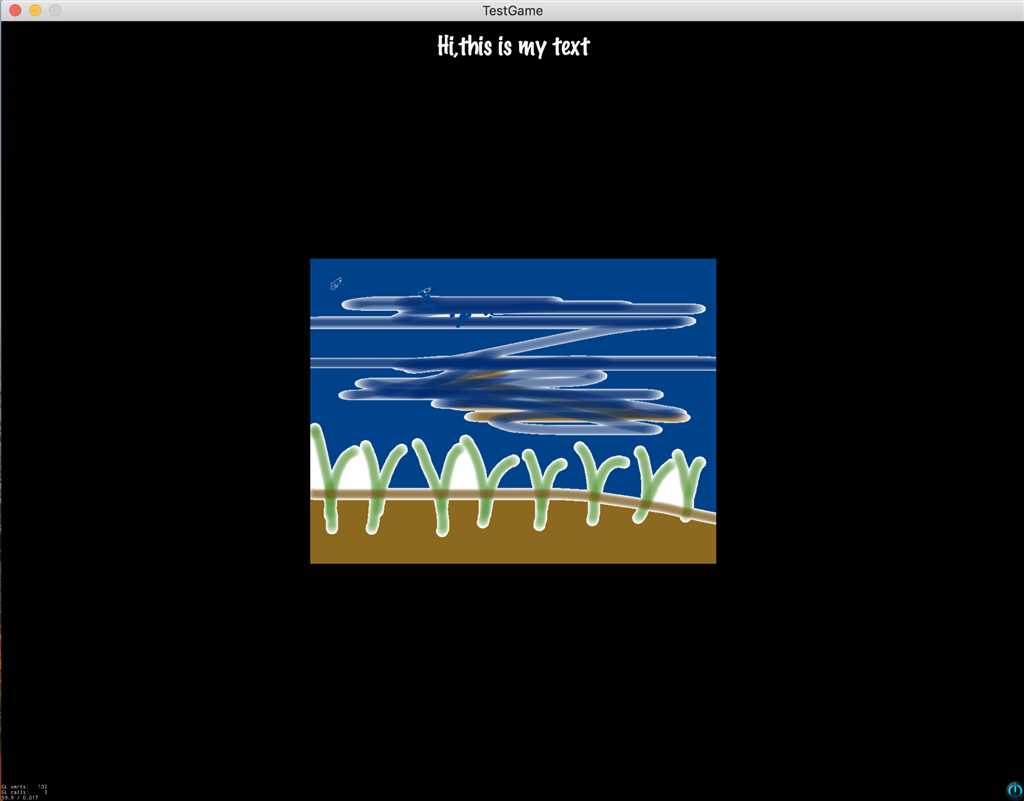
至此,我们的demo就分析完成了。
函数调用的过程
可能看完上面的分析有些人会有些头昏:“这说的都是啥和啥啊我现在脑子里一片混乱”。没关系,下面我们使用函数之间的调用图来说明一下这四个文件到底干了什么:
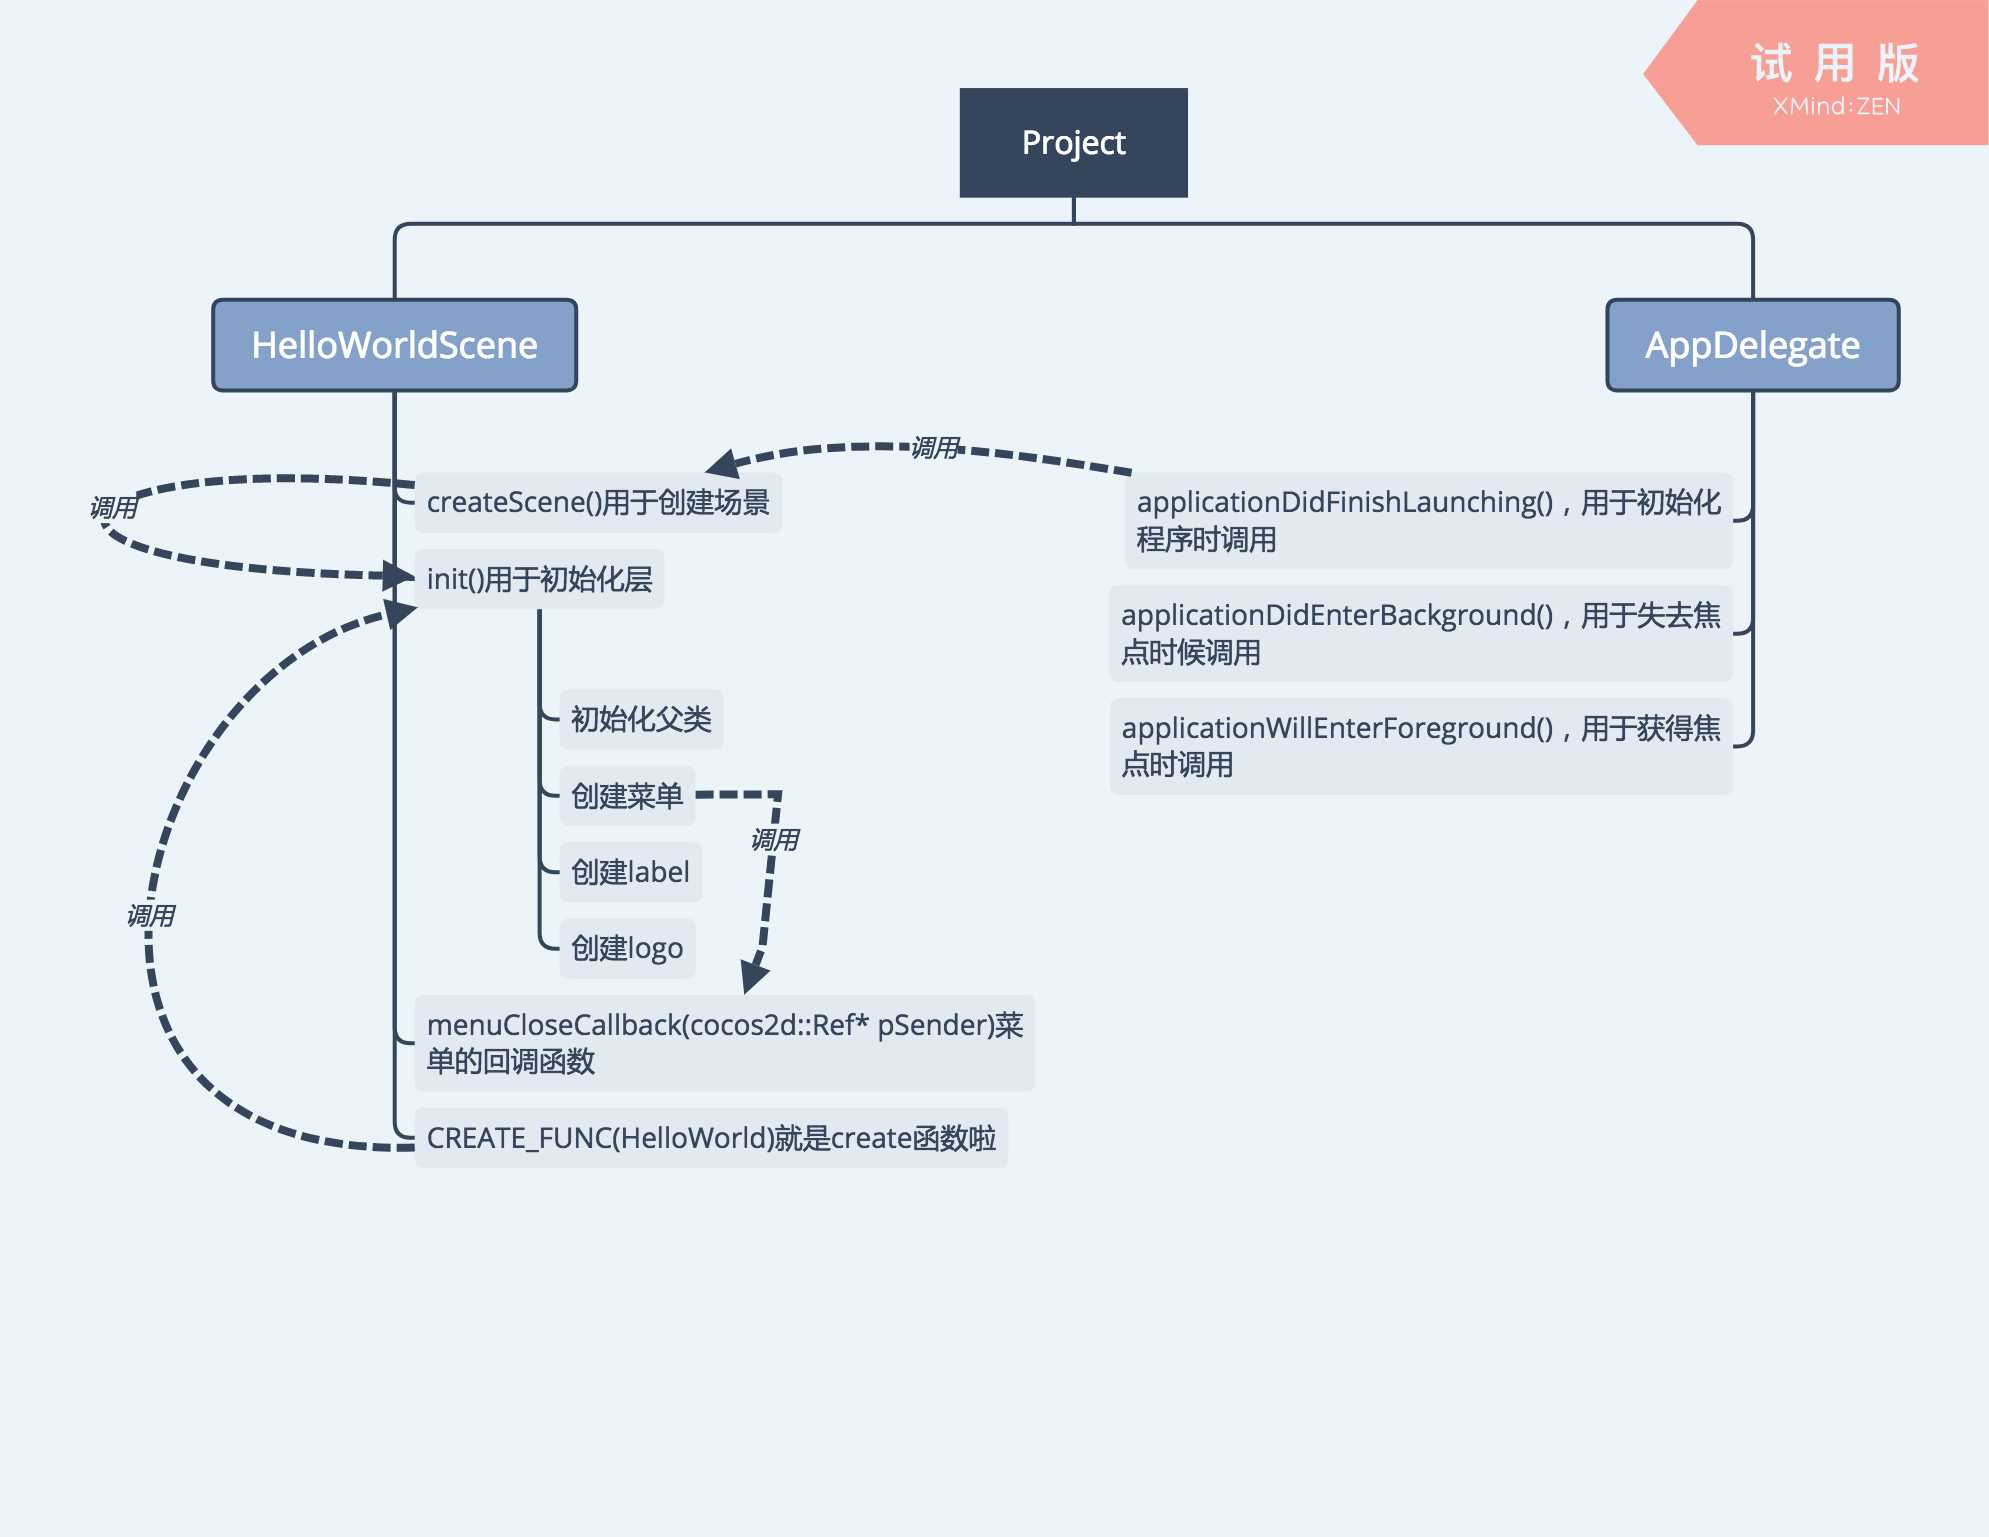
这下清楚许多了吧。
总结
现在我们来总结一些常用的代码:
其他的代码,有的涉及到菜单和label的,我们放到以后的专题去说。
cocos2d-x学习之路(二)——分析AppDelegate和HelloWorldScene文件
标签:modify sample 像素 ima 快速 add ogre 快速入门 ttf
原文地址:https://www.cnblogs.com/learn-program/p/9636795.html