标签:pre 一键 color 命名 put idt null tps dispose
每次要提审AppStore,美术总是给一个1024x1024的 Icon ,然后就进入了繁琐的修改图片 size 和 plist 文件 Icon 配置的过程,很繁琐。这些应该是可以偷懒的啊~然后就有了这篇。
需求:
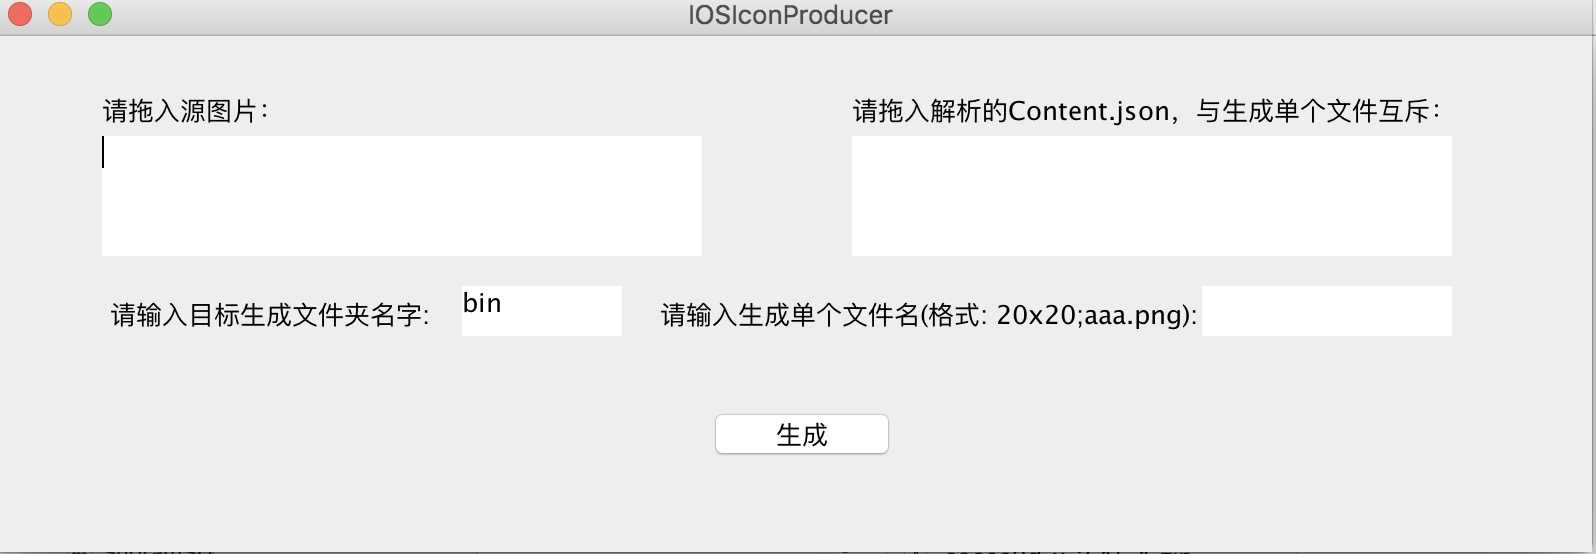
提供一张Icon 1024x1024 png 不带alpha通道,和Assets文件夹内的AppIcon.appiconset内的Content.json文件,
输出:
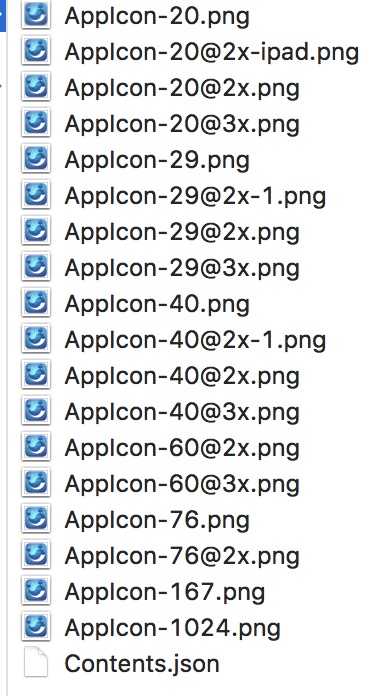
Content.json 中指定的所有Icon。 (包括命名之类的全部搞定,问题虽然小,但是省了很多事)。

生成结果如图 :

(1)首先尝试用Grahics2D来draw,
public static void PngResize(String srcImageFile, String result, int width,int height) {
    try {
        BufferedImage src = ImageIO.read(new File(srcImageFile));
        Image image = src.getScaledInstance(width,height,Image.SCALE_DEFAULT);

        BufferedImage newImage = new BufferedImage(width, height, BufferedImage.TYPE_INT_ARGB);
        Graphics g = newImage.createGraphics();
        g.drawImage(image, 0, 0, null);
        g.dispose();
        newImage.flush();
        ImageIO.write(newImage, "PNG", new File(result));
    } catch (IOException e) {
        e.printStackTrace();
    }
}
发现draw出来的图片毛边情况很严重,所以放弃.
(2) 后面发现 Thumbnailator 这个Java 类库的处理效果要好很多啊 所以果断用这个
public static int PngResize(String srcImageFile, String result, float width_, float height_){
    try {
        Thumbnails.of(srcImageFile).size((int)width_, (int)height_).outputQuality(1f).keepAspectRatio(false).toFile(result);
    } catch (IOException e) {
        // TODO Auto-generated catch block
        e.printStackTrace();
    }
}
出来效果对比 很好。记录下
Thumbnailator 类库还有如下操作:
//按指定大小把图片进行缩和放(会遵循原图高宽比例)  此处把图片压成400×500的缩略图  变为400*300,遵循原图比例缩或放到400*某个高度
Thumbnails.of(fromPic).size(400,500).toFile(toPic);////按照比例进行缩小和放大
Thumbnails.of(fromPic).scale(0.2f).toFile(toPic);//按比例缩小
Thumbnails.of(fromPic).scale(2f);//按比例放大

//不按比例,就按指定的大小进行缩放
Thumbnails.of(fromPic).size(100, 100).keepAspectRatio(false).toFile(toPic);
//或者Thumbnails.of(fromPic).forceSize(100,100).toFile(toPic);
//旋转图片,rotate(角度),正数则为顺时针,负数则为逆时针
Thumbnails.of(fromPic).size(200,200).rotate(90).toFile(toPic);

//图片尺寸不变,压缩图片文件大小outputQuality实现,参数1为最高质量
Thumbnails.of(fromPic).scale(1f).outputQuality(0.25f).toFile(toPic);

//给图片加水印,watermark(位置,水印图,透明度)Positions.CENTER表示加在中间
Thumbnails.of(fromPic).size(400,400).watermark(Positions.CENTER,ImageIO.read(waterPic),0.5f).outputQuality(0.8f).toFile(toPic);

//用sourceRegion()实现图片裁剪//图片中心300*300的区域,Positions.CENTER表示中心,还有许多其他位置可选
Thumbnails.of(fromPic).sourceRegion(Positions.CENTER,300,300).size(300,300).toFile(toPic);

//图片中上区域300*300的区域
Thumbnails.of(fromPic).sourceRegion(Positions.TOP_CENTER,300,300).size(300,300).toFile(toPic);

//用outputFormat(图像格式)转换图片格式,保持原尺寸不变
Thumbnails.of(fromPic).scale(1f).outputFormat("png").toFile("picture/png格式的图片.png");

//输出成文件流OutputStream
OutputStream os=new FileOutputStream(toPic);
Thumbnails.of(fromPic).size(120,120).toOutputStream(os);

//输出BufferedImage,asBufferedImage()返回BufferedImage
BufferedImage bi=Thumbnails.of(fromPic).size(120,120).asBufferedImage();
ImageIO.write(bi,"jpg",toPic);

//压缩至指定图片尺寸(例如:横400高300),保持图片不变形,多余部分裁剪掉
BufferedImage image = ImageIO.read(fromPic);
Builder<BufferedImage> builder = null;

int imageWidth = image.getWidth();
int imageHeitht = image.getHeight();
if ((float)300 / 400 != (float)imageWidth / imageHeitht) {
    if (imageWidth > imageHeitht) {
        image = Thumbnails.of(fromPic).height(300).asBufferedImage();
    } else {
        image = Thumbnails.of(fromPic).width(400).asBufferedImage();
    }
    builder = Thumbnails.of(image).sourceRegion(Positions.CENTER, 400, 300).size(400, 300);
} else {
    builder = Thumbnails.of(image).size(400, 300);
}
builder.outputFormat("jpg").toFile(toPic);
有关 Thumbnailator 类库的操作,来自于 https://blog.csdn.net/chenleixing/article/details/44685817
感谢分享.
标签:pre 一键 color 命名 put idt null tps dispose
原文地址:https://www.cnblogs.com/lesten/p/9651268.html