标签:ack 等等 radius lock 半径 tran gre nsf arp
一、WPF最常见的一个阴影效果的类是DropShadowEffect。它有几种比较有用的属性比如:
Color设置颜色
Direction设置投影的方向
ShadowDepth设置投影距纹理下方的距离
Opacity设置透明度等等。
角度的设置是这样的: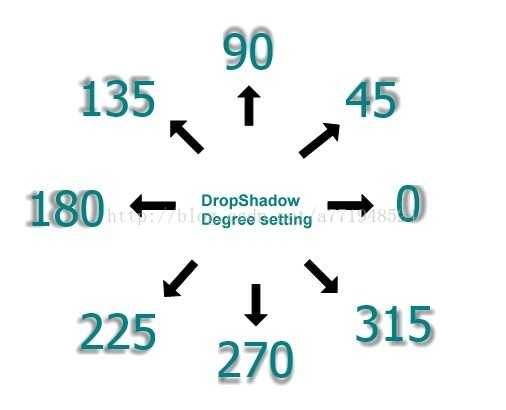
下面是一个例子和效果:
<TextBlock Text="HELLO WORLD" Foreground="Green" HorizontalAlignment="Center" Margin="20" FontSize="36">
    <TextBlock.Effect>
        <DropShadowEffect Color="Black" Direction="0" ShadowDepth="5" Opacity="1" />
    </TextBlock.Effect>
</TextBlock>

二、模糊效果的类BlurEffect。可以设置Radius模糊效果曲线的半径,KernelType计算模糊的曲线的值等等。
<TextBlock Text="Hello world" Foreground="Green" HorizontalAlignment="Center" Margin="20" FontSize="36">
    <TextBlock.Effect>
        <BlurEffect Radius="4" KernelType="Box" />
    </TextBlock.Effect>
</TextBlock>

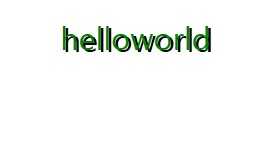
三、用TranslateTransform来叠两个同样的东西来显示弄出阴影效果。
<Grid>
    <TextBlock Text="helloworld" Foreground="Black" HorizontalAlignment="Center" Margin="20" FontSize="36">
        <TextBlock.RenderTransform>
            <TranslateTransform X="3" Y="3" />
        </TextBlock.RenderTransform>
    </TextBlock>
    <TextBlock Text="helloworld" Foreground="Green" HorizontalAlignment="Center" Margin="20" FontSize="36" />
</Grid>
标签:ack 等等 radius lock 半径 tran gre nsf arp
原文地址:https://www.cnblogs.com/sntetwt/p/9686156.html