标签:aced ber uil tps action create hose publish des
You can work with types declared in Swift from within the Objective-C code in your project by importing an Xcode-generated header file. This file is an Objective-C header that declares the Swift interfaces in your target, and you can think of it as an umbrella header for your Swift code. You don’t need to do anything special to create the generated header—just import it to use its contents in your Objective-C code.
The header‘s name is generated from your product module name, followed by "-Swift.h". By default, this name is the same as your product name, with any nonalphanumeric characters replaced with an underscore (_). If the name begins with a number, the first digit is replaced with an underscore.

The process for importing Swift declarations into Objective-C code differs slightly depending on whether you’re writing an app or a framework. Both processes are described below.
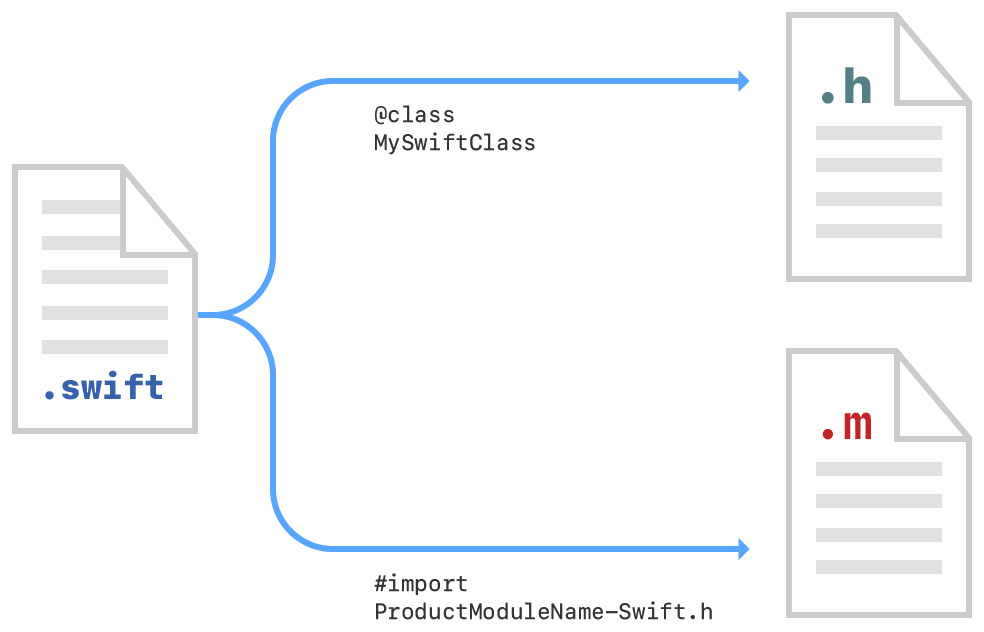
When you‘re building an app target, you can import your Swift code into any Objective-C .m file within that same target using this syntax and substituting the appropriate name:
By default, the generated header contains interfaces for Swift declarations marked with the public or open modifier. If your app target has an Objective-C bridging header, the generated header also includes interfaces marked with the internal modifier. Declarations marked with the private or fileprivate modifier don‘t appear in the generated header, and aren‘t exposed to the Objective-C runtime unless they are explicitly marked with a @IBAction, @IBOutlet, or @objc attribute. Inside unit test targets, you can access imported internal declarations as if they were public by prepending @testable to the product module import statement.
The Swift interfaces in the generated header include references to all of the Objective-C types used in them, so make sure to import the Objective-C headers for those types first.
When building an app target, you can provide a custom name for the product module by changing the Product Module Name build setting. Xcode uses this name when naming the generated header file.
To import a set of Swift files in the same framework target as your Objective-C code, import the Xcode-generated header for your Swift code into any Objective-C .m file where you want to use your Swift code.
Because the generated header is part of the framework’s public interface, only declarations marked with the public or open modifier appear in the generated header for a framework target. Methods and properties that are marked with the internal modifier and declared within a class that inherits from an Objective-C class are accessible to the Objective-C runtime. However, they‘re inaccessible at compile time and don‘t appear in the generated header for a framework target.
Import Swift code into Objective-C within the same framework:
Under Build Settings, in Packaging, make sure the Defines Module setting for that framework target is set to Yes.
Import the Swift code from that framework target into any Objective-C .m file within that target using this syntax and substituting the appropriate names:
When declarations in an Objective-C header file refer to a Swift class or protocol that comes from the same target, importing the generated header creates a cyclical reference. To avoid this, use a forward declaration of the Swift class or protocol to reference it in an Objective-C interface.
Forward declarations of Swift classes and protocols can be used only as types for method and property declarations.
https://developer.apple.com/documentation/swift/imported_c_and_objective-c_apis/importing_swift_into_objective-c
Importing Swift into Objective-C
标签:aced ber uil tps action create hose publish des
原文地址:https://www.cnblogs.com/feng9exe/p/9712318.html