标签:图片 before span img pos order 绘制 font info
使用三个div实现太极图的步骤如下:
HTML部分
<div class="box">
        <div class="yin"></div>
        <div class="yang"></div>
    </div>
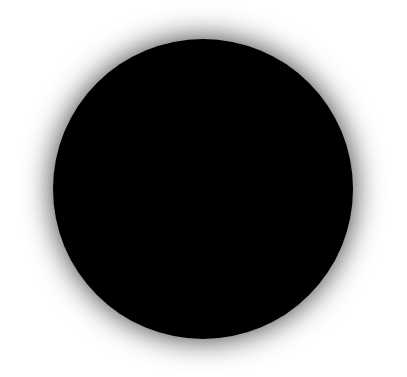
第一步,画一个宽高为300px的圆,并为其加上阴影(为了看起来有立体感)
.box{
            width:300px;
            height:300px;
            margin:50px auto;
            position:relative;
            box-shadow:0 0 50px rgba(0,0,0,.8);
            background: #000;
            border-radius: 50%;
      /*下面为实现旋转时所需代码*/
/*animation:rotation 2.5s linear infinite;
-webkit-animation:rotation 2.5s linear infinite;
-moz-animation:rotation 2.5s linear infinite;*/
}
出来的效果如下:

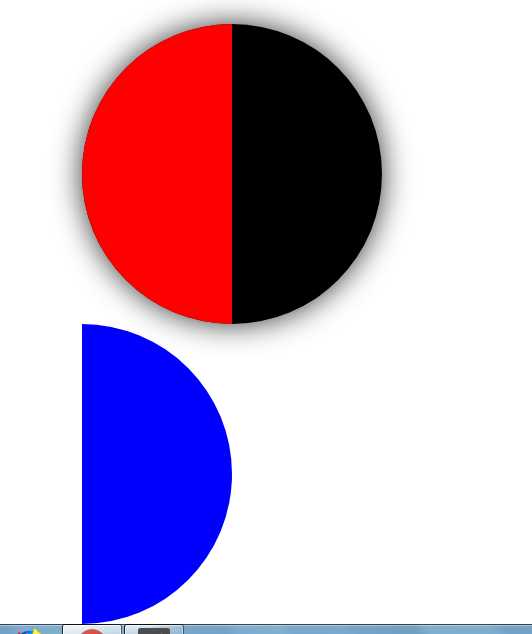
第二步,利用伪类实现左右两个半圆,一黑一白。宽为150px,高为300px;(这里我先设置为红蓝两色)
.box:before,
        .box:after{
            content:‘‘;
            display: block;
            width:150px;
            height:300px;
            /*position:absolute;*/
            /*top:0;*/
        }
        .box:before{
            border-radius:150px 0 0 150px;
            background-color: red;
            left:0;
        }
        .box:after{
            border-radius:0 150px 150px 0;
            background-color: blue;
            /*right: 0;*/
        }
在没有进行定位时,效果如下:

通过定位可以实现底图的阴阳分隔效果。
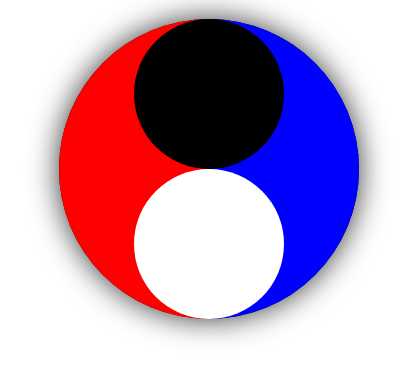
第三步,依次画两个宽高都为200px的圆,一黑一白。上下定位。
.yin,.yang{
            position: absolute;
            width:150px;
            height:150px;
            border-radius: 50%;
            left:75px;
            z-index: 99;
        }
        .yin{
            background:#000;
            top:0;
        }
        .yang{
            background: #fff;
            top:150px;
        }
其效果如下:

第四步,利用伪类实现最小的两个黑白小圆,并通过定位实现布局效果。
.yin:after,.yang:after{
            width:75px;
            height:75px;
            border-radius: 50%;
            position: absolute;
            z-index: 999;
            display: block;
            content: ‘‘;
            left:25%;
            top:25%;
        }
        .yin:after{
            background:#fff;
        }
        .yang:after{
            background: #000;
        }
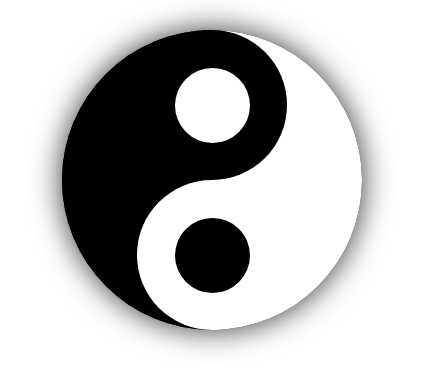
将底图样色做相应修改,得到最终效果如下:

绘制出太极图后我们可以通过CSS3中的@keyframes、animation动画实现旋转的太极图,具体代码如下:
@keyframes rotation {
        0% {transform:rotate(0deg);}
        100% {transform:rotate(360deg);}
        }
        @-webkit-keyframes rotation {
            0% {-webkit-transform:rotate(0deg);}
            100% {-webkit-transform:rotate(360deg);}
        }
        @-moz-keyframes rotation {
            0% {-moz-transform:rotate(0deg);}
            100% {-moz-transform:rotate(360deg);}
        }
标签:图片 before span img pos order 绘制 font info
原文地址:https://www.cnblogs.com/web12/p/10041178.html