公司新项目要在linux下部署,搭建一下java运行环境,记录一下。
一、安装mysql
1去官网下载mysql,下载后并解压,我把mysql安装在/usr/local/mysql路径下
tar -zxvf mysql-5.7.11-linux-glibc2.5-x86_64.tar.gz -C /usr/local/mysql
2进入mysql目录,建立data文件夹
[root@localhost local]# cd /usr/local/mysql
[root@localhost mysql]# mkdir data
3新建不能登陆的mysql用户
useradd -r -M -s /sbin/nologin mysql
4修改mysql目录所有者为mysql用户和mysql组
chown -R mysql.mysql /usr/local/mysql
chgrp -R mysql /usr/local/mysql
5进入/usr/local/mysql目录,初始化mysql,后面那个是初始密码,要记住
bin/mysqld --initialize --user=mysql --basedir=/usr/local/mysql --datadir=/usr/local/mysql/data

6复制my.cnf文件,并修改/etc/my.cnf
cp /usr/local/mysql/support-files/my-default.cnf /etc/my.cnf

# These are commonly set, remove the # and set as required.
basedir = /usr/local/mysql
datadir = /usr/local/mysql/data
port = 3306
character-set-server=utf8
collation-server=utf8_general_ci
default-storage-engine=INNODB
#server_id = .....
# socket = .....
7进行mysql.support-files目录,复制mysql.server到/etc/init.d/mysqld,加入开机运行
[root@localhost mysql]# cd support-files/
[root@localhost support-files]# cp mysql.server /etc/init.d/mysqld
[root@localhost support-files]# chmod +x /etc/init.d/mysqld
[root@localhost support-files]# chkconfig --add mysqld
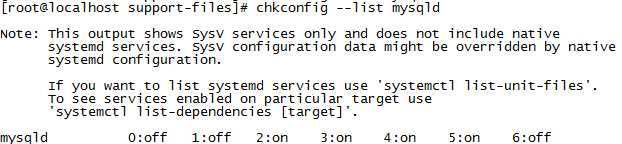
查看是否成功
chkconfig --list mysqld
8mysql加入环境变量
vi /etc/profile #把mysql服务加入系统环境变量:在最后添加下面这一行
export PATH=$PATH:/usr/local/mysql/bin
:wq! #保存退出
source /etc/profile  #使配置立刻生效
9登录后修改密码
[root@localhost tmp]# service mysqld start
Starting MySQL. SUCCESS!
[root@localhost tmp]# mysql -uroot -p
Enter password:
mysql> SET PASSWORD = PASSWORD(‘123456‘);
mysql> flush privileges;
二jdk安装
1下载jdk,解压并移动到安装路径
tar -zxvfjdk-8u73-linux-x64.tar.gz -C /usr/local/jdk8
2加入环境变量
vi /etc/profile
# 在export PATH USER LOGNAME MAIL HOSTNAME HISTSIZE HISTCONTROL下添加
export JAVA_HOME=/usr/local/jdk8
export PATH=$JAVA_HOME/bin:$PATH
export CLASSPATH=.:$JAVA_HOME/lib/dt.jar:$JAVA_HOME/lib/tools.jar
#保存后,执行source /etc/profile使其生效
3验证是否成功java -vsersion
三安装tomcat
1解压并安装到指定路径
1 2 3 4 5 6 7 8 9 10 11 12 13 14 15 | # 创建用户groupadd tomcatuseradd -s /bin/bash -g tomcat tomcat# 下载:wget http://apache.opencas.org/tomcat/tomcat-7/v7.0.68/bin/apache-tomcat-7.0.68.tar.gz# 解压:tar -zxvf apache-tomcat-7.0.68.tar.gz# 复制:cp -R ./apache-tomcat-7.0.68 /usr/localcd /usr/local/apache-tomcat-7.0.68# 修改权限:chown -R tomcat:tomcat apache-tomcat-7.0.68# 启动:sh ./bin/startup.sh |
2将8080端口添加到防火墙例外并重启
1 2 | firewall-cmd --zone=public --add-port=8080/tcp --permanentfirewall-cmd --reload |
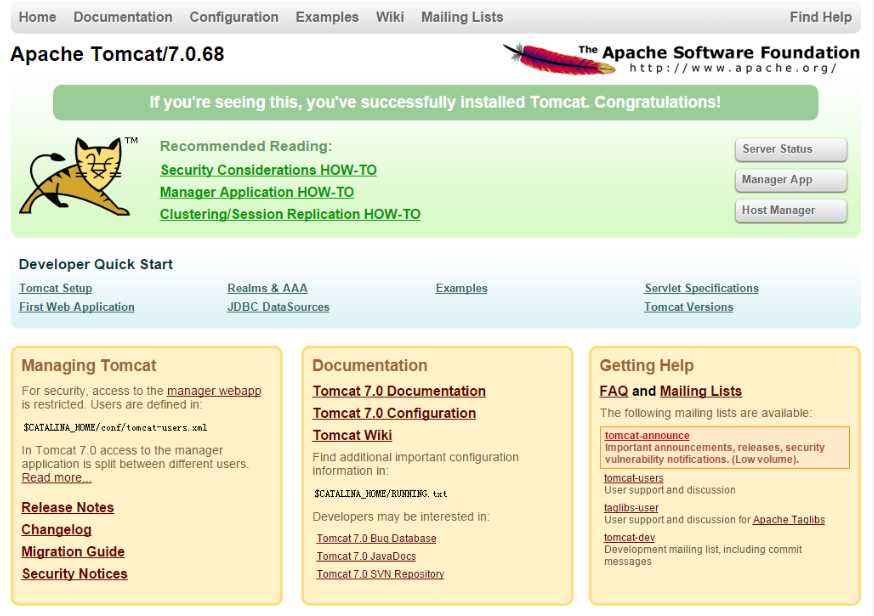
3访问http://ip/8080
四安装nginx
安装nginx前,前提是安装了gcc-c++,还要安装一些依赖库
1安装perl
mkdir /usr/local/perl
cd perl5.22
./Configure -des -Dprefix=/usr/local/ perl -Dusethreads -Uversiononly
make
make test
make install
2安装pcre
mkdir /usr/local/pcre
tar zxvf pcre-8.35.tar.gz
cd pcre-8.35
./configure --prefix=/usr/local/pcre
make
make install
3安装openssl
mkdir /usr/local/openssl
tar zxvf openssl-1.0.1h.tar.gz
cd openssl-1.0.1h
./config --prefix=/usr/local/openssl
make
make install
vi /etc/profile
export PATH=$PATH:/usr/local/openssl/bin
:wq!
source /etc/profile
4安装zlib
mkdir /usr/local/zlib
tar zxvf zlib-1.2.8.tar.gz
cd zlib-1.2.8
./configure --prefix=/usr/local/lib/zlib
make
make install
5安装nginx
#添加用户和用户级
groupadd nginx
useradd -g nginx nginx -s /bin/false
mkdir /usr/local/nginx
tar zxvf nginx-1.6.0.tar.gz
cd nginx-1.6.0
./configure --prefix=/usr/local/nginx --without-http_memcached_module --user=nginx --group=nginx --with-http_stub_status_module --with-http_ssl_module --with-http_gzip_static_module --with-openssl=/root/tool/openssl-1.0.2g/ --with-zlib=/root/tool/zlib-1.2.8/ --with-pcre=/root/tool/pcre-8.37
#注意:--with-openssl=/usr/local/src/openssl-1.0.1h --with-zlib=/usr/local/src/zlib-1.2.8 --with-pcre=/usr/local/src/pcre-8.35指向的是源码包解压的路径,而不是安装的路径,否则会报错
make
make install
6
#添加80端口到防火墙
firewall-cmd --zone=public --add-port=80/tcp --permanent
firewall-cmd --reload
#启动nginx
/usr/local/nginx/sbin/nginx
nginx -s reload :修改配置后重新加载生效
nginx -s reopen :重新打开日志文件
nginx -t -c /path/to/nginx.conf 测试nginx配置文件是否正确
关闭nginx:
nginx -s stop :快速停止nginx
quit :完整有序的停止nginx
其他的停止nginx 方式:
ps -ef | grep nginx
kill -QUIT 主进程号 :从容停止Nginx
kill -TERM 主进程号 :快速停止Nginx
pkill -9 nginx :强制停止Nginx
启动nginx:
nginx -c /path/to/nginx.conf
平滑重启nginx:
kill -HUP 主进程号
7设置nginx开机启动
vi /etc/init.d/nginxd  #编辑启动文件添加下面内容

#!/bin/bash
#
#chkconfig: - 85 15
#description: Nginx is a World Wide Web server.
#processname: nginx

nginx=/usr/local/nginx/sbin/nginx
conf=/usr/local/nginx/conf/nginx.conf

case $1 in
       start)
              echo -n "Starting Nginx"
              $nginx -c $conf
              echo " done"
       ;;

       stop)
              echo -n "Stopping Nginx"
              killall -9 nginx
              echo " done"
       ;;

       test)
              $nginx -t -c $conf
       ;;

        reload)
              echo -n "Reloading Nginx"
              ps auxww | grep nginx | grep master | awk ‘{print $2}‘ | xargs kill -HUP
              echo " done"
       ;;

        restart)
              $0 stop
              $0 start
       ;;

       show)
              ps -aux|grep nginx
       ;;

       *)
              echo -n "Usage: $0 {start|restart|reload|stop|test|show}"
       ;;

esac

:wq! #保存退出
注意(centos7没有killall命令,要先安装,yum install psmisc)
chmod +x /etc/init.d/nginxd #赋予文件执行权限
chkconfig --add nginxd#添加到服务
chkconfig nginxd on #设置开机启动
/etc/init.d/nginxd restart #重启
8nginx和tomcat整合,修改nginx配置文件
server
        {
                listen       80;
                server_name  localhost;
                index index.html index.htm index.jsp;#设定访问的默认首页地址
                root  /home/www/web/ROOT;#设定网站的资源存放路径

                #limit_conn   crawler  20;

                location / {
                        index   index.html index.jsp;
                }

                location ~ .*.jsp$ #所有jsp的页面均交由tomcat处理
                {
                        index index.jsp;
                        proxy_pass http://192.168.222.128:8080;#转向tomcat处理
                }


                location ~ .*\.(gif|jpg|jpeg|png|bmp|swf)$ #设定访问静态文件直接读取不经过tomcat
                {
                        expires      30d;
                }

                location ~ .*\.(js|css)?$
                {
                        expires      1h;
                }

                #定义访问日志的写入格式
                #log_format  access  ‘$remote_addr - $remote_user [$time_local] "$request" ‘
                #‘$status $body_bytes_sent "$http_referer" ‘
                #‘"$http_user_agent" $http_x_forwarded_for‘;
                #access_log  /usr/local/nginx/logs/localhost.log access;#设定访问日志的存放路径

        }