标签:.json vue2 live 目录 strong com conf port host
注:本篇写于2018-12,基于vue2.xxx
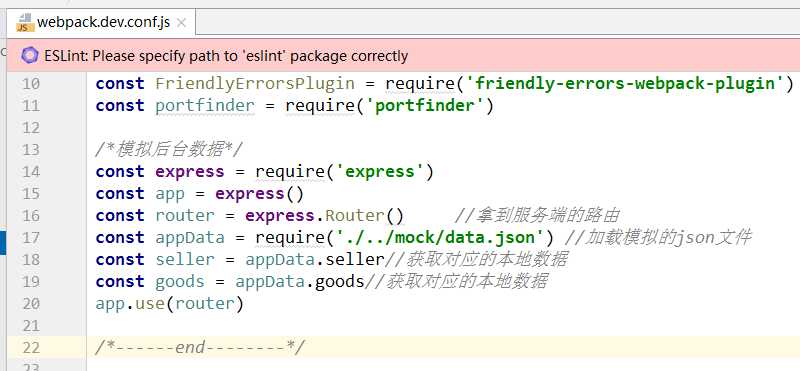
1、在webpack.dev.conf.js 里面找到 const portfinder = require(‘portfinder’),然后在下面写上以下代码:
 1 /*模拟后台数据*/
 2 const express = require(‘express‘)
 3 const app = express()
 4 const router = express.Router()     //拿到服务端的路由
 5 const appData = require(‘./../mock/data.json‘) //加载模拟的json文件
 6 const seller = appData.seller//获取对应的本地数据
 7 const goods = appData.goods//获取对应的本地数据
 8 app.use(router)
 9
10 /*------end--------*/
如图一:
2、依然在 webpack.dev.conf.js 中,找到 devServer ,添加:
 1 /*----end----模拟后台数据*/
 2     before(app) {
 3       app.get(‘/api/seller‘, (req, res) => {
 4         res.json({
 5           errno: 0,
 6           data: seller
 7         })//接口返回json数据,上面配置的数据seller就赋值给data请求后调用
 8       }),
 9         app.get(‘/api/goods‘, (req, res) => {
10           res.json({
11             errno: 0,
12             data: goods
13           })
14         })
15     },
16     /*----end----模拟后台数据*/
如图二:
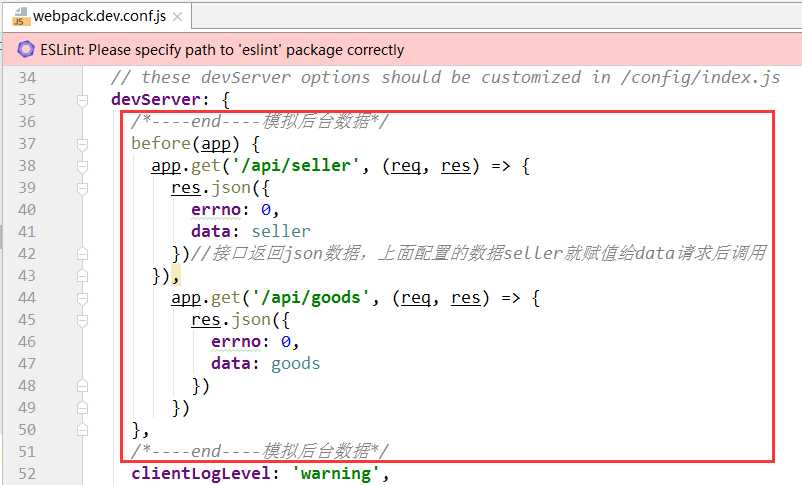
至此,webpack-dev-conf.js配置完成,需要重启运行: npm run dev 才会生效!图二中的请求接口,‘/api/seller‘和‘/api/goods‘,需要对应的模拟数据data.json
数据名字、存放目录皆可自定义。基于此例,我在根目录新建:mock文件夹,然后在mock中新建data.json,
代码如下:
 1 {
 2   "seller": {
 3     "name": "粥品香坊(回龙观)",
 4     "description": "蜂鸟专送",
 5     "deliveryTime": 38,
 6     "score": 4.2,
 7     "serviceScore": 4.1,
 8     "foodScore": 4.3,
 9
10     "bulletin": "坚守纯天然、0添加的良心品质深得消费者青睐,发展至今成为粥类的引领品牌。",
11     "supports": [
12       {
13         "type": 0,
14         "description": "在线支付满28减5"
15       },
16       {
17         "type": 1,
18         "description": "VC无限橙果汁全场8折"
19       }
20     ],
21     "avatar": "http://static.galileo.xiaojukeji.com/static/tms/seller_avatar_256px.jpg"
22   },
23   "goods": {
24     "name": "香辣鸡腿堡",
25     "description": "蜂鸟专送",
26     "deliveryTime": 2,
27     "score": 4.8,
28     "serviceScore": 4.6,
29     "foodScore": 4.8,
30
31     "bulletin": "身份第三个,时间方力申,2013年园博会指定餐饮服务商。",
32     "supports": [
33       {
34         "type": 0,
35         "description": "在线支付满28减5"
36       },
37       {
38         "type": 1,
39         "description": "VC无限橙果汁全场8折"
40       }
41     ],
42     "avatar": "http://static.galileo.xiaojukeji.com/static/tms/seller_avatar_256px.jpg"
43   }
44 }
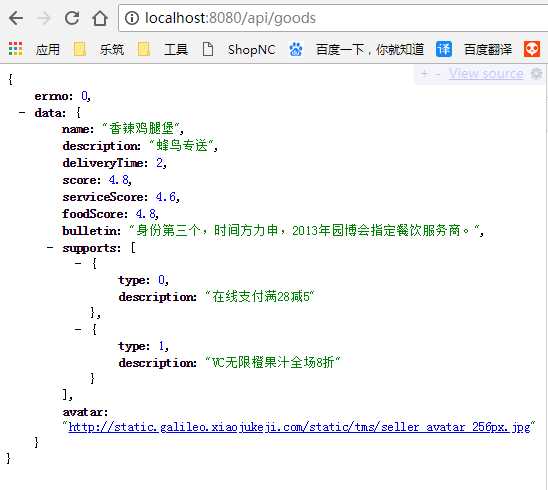
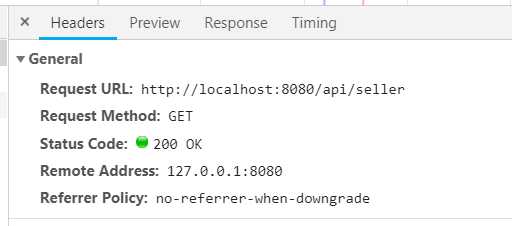
配置到此,已经可以通过本地端口进行访问模拟的接口了:http://localhost:8080/api/seller 或者http://localhost:8080/api/goods
如图三:
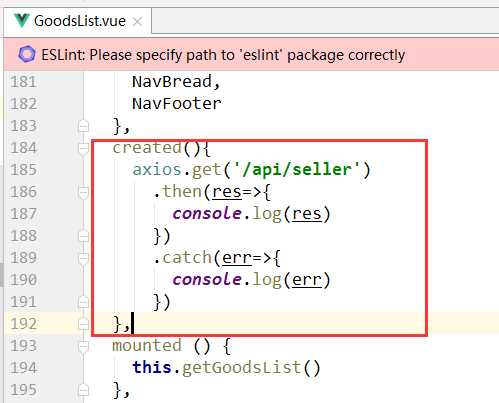
1、如在XX.vue文件中
1 created(){
2     axios.get(‘/api/seller‘)
3       .then(res=>{
4         console.log(res)
5       })
6       .catch(err=>{
7         console.log(err)
8       })
9   },
如图四:
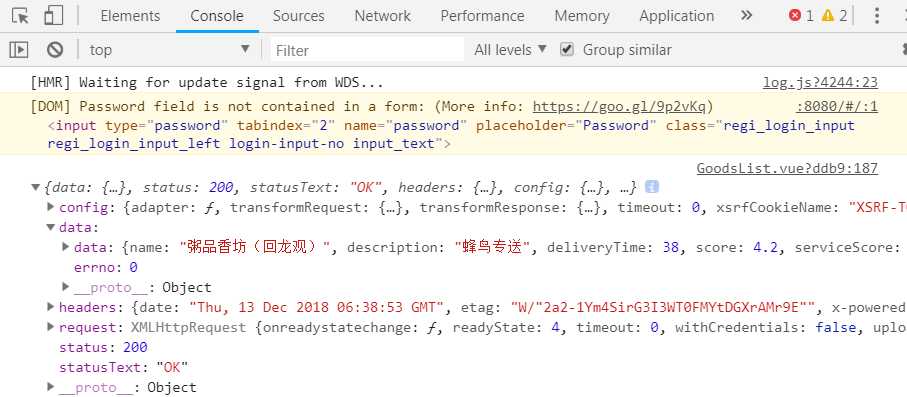
此时可以查看打印结果,和请求结果:
如图五、六
图六:
本地模拟数据完成,有问题直接说,有则改之无则加勉,谢谢各位道友!
vue-cli搭建项目模拟后台接口数据,webpack-dev-conf.js文件配置
标签:.json vue2 live 目录 strong com conf port host
原文地址:https://www.cnblogs.com/l-y-q/p/10113651.html