标签:reads 任务 eid token tst params options 广播 cto
一学期的课程设计又开始了,虽然以后不搞安卓,但是课设还是想好好完成的,因为之前做过地图开发,所以选了一个跟
这个相关的题目,其实有一个校车系统也可以选,但是之前做过一个相似度接近80%的东西,不想混混过关,就算了,这是题目
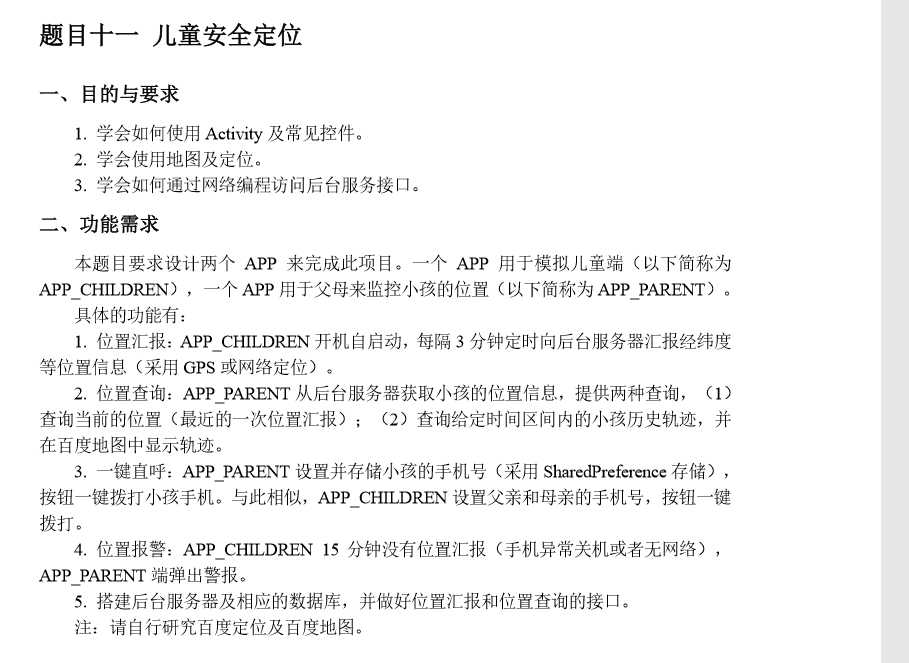
实现思路并不难,孩子端启动一个后台服务,每隔3分钟向后台服务器发送一次位置信息,后端保存,家长端通过时间段来获得孩子位置,实际上就是根据时间戳
来了,然后标注在家长端地图上,至于打电话什么的,调系统API就可以,从星期二到今天,将孩子端完成,后端完成,父亲端也差不多了,现在还有一个
难点就是最后的要求15分钟没有信息汇报就需要警告,还没搞清楚怎么实现...明天要考六级,今天得知软考挂了伤心死了,就差那么几分啊,要
是没看错最后的那个大题就过了
整个课设的技术包括:前端:安卓,七牛云SDK,Volley网络框架,百度地图SDK
后台:SpringBoot+Mybatis+mysql
现在记录一下每个三分钟发布一次信息的实现和上传头像的实现(之前还没弄过安卓上传文件所以想试试)
都知道安卓四大组件,其中service就是一个重要的东西,这里我说的是非绑定的service,它是不停的运行的,所以我们可以利用它来给我们的应用添加一些有趣的功能
比如我们退出软件仍旧下载东西就是用这个实现的,但是对于本题来讲,光是有服务是行不通的,我们还需要一个定时器,而且,还需要是稳定的,而不是那种退出APP就
停止的,综合考虑,当然是用AlarmManager了,他是安卓的系统服务,所以不会随着应用退出而停止,闹钟就是用这个来实现的.,AlarmManager如果参照网上的一些demo
基本都会遇到坑,因为谷歌官方更新了这个,用错了会有很大误差,这里推荐看一下这个博客:我也是看了他的
https://www.cnblogs.com/leipDao/p/8203684.html
从这个博客里了解到AlarmManager在安卓高版本里会有误差,但还好谷歌有新的API来对付误差,但定时的功能就不好实现了,那么这里采用的办法就是在调用一次之后在重新
发送,就达到了计时的目的
首先是一个工具类,负责实例化AlarmManager对象,唤醒闹钟
import android.annotation.SuppressLint;
import android.app.AlarmManager;
import android.app.PendingIntent;
import android.content.Context;
import android.content.Intent;
import android.os.Build;
import android.util.Log;

import software.com.safelocatechild.BroadcastReceiver.LocateInfoReceiver;

/**
 * Created by 31786 on 2018/12/11.
 * 计时器,用于隔断时间发送自己的位置
 */
public class AlarmManagerUtils {

    private static final long TIME_INTERVAL = 15 * 1000;//闹钟执行任务的时间间隔
    private Context context;
    public static AlarmManager am;
    public static PendingIntent pendingIntent;

    private AlarmManagerUtils(Context aContext) {
        this.context = aContext;
    }

    private static AlarmManagerUtils instance = null;

    public static AlarmManagerUtils getInstance(Context aContext) {
        if (instance == null) {
            synchronized (AlarmManagerUtils.class) {
                if (instance == null) {
                    Log.d("Alarm","实例化");
                    instance = new AlarmManagerUtils(aContext);
                }
            }
        }
        return instance;
    }

    public void createGetUpAlarmManager() {
        Log.d("Alarm","创建");
        am = (AlarmManager) context.getSystemService(Context.ALARM_SERVICE);
        Intent intent = new Intent(context, LocateInfoReceiver.class);
        intent.putExtra("msg", "测试");
        pendingIntent = PendingIntent.getBroadcast(context, 0, intent, 0);//每隔5秒发送一次广播
    }

    @SuppressLint("NewApi")
    public void getUpAlarmManagerStartWork() {
        //版本适配
        Log.d("Alarm","开始工作");
        if (Build.VERSION.SDK_INT >= Build.VERSION_CODES.M) {// 6.0及以上
            am.setExactAndAllowWhileIdle(AlarmManager.RTC_WAKEUP,
                    System.currentTimeMillis(), pendingIntent);
        } else if (Build.VERSION.SDK_INT >= Build.VERSION_CODES.KITKAT) {// 4.4及以上
            am.setExact(AlarmManager.RTC_WAKEUP, System.currentTimeMillis(),
                    pendingIntent);
        } else {
            am.setRepeating(AlarmManager.RTC_WAKEUP,
                    System.currentTimeMillis(), TIME_INTERVAL, pendingIntent);
        }
    }

    @SuppressLint("NewApi")
    public void getUpAlarmManagerWorkOnReceiver() {
        //高版本重复设置闹钟达到低版本中setRepeating相同效果
        if (Build.VERSION.SDK_INT >= Build.VERSION_CODES.M) {// 6.0及以上
            am.setExactAndAllowWhileIdle(AlarmManager.RTC_WAKEUP,
                    System.currentTimeMillis() + TIME_INTERVAL, pendingIntent);
        } else if (Build.VERSION.SDK_INT >= Build.VERSION_CODES.KITKAT) {// 4.4及以上
            am.setExact(AlarmManager.RTC_WAKEUP, System.currentTimeMillis()
                    + TIME_INTERVAL, pendingIntent);
        }
    }
}
在这时候,就是在服务里启动它,并且在一次计时过后重新开启一次计时,从而达到不断计时的目的
下面是个服务,负责发送广播,好像这样不太好,但我对这个不熟,先这样再说吧...
import android.app.Service;
import android.content.Intent;
import android.os.IBinder;
import android.util.Log;

import software.com.safelocatechild.activity.Welcome;
import software.com.safelocatechild.util.AlarmManagerUtils;

public class LocateService extends Service {
    public LocateService() {
    }

    @Override
    public void onCreate(){
        Log.d("-------","服务创建");
        super.onCreate();
    }
    @Override
    public int onStartCommand(Intent intent,int flagId,int startId){
        Log.d("-------","服务运行");
       // onStartCommand(intent,flagId,startId);
        testAlarm();
        return super.onStartCommand(intent,flagId,startId);
    }
    @Override
    public void onDestroy(){
        //发送结束信息,告知parent
        super.onDestroy();
    }
    @Override
    public IBinder onBind(Intent intent) {
        // TODO: Return the communication channel to the service.
        throw new UnsupportedOperationException("Not yet implemented");
    }
    public void testAlarm(){
        AlarmManagerUtils alarmManagerUtils = AlarmManagerUtils.getInstance(getApplicationContext());
        alarmManagerUtils.createGetUpAlarmManager();
        alarmManagerUtils.getUpAlarmManagerStartWork();
    }
}
广播接收:
package software.com.safelocatechild.BroadcastReceiver;

import android.content.BroadcastReceiver;
import android.content.Context;
import android.content.Intent;
import android.content.SharedPreferences;
import android.util.Log;
import android.widget.Toast;

import com.android.volley.AuthFailureError;
import com.android.volley.DefaultRetryPolicy;
import com.android.volley.Request;
import com.android.volley.RequestQueue;
import com.android.volley.Response;
import com.android.volley.VolleyError;
import com.android.volley.toolbox.StringRequest;
import com.android.volley.toolbox.Volley;
import com.baidu.location.BDLocation;
import com.baidu.location.LocationClient;
import com.baidu.mapapi.map.BaiduMap;

import org.json.JSONException;
import org.json.JSONObject;

import java.util.HashMap;
import java.util.Map;

import software.com.safelocatechild.R;
import software.com.safelocatechild.activity.Child;
import software.com.safelocatechild.activity.Login;
import software.com.safelocatechild.listener.LocationListener;
import software.com.safelocatechild.util.AlarmManagerUtils;
import software.com.safelocatechild.util.Const;

public class LocateInfoReceiver extends BroadcastReceiver {

    @Override
    public void onReceive(final Context context, Intent intent) {
        // TODO: This method is called when the BroadcastReceiver is receiving
        String extra = intent.getStringExtra("msg");
        Log.d("---------------", "extra = " + extra);
        Log.d("-------","接收到了");
        LocationClient client = new LocationClient(context);
        client.registerLocationListener(new LocationListener(){
            /*
             * 通过GPS定位起点
             * */
            @Override
            public void onReceiveLocation(BDLocation location){
                System.out.print("LocationClient----");
                if (location!=null){
                    //定时发送经纬度,写接口
                    String childid = Const.context.getSharedPreferences("Setting",Context.MODE_MULTI_PROCESS).
                            getString("childid","");
                    Log.d("childid = ",childid);
                    Log.d("Send longitude",location.getLongitude()+"");
                    Toast.makeText(Const.context,childid+location.getLongitude()+"-"+location.getLatitude(),Toast.LENGTH_SHORT).show();
                    //Log.d("Send latitude",location.getLatitude()+"");
                    sendLocation(childid,location.getLatitude(),location.getLongitude());
                    //再次启动闹钟
                    AlarmManagerUtils.getInstance(context).getUpAlarmManagerWorkOnReceiver();
                }else {
                    Log.d("location = ","null");
                }

            }
        });
        client.start();

    }
    //发送位置
    public boolean sendLocation(final String childid,final Double latitude, final Double longitude){
        //请求地址,需要换接口
        String url = Const.context.getResources().getString(R.string.insertLocation);
        String tag = "Login";
        //取得请求队列
        RequestQueue requestQueue = Volley.newRequestQueue(Const.context);
        //防止重复请求,所以先取消tag标识的请求队列
        requestQueue.cancelAll(tag);
        //创建StringRequest,定义字符串请求的请求方式为POST(省略第一个参数会默认为GET方式)
        StringRequest request = new StringRequest(Request.Method.POST, url,
                new Response.Listener<String>() {
                    @Override
                    public void onResponse(String response) {
                        try {
                            JSONObject jsonObject = new JSONObject(response);
                            if(jsonObject.getBoolean("canInsert")){
                                //等待接口
                                Log.d("发送位置成功","  ");
                            }else{
                                Log.d("发送位置失败","  ");
                            }
                        } catch (JSONException e) {
                            //做自己的请求异常操作,如Toast提示(“无网络连接”等)
                            Log.d("LocateInfoReceiver","JsonException");
                        }
                    }
                }, new Response.ErrorListener() {
            @Override
            public void onErrorResponse(VolleyError error) {
                //做自己的响应错误操作,如Toast提示(“请稍后重试”等)
                Log.d("LocateInfoReceiver","VolleyError");
            }
        }) {
            @Override
            protected Map<String, String> getParams() throws AuthFailureError {
                Map<String,String> params = new HashMap<>();
                params.put("childid",childid);
                params.put("longitude",String.valueOf(longitude));  //注⑥
                params.put("latitude",String.valueOf(latitude));
                params.put("time",System.currentTimeMillis()+"");
                Log.d("位置发送时间",System.currentTimeMillis()+"");
                return params;
            }

        };

        //设置Tag标签
        request.setTag(tag);
        request.setRetryPolicy(new DefaultRetryPolicy(20*1000,1,1.0f));
        //将请求添加到队列中
        requestQueue.add(request);
        return true;
    }
}
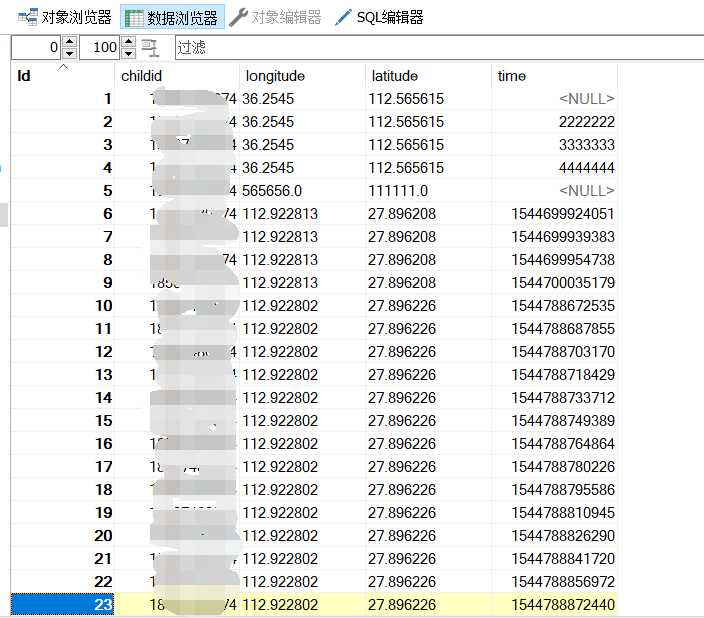
好了,从数据库里的结果来看,效果还行,但因为中途有时间损耗,肯定还是有一点影响的
之后再说上传图片,七牛云的使用就不多说了,官方有文档,我的做法是用TakePhoto框架得到图片,然后将图片化成能上传的格式
TakePhoto的使用我之前的博客里有讲:https://www.cnblogs.com/Yintianhao/p/9327191.html
重点的三个函数:一个上传,也就是里面有七牛云的上传和回调,还有一个将Bitmap图片转为byte数组,另一个就是获得一个随机名字
名字直接关系到取图片的链接,同时在我这个题目中也是存在用户信息表里面的
//上传图片
public void uploadImage(final Bitmap bitmap, String fileName) {
        //定义数据上传结束后的处理动作
        final UpCompletionHandler upCompletionHandler = new UpCompletionHandler() {
            @Override
            public void complete(String key, ResponseInfo info, JSONObject response) {
                headSculpture.setImageBitmap(bitmap);
            }
        };
        final UploadOptions uploadOptions = new UploadOptions(null, null, false, new UpProgressHandler() {
            @Override
            public void progress(String key, final double percent) {
                //百分数格式化
                NumberFormat fmt = NumberFormat.getPercentInstance();
                fmt.setMaximumFractionDigits(2);//最多两位百分小数,如25.23%
            }
        }, new UpCancellationSignal() {
            @Override
            public boolean isCancelled() {
                return false;
            }
        });
        try {
            //上传图片
            QiNiuInitialize.getSingleton().put(getByte(bitmap), fileName, getUpToken(), upCompletionHandler, uploadOptions);
        } catch (Exception e) {
            e.printStackTrace();
        }
    }

    //通过UUID获得一个随机的文件名
    public String getRandomName(){
        String randomName = UUID.randomUUID().toString().replaceAll("-","")+".jpeg";
        return randomName;
    }

    //获取图片的byte数组
    public byte[] getByte(Bitmap bm) {
        ByteArrayOutputStream baos = new ByteArrayOutputStream();
        bm.compress(Bitmap.CompressFormat.JPEG, 80, baos);
        return baos.toByteArray();
    }
好了,上传到这里,那么我们如何根据图片的链接来获取图片并显示在控件里呢,看这里:
 //根据URL获取图片,path即url
    public Bitmap getBitmap(String path) throws IOException {
//严格模式否则会出错,具体作用可以查
        StrictMode.setThreadPolicy(new
                StrictMode.ThreadPolicy.Builder().detectDiskReads().detectDiskWrites().detectNetwork().penaltyLog().build());
        StrictMode.setVmPolicy(
                new StrictMode.VmPolicy.Builder().detectLeakedSqlLiteObjects().detectLeakedClosableObjects().penaltyLog().penaltyDeath().build());
        Log.d("path","="+path);
        try {
            URL url = new URL(path);
            HttpURLConnection conn = (HttpURLConnection) url.openConnection();
            conn.setConnectTimeout(5000);
            conn.setRequestMethod("GET");
            if (conn.getResponseCode() == 200) {
                InputStream inputStream = conn.getInputStream();
                Bitmap bitmap = BitmapFactory.decodeStream(inputStream);
                return bitmap;
            }
        } catch (IOException e) {
            // TODO Auto-generated catch block
            e.printStackTrace();
        }
        return null;
    }
好了,先写到这了,听听听力准备明天的六级去了!!
记一次课程设计(顺便复习一下android service和七牛云 android sdk)
标签:reads 任务 eid token tst params options 广播 cto
原文地址:https://www.cnblogs.com/Yintianhao/p/10121715.html