标签:代码 autoconf oca 阿里云 pac 选择 src href yun
Spring Cloud 和 Spring Boot 可以说是当前最流行的微服务开发框架了,在本文中,将向读者介绍如何在 在 Intellij IDEA 中部署 Spring Boot / Spring Cloud 应用到阿里云。(Eclipse 平台请移步《在 Eclipse 中部署 Spring Boot / Spring Cloud 应用到阿里云》)无论是编写云端运行的,还是编写本地运行的 Spring Cloud 或 Spring Boot 应用程序,代码编写本身并没有特别大的变化,因此本文采用一个极其基础的样例《在 Web 页面打印 HelloWorld 的 Spring Boot 》为例,通过启动内置的 Tomcat 容器,处理 HTTP 请求,在 Web 页面上打印一串“Hello World”的文案。
内嵌的 Tomcat 监听来自根目录的请求
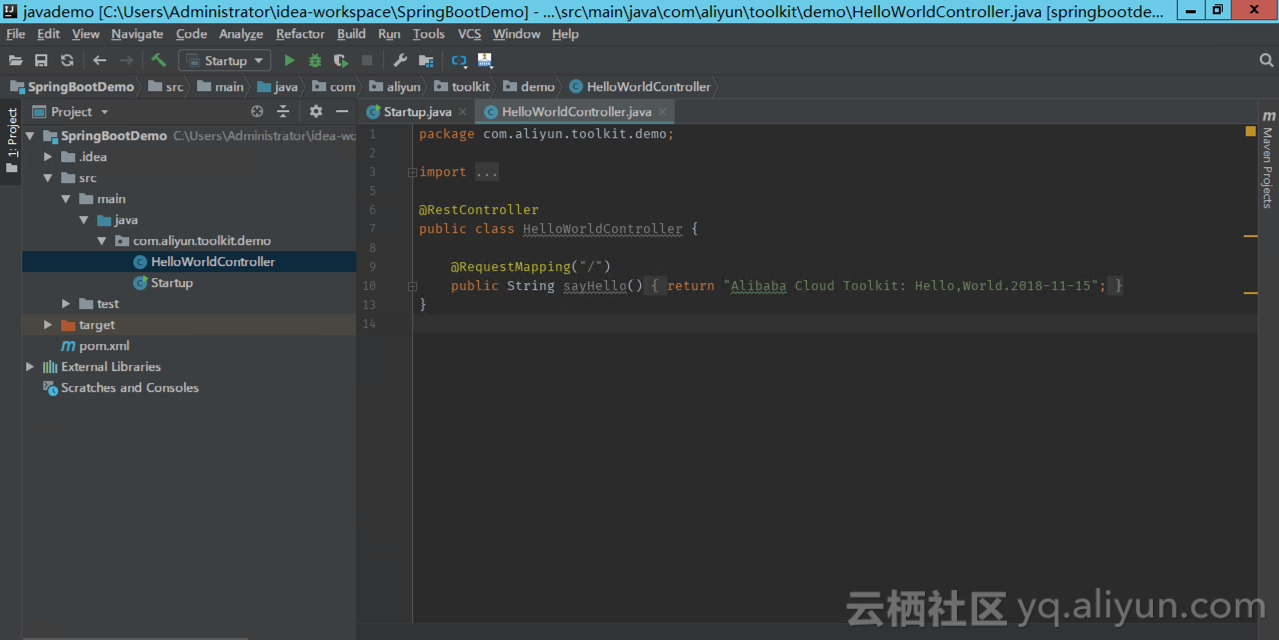
package com.aliyun.toolkit.demo;

import org.springframework.web.bind.annotation.RequestMapping;
import org.springframework.web.bind.annotation.RestController;

@RestController
public class HelloWorldController {

    @RequestMapping("/")
    public String sayHello() {
        return "Alibaba Cloud Toolkit: Hello,World.";
    }
}
Spring Boot 的启动类
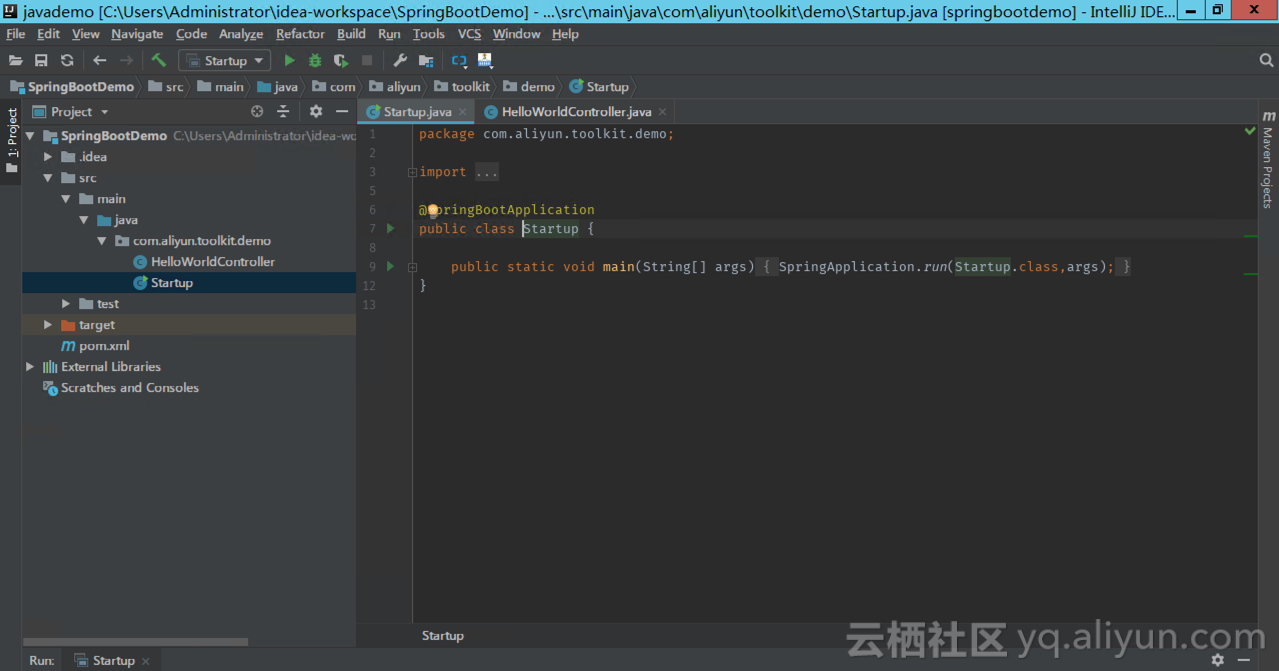
package com.aliyun.toolkit.demo;

import org.springframework.boot.SpringApplication;
import org.springframework.boot.autoconfigure.SpringBootApplication;

@SpringBootApplication
public class Startup {

    public static void main(String[] args) {
        SpringApplication.run(Startup.class,args);
    }
}上述代码就是一个标准的 Spring Boot 工程。
阿里云提供了基于 Intellij IDEA 的插件,以方便开发人员能够高效的将本地 IDE 中编写的应用程序,极速部署到 ECS中去。
插件主页:https://www.aliyun.com/product/cloudtoolkit
阿里云的这个 Intellij IDEA 插件的安装过程,和普通的插件大同小异,这里不再赘述,读者请自行安装。
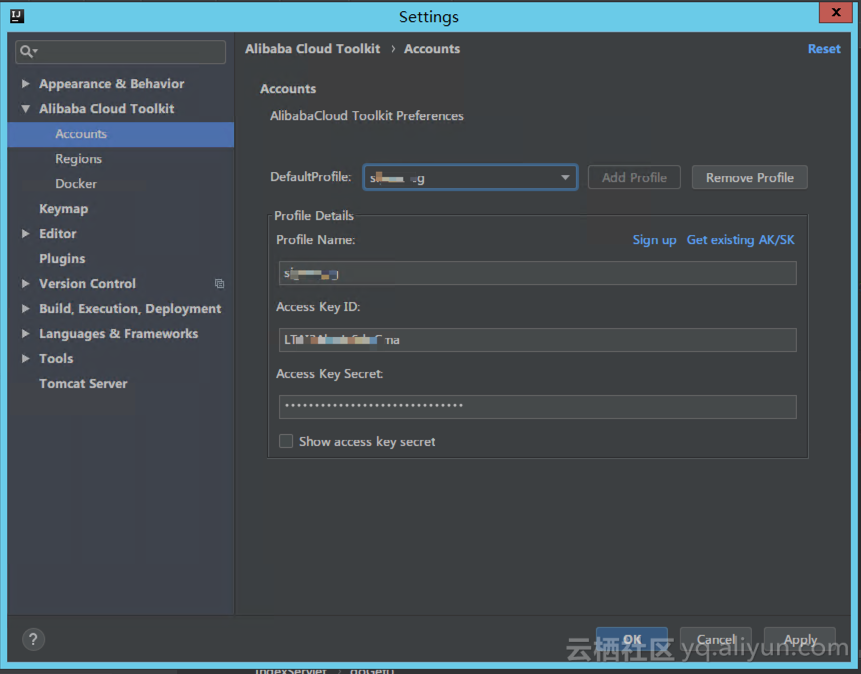
安装完插件之后,按照如下路径进行首选项配置
顶部菜单 - Tools - Alibaba Cloud Toolkit - Preferences
出现如下界面,配置阿里云账号的 AK 和 SK,即可完成首选项配置。(如果是子账号,则填写子账号的 AK 和 SK)
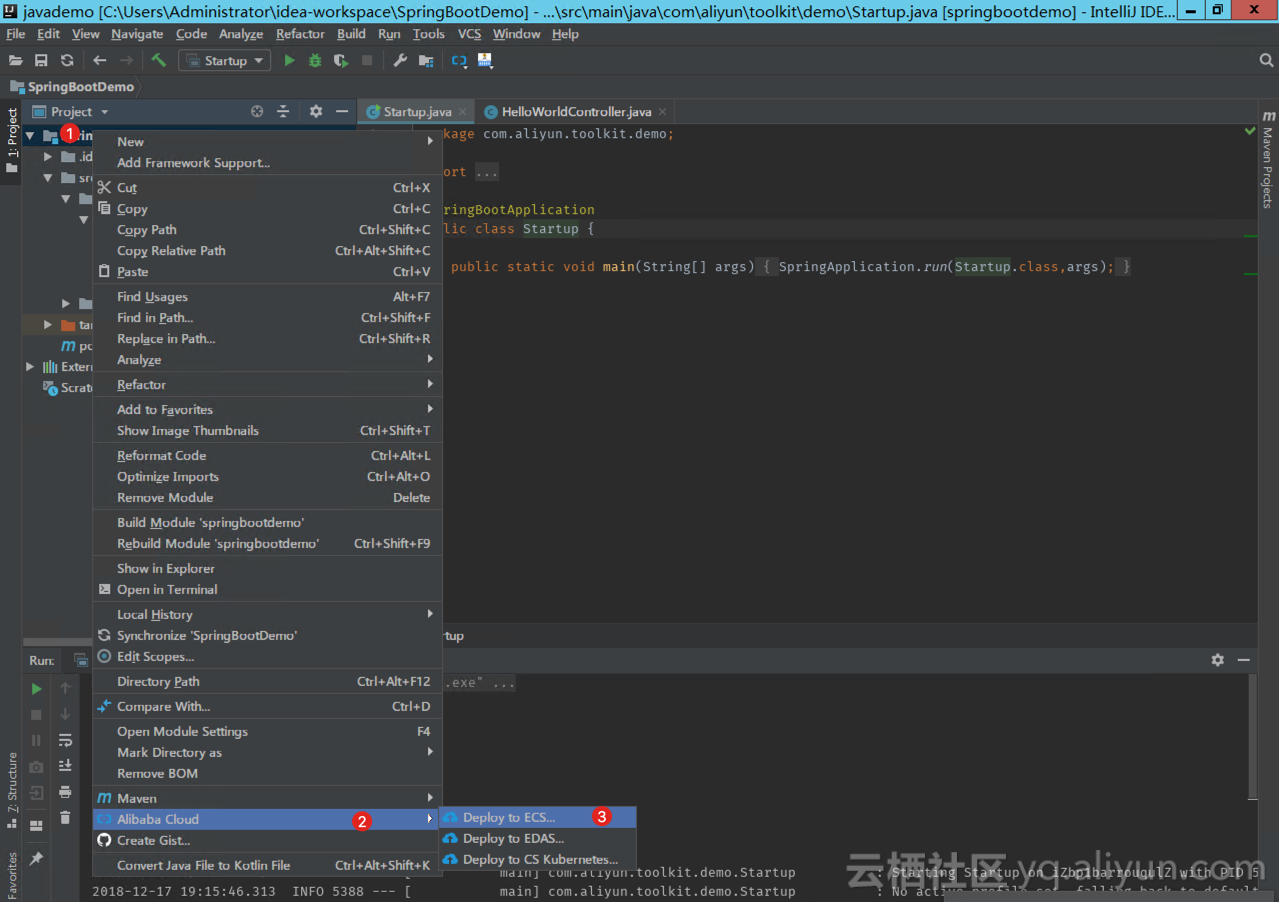
在 Intellij IDEA 中,鼠标右键项目工程名,在出现的菜单中点击 Alibaba Cloud - Deploy to ECS...,可会出现如下部署窗口:
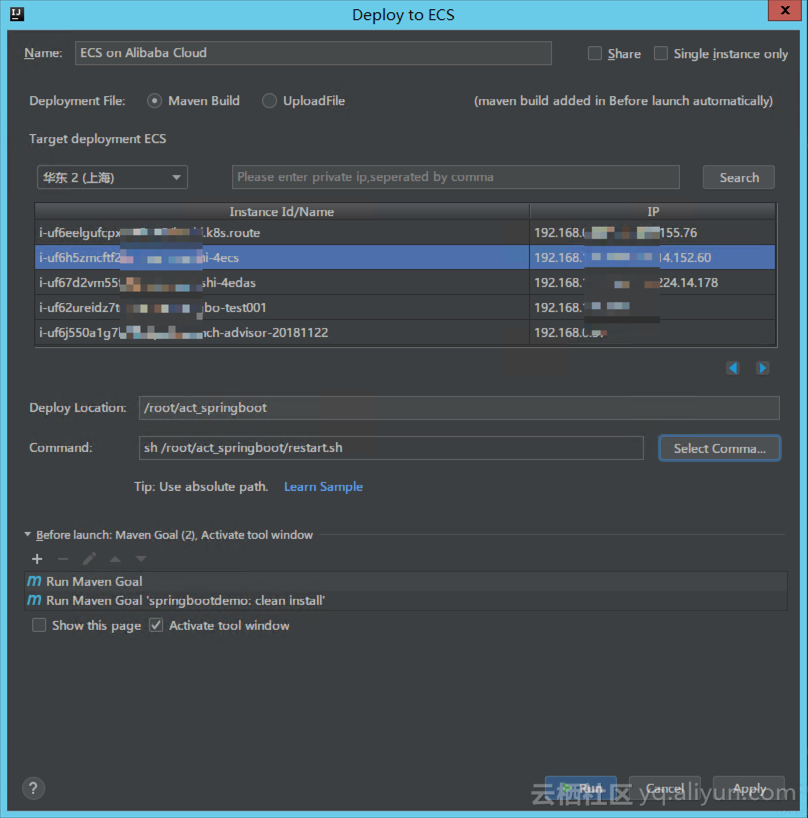
设置部署参数,然后单击 Run,即可执行部署。
Deploy File:部署文件包含两种方式。
Target Deploy ECS:在下拉列表中选择地域,然后在地域中选择要部署的 ECS 实例。
Deploy Location :输入在 ECS 上部署路径,如 /root/act_springboot
/root/act_springboot/restart.sh 内容如下:
source ~/.bash_profile
killall java
nohup java -jar /root/springbootdemo/springbootdemo-0.0.1-SNAPSHOT.jar > nohup.log 2>&1 &
Intellij IDEA 部署 Spring Boot / Spring Cloud 应用到阿里云
标签:代码 autoconf oca 阿里云 pac 选择 src href yun
原文地址:http://blog.51cto.com/nileader/2331832