标签:sed col loop enable any hid refresh png 事件
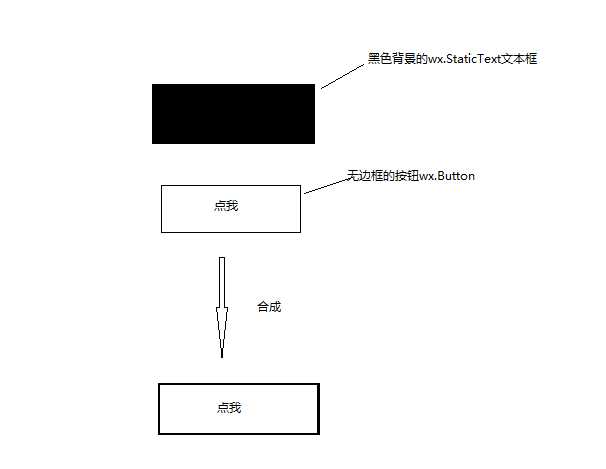
wxpython 自定义按钮的实现,和上一篇自定义文本实现的思路类似,使用一个wx.StaticText作为边框,再在之上放一个无边框的按钮wx.Button。


class MyButton(wx.Button,wx.EvtHandler):
    """自定义按钮"""
    def __init__(self,parent,title,pos,size=(60,35),borderColor=‘#EAEAEA‘,borderSize=1):
        self.button,self.border = self.__CreateButton(parent,title,pos,size,borderColor,borderSize)

    def __CreateButton(self,parent,title,pos,size,borderColor,borderSize):
        """创建自定义按钮"""
        border = wx.StaticText(parent,-1,‘‘,pos=pos,size=size)
        border.SetBackgroundColour(borderColor)
        #设置按钮在border上的位置,使其刚好露出borderSize大小的边框
        button = wx.Button(border,-1,title,size=((size[0]-borderSize*2),(size[1]-borderSize*2)),
                           pos=(borderSize,borderSize),style=wx.NO_BORDER)

        button.SetBackgroundColour(‘white‘)
        button.SetForegroundColour(‘black‘)
        return button,border

    def SetForegroundColour(self, colour):
        self.button.SetForegroundColour(colour)
        self.button.Refresh()

    def SetBackgroundColour(self, colour):
        self.button.SetBackgroundColour(colour)

    def SetBorderColour(self,colour):
        self.border.SetBackgroundColour(colour)
        self.border.Refresh()

    def Disable(self):
        self.button.Disable()

    def Enable(self, enable=True):
        self.button.Enable(enable)

    def Bind(self, event, handler, source=None, id=wx.ID_ANY, id2=wx.ID_ANY):
        self.button.Bind(event,handler)
测试代码:
# coding:utf-8
import wx

from wxpython import Mywxpython

app = wx.App()
frame = wx.Frame(None, title="Gui Test Editor", pos=(1000, 200), size=(500, 400))

panel = wx.Panel(frame)


my_button = Mywxpython.MyButton(panel,title="点我",pos=(10, 150))
frame.Show()
app.MainLoop()
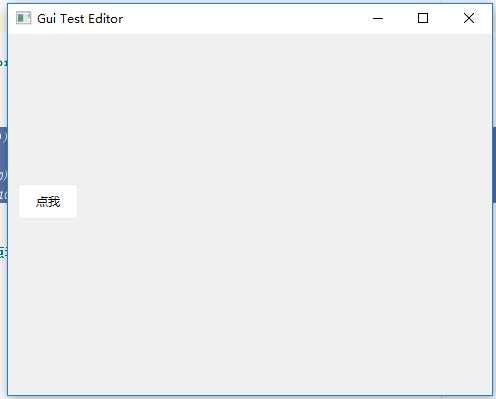
效果图:

需要什么边框,字体,颜色都可以自己设置,还有事件绑定
标签:sed col loop enable any hid refresh png 事件
原文地址:https://www.cnblogs.com/licorice/p/10162707.html