标签:new pac 开发者 ice creat 自动 etag 增加 depend
Swagger能成为最受欢迎的REST APIs文档生成工具之一,有以下几个原因:
Swagger 文档提供了一个方法,使我们可以用指定的 JSON 或者 YAML 摘要来描述你的 API,包括了比如 names、order 等 API 信息。
你可以通过一个文本编辑器来编辑 Swagger 文件,或者你也可以从你的代码注释中自动生成。各种工具都可以使用 Swagger 文件来生成互动的 API 文档。
<dependency>
    <groupId>io.springfox</groupId>
    <artifactId>springfox-swagger2</artifactId>
    <version>2.7.0</version>
</dependency>
    <dependency>
    <groupId>io.springfox</groupId>
    <artifactId>springfox-swagger-ui</artifactId>
    <version>2.7.0</version>
</dependency>
package com.example.demo.config;
import org.springframework.context.annotation.Bean;
import org.springframework.context.annotation.Configuration;

import springfox.documentation.builders.ApiInfoBuilder;
import springfox.documentation.builders.PathSelectors;
import springfox.documentation.builders.RequestHandlerSelectors;
import springfox.documentation.service.ApiInfo;
import springfox.documentation.spi.DocumentationType;
import springfox.documentation.spring.web.plugins.Docket;
import springfox.documentation.swagger2.annotations.EnableSwagger2;

/**
 * Swagger2配置类
 * 在与spring boot集成时,放在与Application.java同级的目录下。
 * 通过@Configuration注解,让Spring来加载该类配置。
 * 再通过@EnableSwagger2注解来启用Swagger2。
 */
@Configuration
@EnableSwagger2
public class SwaggerConfig {

    /**
     * 创建API应用
     * apiInfo() 增加API相关信息
     * 通过select()函数返回一个ApiSelectorBuilder实例,用来控制哪些接口暴露给Swagger来展现,
     * 本例采用指定扫描的包路径来定义指定要建立API的目录。
     *
     * @return
     */
    @Bean
    public Docket createRestApi() {
        return new Docket(DocumentationType.SWAGGER_2)
                .apiInfo(apiInfo())
                .select()
                .apis(RequestHandlerSelectors.basePackage("com.example.demo"))
                .paths(PathSelectors.any())
                .build();
    }

    /**
     * 创建该API的基本信息(这些基本信息会展现在文档页面中)
     * 访问地址:http://项目实际地址/swagger-ui.html
     * @return
     */
    private ApiInfo apiInfo() {
        return new ApiInfoBuilder()
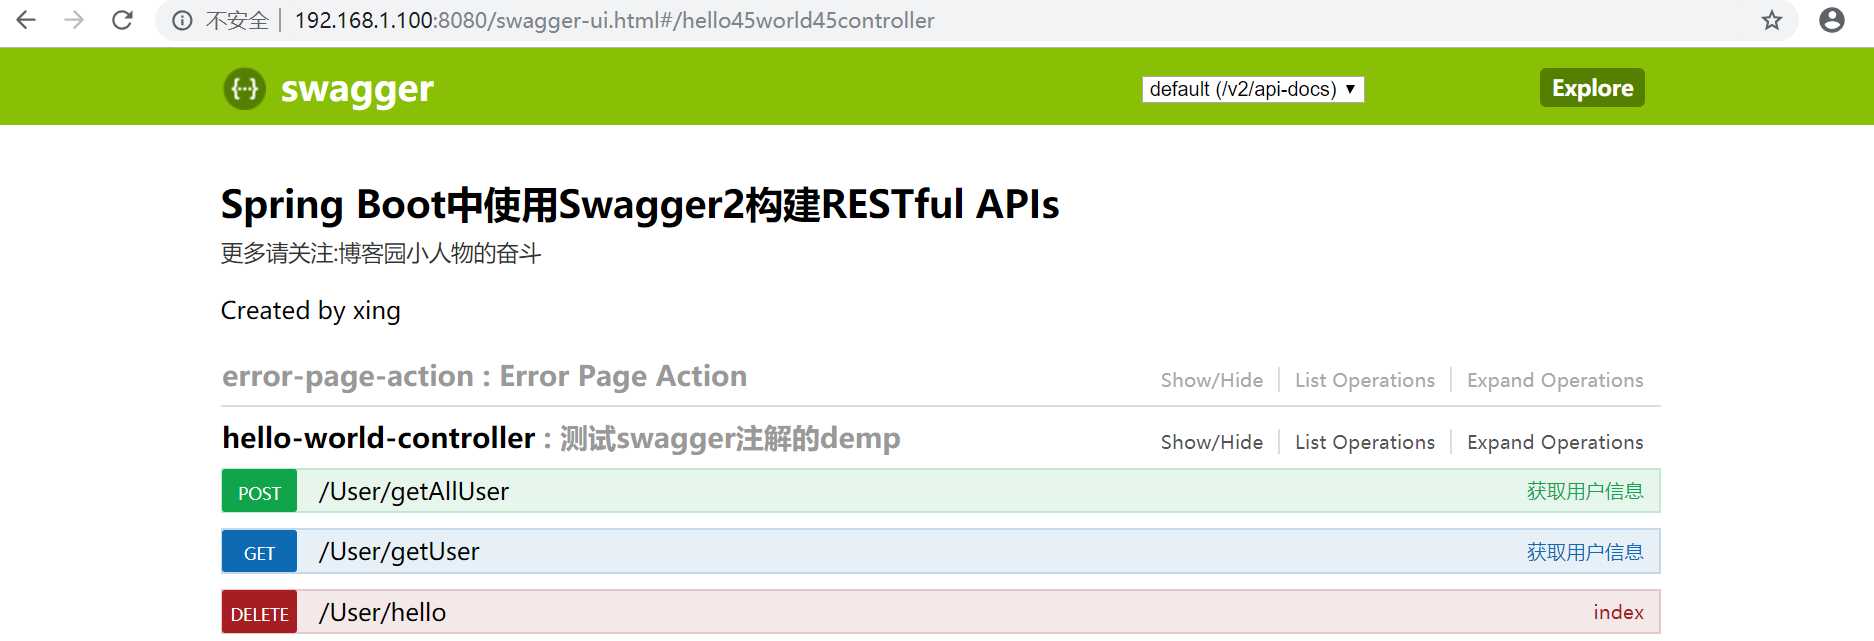
                .title("Spring Boot中使用Swagger2构建RESTful APIs")
                .description("更多请关注:博客园小人物的奋斗")
                .termsOfServiceUrl("http://www.cnblogs.com/wangzhuxing")
                .contact("xing")
                .version("1.0")
                .build();
    }
}
@Controller
@RequestMapping("/User")
@Api(description = "测试swagger注解的demo")
public class HelloWorldController {
}
package com.example.demo.bean;
import io.swagger.annotations.ApiModelProperty;
import java.io.Serializable;

public class User implements Serializable {
    @ApiModelProperty(value = "用户id" ,example = "11")
    private Long uid;
    @ApiModelProperty(value = "用户姓名",example = "小明")
    private String name;
    @ApiModelProperty(value = "用户年龄",example = "25")
    private Integer age;
    public Long getUid() {
        return uid;
    }
    public void setUid(Long uid) {
        this.uid = uid;
    }
    public String getName() {
        return name;
    }
    public void setName(String name) {
        this.name = name;
    }
    public Integer getAge() {
        return age;
    }
    public void setAge(Integer age) {
        this.age = age;
    }
}
访问:http://192.168.1.100:8080/swagger-ui.html

springboot系列十三、springboot集成swaggerUI
标签:new pac 开发者 ice creat 自动 etag 增加 depend
原文地址:https://www.cnblogs.com/wangzhuxing/p/10201846.html