标签:ide for window 莫名其妙 splay partial pen name 设置字体
原文:WPF 文本框设置了阴影效果后,因左右的transform变化引发的拉伸渲染问题最近遇到一个动画执行时,文本位置变化的问题。如下图:

如果你仔细看的话,当星星变小时,文本往下降了几个像素。
貌似有点莫名其妙,因为控件之间并不在同一个Panel布局控件中,不存在高度限制变化引发此类问题。所以有了如下测试
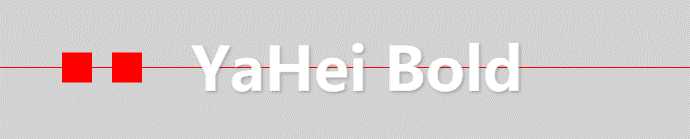
1. 首先新建了一个空项目,前面是一个带阴影的文本,后面用一张普通图片循环变更它的高度。尝试了下,还是会移动Y轴的像素
 影响很大
影响很大
2. 后面使用用普通的布局控件Grid代替。依然如此
 影响较大
影响较大
所以此问题不是图片动画造成的。
3. 于是,我再添加个按钮,测试带阴影的非文本控件

只有文本被影响了,按钮不会被影响?
我们使用放大镜,放大到500%,发现按钮中的文本,上下位置其实还是会有细微的变化 。
所以,按钮等控件其实也是会被影响的。只是幅度较小。
5. 给按钮设置,被影响文本同样的字体系列。

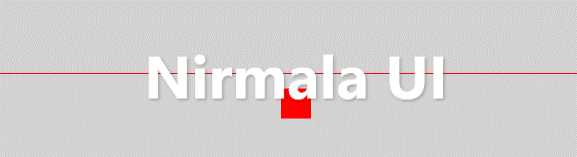
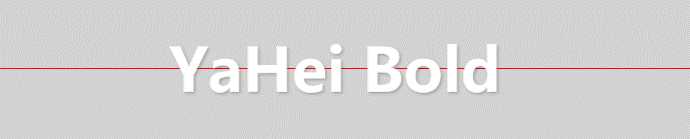
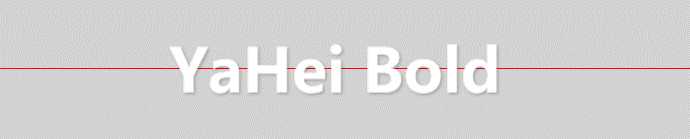
按钮也被影响了。。。所以,是字体原因!那么,这种字体类型是什么呢?
当前字体: FontFamily="Microsoft YaHei Bold"。
而上一步操作4中,按钮的字体类型是默认字体,即为Microsoft YaHei UI。
所以Microsoft YaHei Bold的影响比Microsoft YaHei UI大很多?
6. 我们回到只有文本的测试模式
 影响较大
影响较大
 影响较小
影响较小
所以,我们可以得出是Y轴位置变化,的确与字体类型有关。

 变动很大
变动很大

 变动很小,使用放大镜500%才能看到细微的变化
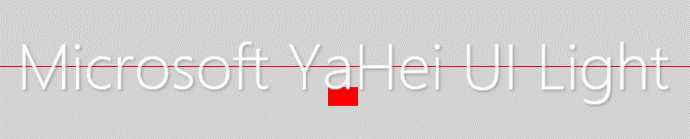
通过如上测试,发现只有微软雅黑UI字体类型,影响较小。并且在步骤6中,测试通的是没有设置字体类型的,没有设置字体类型,其实默认是 Microsoft YaHei UI。所以字体类型影响相对较小的是Microsoft YaHei UI
根据上述的字体类型测试,我们添加俩个文本框,使用Microsoft YaHei UI作为字体类型,设置字体大小分别为30和60。
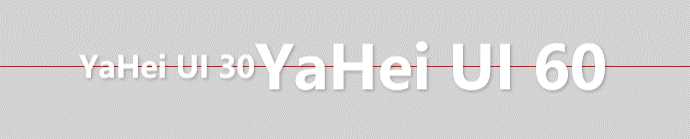
通过如上对比,发现字体大小30的文本,受到的影响很明显。字体为60的文本,受到的影响较小。
综上,得出的结论是,Y轴变化的幅度,与字体类型、字体大小有关。具体的详细幅度,有待确认~~~
我们将高度变换的区域移动下位置,也不会有影响。
 测试通过
测试通过
有多个影响因素时,不要设置在左右,否则也有影响。
 测试不通过
测试不通过
 测试通过
测试通过
Demo前端代码:

 1 <Grid>
 2     <Border VerticalAlignment="Center" BorderBrush="Red" BorderThickness="0 1 0 0"></Border>
 3
 4     <Grid HorizontalAlignment="Center" VerticalAlignment="Center" Height="80" Width="60" Margin="-460 0 0 0">
 5         <Grid x:Name="StoryControl" Background="Red"
 6                    Height="30" Width="30" HorizontalAlignment="Center" VerticalAlignment="Center" RenderTransformOrigin="0.5,0.5"/>
 7     </Grid>
 8
 9     <Grid HorizontalAlignment="Center" VerticalAlignment="Center" Height="80" Width="60" Margin="460 0 0 0">
10         <Grid x:Name="StoryControl1" Background="Red"
11               Height="30" Width="30" HorizontalAlignment="Center" VerticalAlignment="Center" RenderTransformOrigin="0.5,0.5"/>
12     </Grid>
13
14     <StackPanel Orientation="Horizontal" HorizontalAlignment="Center" VerticalAlignment="Center">
15         <TextBlock x:Name="TestTextBlock0"  VerticalAlignment="Center" HorizontalAlignment="Center"
16                    Text="YaHei Bold" Foreground="White" LineHeight="18" FontSize="60" FontFamily="Microsoft YaHei Bold">
17             <TextBlock.Effect>
18                 <DropShadowEffect Color="#000000" BlurRadius="4" ShadowDepth="2" Opacity="0.24"/>
19             </TextBlock.Effect>
20         </TextBlock>
21     </StackPanel>
22 </Grid>
再尝试将阴影效果删除,也不会有影响
 测试通过
测试通过
1.添加一个文本/按钮控件
2.此显示控件设置阴影(条件一)
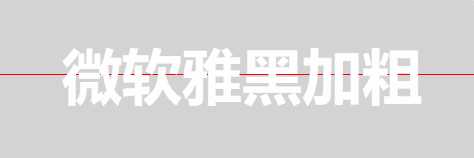
3.此显示控件设置字体类型FontFamily=“Microsoft YaHei Bold”(影响因素,不是条件),如下
1     <TextBlock x:Name="TestTextBlock1"  VerticalAlignment="Center" HorizontalAlignment="Center"
2                 Text="微软雅黑加粗" Foreground="White" LineHeight="18" FontSize="60" FontFamily="Microsoft YaHei Bold">
3         <TextBlock.Effect>
4             <DropShadowEffect Color="#000000" BlurRadius="4" ShadowDepth="2" Opacity="0.24"/>
5         </TextBlock.Effect>
6     </TextBlock>
4.在此显示控件的显示区域,变更其它控件的高度(条件二)。
完整案例如下:
 1 <Window x:Class="TextBlockShadowEffectForStoryBoardDemo.MainWindow"
 2         xmlns="http://schemas.microsoft.com/winfx/2006/xaml/presentation"
 3         xmlns:x="http://schemas.microsoft.com/winfx/2006/xaml"
 4         xmlns:d="http://schemas.microsoft.com/expression/blend/2008"
 5         xmlns:mc="http://schemas.openxmlformats.org/markup-compatibility/2006"
 6         xmlns:local="clr-namespace:TextBlockShadowEffectForStoryBoardDemo"
 7         mc:Ignorable="d" Title="MainWindow" Height="600" Width="800" Background="LightGray">
 8     <Window.Resources>
 9         <Storyboard x:Key="Storyboard.ChangeHeight" DesiredFrameRate="20">
10             <DoubleAnimationUsingKeyFrames Storyboard.TargetName="StoryControl" Storyboard.TargetProperty="Height" RepeatBehavior="Forever">
11                 <EasingDoubleKeyFrame KeyTime="0:0:0" Value="0" />
12                 <EasingDoubleKeyFrame KeyTime="0:0:0.1" Value="15" />
13                 <EasingDoubleKeyFrame KeyTime="0:0:0.2" Value="30" />
14                 <EasingDoubleKeyFrame KeyTime="0:0:0.4" Value="30" />
15                 <EasingDoubleKeyFrame KeyTime="0:0:0.8" Value="15" />
16                 <EasingDoubleKeyFrame KeyTime="0:0:1.0" Value="0" />
17                 <EasingDoubleKeyFrame KeyTime="0:0:2" Value="0" />
18             </DoubleAnimationUsingKeyFrames>
19         </Storyboard>
20     </Window.Resources>
21     <Grid>
22         <Border VerticalAlignment="Center" BorderBrush="Red" BorderThickness="0 1 0 0"></Border>
23
24         <Grid HorizontalAlignment="Center" VerticalAlignment="Center" Height="80" Width="60" Margin="0 60 0 0">
25             <Grid x:Name="StoryControl" Background="Red"
26                        Height="30" Width="30" HorizontalAlignment="Center" VerticalAlignment="Center" RenderTransformOrigin="0.5,0.5"/>
27         </Grid>
28         <TextBlock x:Name="TestTextBlock1"  VerticalAlignment="Center" HorizontalAlignment="Center"
29                 Text="微软雅黑加粗" Foreground="White" LineHeight="18" FontSize="60" FontFamily="Microsoft YaHei Bold">
30             <TextBlock.Effect>
31                 <DropShadowEffect Color="#000000" BlurRadius="4" ShadowDepth="2" Opacity="0.24"/>
32             </TextBlock.Effect>
33         </TextBlock>
34     </Grid>
35 </Window>
 1     /// <summary>
 2     /// MainWindow.xaml 的交互逻辑
 3     /// </summary>
 4     public partial class MainWindow : Window
 5     {
 6         public MainWindow()
 7         {
 8             InitializeComponent();
 9             this.Loaded += MainWindow_Loaded;
10         }
11
12         private void MainWindow_Loaded(object sender, RoutedEventArgs e)
13         {
14             var storyboard = Resources["Storyboard.ChangeHeight"] as Storyboard;
15             storyboard?.Begin();
16         }
17     }
界面显示:

测试Demo请点击下载:https://files.cnblogs.com/files/kybs0/TextBlockShadowEffectDemo.zip
按照如上重现步骤,有三个条件才会出现此问题。
1.设置了阴影效果 2.显示区域有宽高变更 3.字体类型/字体大小是一个影响幅度因素(影响较小的字体类型与字体大小组合,例如:微软雅黑UI+字体大小60)
针对这些条件,我们给出规避的解决方案
不设置阴影效果
测试通过
将高度变换的区域移动一点位置,不在带阴影的控件显示区域内。
 测试通过
测试通过
注:至于如上测试步骤中左右结构的多个影响因素
对于带阴影有控件,如俩侧控件同时有高度变化,引发的Y轴位置变化问题,暂时无规避方案。。。
设置一个字体类型+字体大小的最小影响组合,例如FontFamily="Microsoft YaHei UI",FontSize=60;
如果需要加粗,可以通过设置FontWeight加粗:
影响很小,不用放大镜500%查看的话,看不到影响,可以忽略。
注:如上规避措施只是临时解决方案,如小伙伴们有其它方案或者发现其它根本原因,可以联系我~谢谢
WPF 文本框设置了阴影效果后,因左右的transform变化引发的拉伸渲染问题
标签:ide for window 莫名其妙 splay partial pen name 设置字体
原文地址:https://www.cnblogs.com/lonelyxmas/p/10249483.html
