标签:其它 eve 就是 html 先后 php-fpm lis 技术 jpeg
[root@lml ~]# rpm -qa | grep mysql // 这个命令就会查看该操作系统上是否已经安装了mysql数据库
有的话,我们就通过 rpm -e 命令 或者 rpm -e –nodeps 命令来卸载掉
[root@lml ~]# rpm -e mysql // 普通删除模式
[root@lml ~]# rpm -e --nodeps mysql // 强力删除模式,如果使用上面命令删除时,提示有依赖的其它文件,则用该命令可以对其进行强力删除
[root@lml ~]# yum list | grep mysql
yum install -y mysql-server mysql mysql-devel
yum install -y mysql-server mysql mysql-devel
此时我们可以通过如下命令,查看刚安装好的mysql-server的版本
rpm -qi mysql-server
# service mysqld restart
停止 mysqld:                                             [确定]
正在启动 mysqld:                                          [确定]
# chkconfig --list | grep mysqld
mysqld             0:关闭    1:关闭    2:关闭    3:关闭    4:关闭    5:关闭    6:关闭
# chkconfig mysqld on
# chkconfig --list | grep mysql
mysqld             0:关闭    1:关闭    2:启用    3:启用    4:启用    5:启用    6:关闭
/usr/bin/mysqladmin -u root password ‘new-password‘ // 为root账号设置密码
所以我们可以通过 该命令来给我们的root账号设置密码(注意:这个root账号是mysql的root账号,非Linux的root账号)
# mysqladmin -u root password ‘123456‘ // 通过该命令给root账号设置密码为 123456
创建新用户:
CREATE USER ‘root‘@‘localhost‘ IDENTIFIED BY ‘123456‘;
mysql -u root -p
GRANT ALL PRIVILEGES ON *.* TO ‘root‘@‘%‘IDENTIFIED BY ‘123456‘ WITH GRANT OPTION;
flush privileges;
退出:
quit
简单的命令:
# service mysqld start    ##启动apache
# service mysqld stop    ##关闭 apache
# service mysqld restart    ## 重启 apache
# chkconfig mysqld on    ## 将 apache 设为开机启动
# ps -ef|grep mysqld    ## 查看 apache 是否启动
yum 安装 apache,遇见提示,输入 ‘y‘
# yum install httpd
启动apache,出现如下提示:
# service httpd restart
Stopping httpd: [  OK  ]
Starting httpd: httpd: Could not reliably determine the server‘s fully qualified domain name, using 172.18.46.17 for ServerName
解决方案:取消注释,重新启动
vi /etc/httpd/conf/httpd.conf
ServerName www.example.com:80  (将这一行的注释取消)
结果:
# service httpd restart
Stopping httpd: [  OK  ]
Starting httpd: [  OK  ]
简单的命令:
# service httpd start    ##启动apache
# service httpd stop    ##关闭 apache
# service httpd restart    ## 重启 apache
# chkconfig httpd on    ## 将 apache 设为开机启动
# ps -ef|grep httpd    ## 查看 apache 是否启动
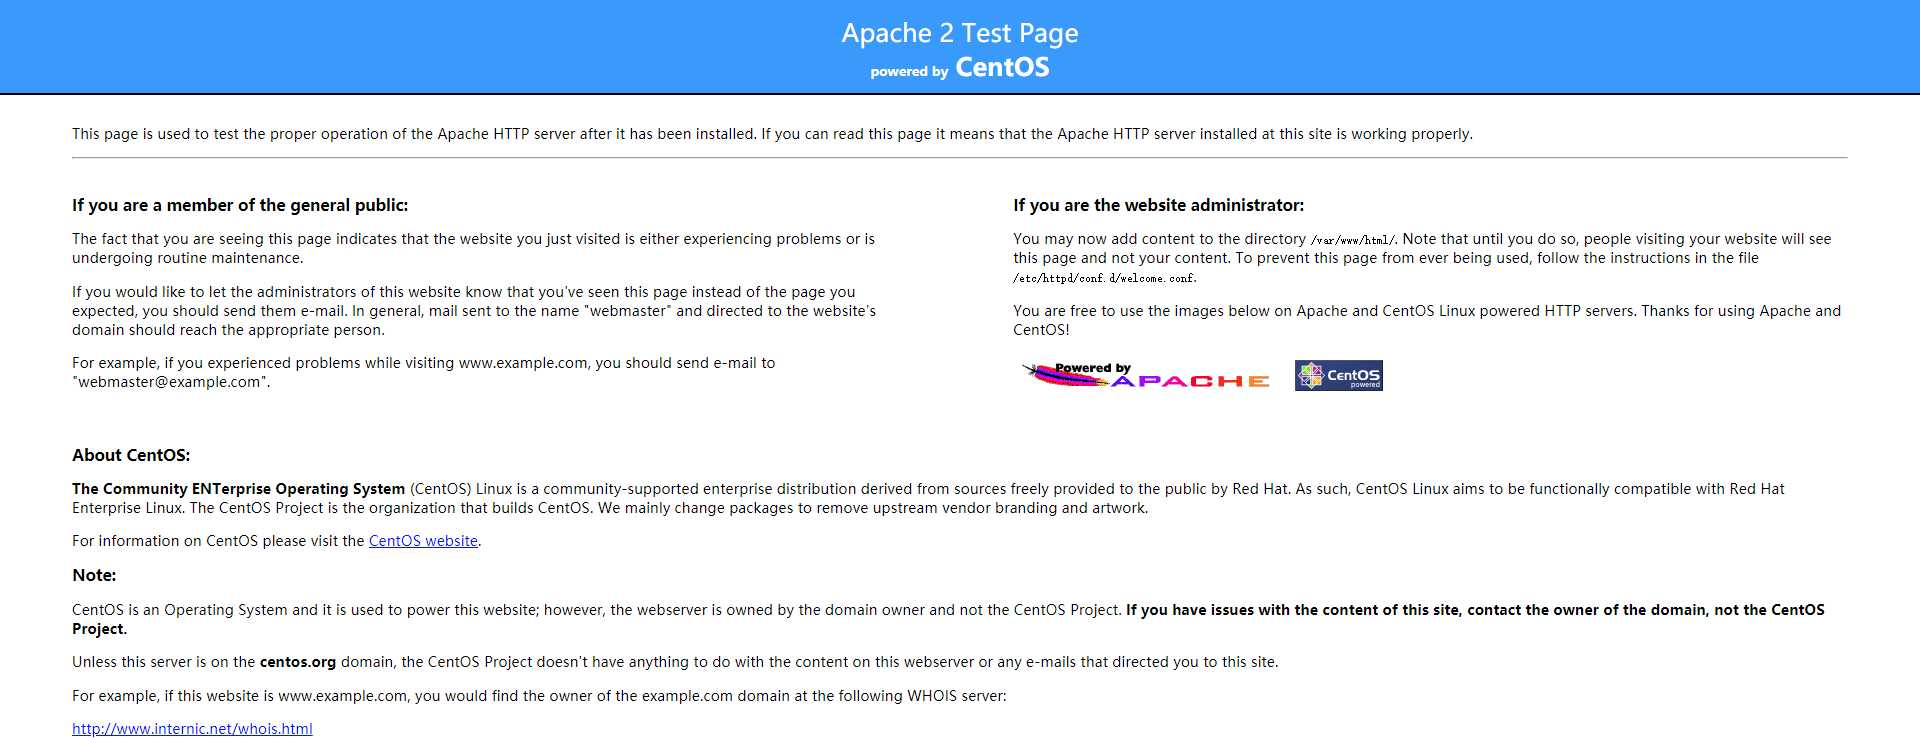
进入我们的 ip:port (未修改配置的话,默认 80 端口)

yum 安装 php
1、安装 php 依赖
yum install gcc libxml2-devel openssl-devel curl-devel -y
2、依旧是安装依赖(遇见提示,按 ‘y‘)
yum install php-mysql php-gd libjpeg* php-imap php-ldap php-odbc php-pear php-xml php-xmlrpc php-mbstring php-mcrypt php-bcmath mhash libmcrypt libmcrypt-devel php-fpm php-redis php-solr
3、安装 php (安装依赖与安装 php 之间无先后顺序)
yum install php
4、对 php 增加可执行权限
chmod +x /etc/init.d/php-fpm
5、开启 php
# service php-fpm start
Starting php-fpm: [  OK  ]
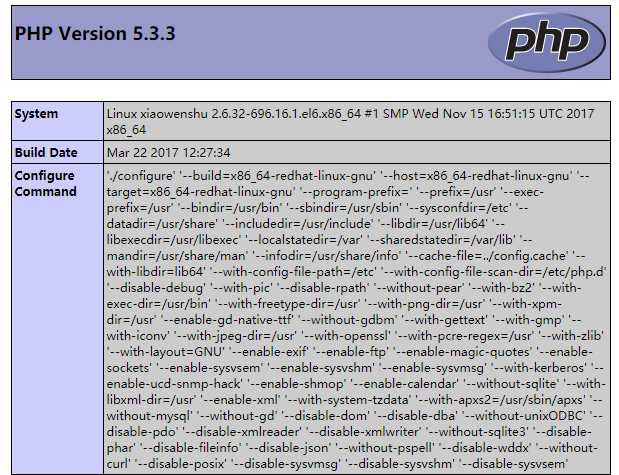
6、验证 php 是否ok,在 apache 的 工程路径: /var/www/html 下 ,新建一个 info.php
<?php
    phpinfo()
?>
7、将 apache 重启,在浏览器内输入:ip/info.php (ip指的是 apache 的ip和端口,我这里默认是80就省略)

出现 php 的具体信息,就代表 php 安装完成,并且成功和 apache 建立了关联。
Linux 安装 mysql、apache、php、tomcat、nginx
标签:其它 eve 就是 html 先后 php-fpm lis 技术 jpeg
原文地址:https://www.cnblogs.com/xiaowenshu/p/10253788.html