标签:des style blog http color io os ar for
在游戏中经常会需要用到寻路,Asset Store里面有很多相关插件。这里介绍U3D自带的Navmesh。
1.地形
首先新建一个Plane当地表。
然后在Plane上随意摆放些几何物体当作障碍物(注意预留能够让角色通过的路径)并给这些障碍物添加rigidbody。
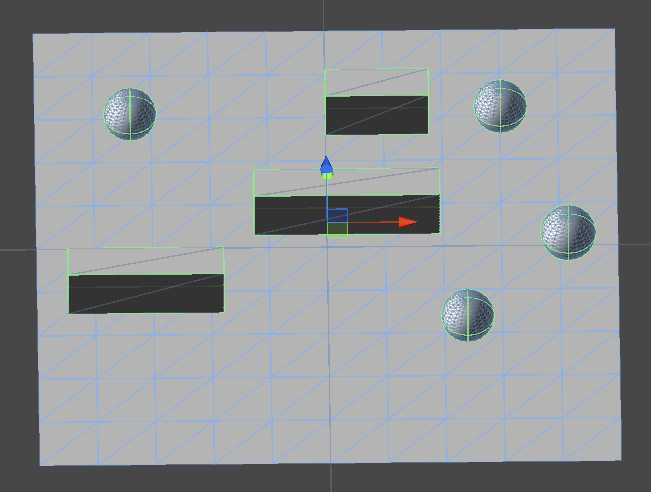
将这些障碍物同地表打组(把障碍物拖到Plane下为子物体),以方便接下来操作。
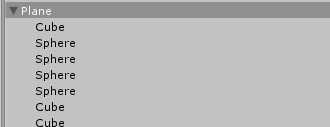
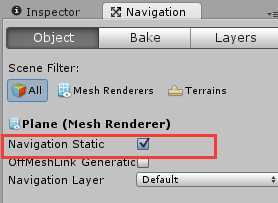
选中Plane组,打开Navigation窗口,勾选Navigation Static,提示同时设置子物体,点确定。
点击Navigation面板下的Bake,会提示保存场景,确定并保存。
烘培完后如图(蓝色部分即为可以通过的路径):
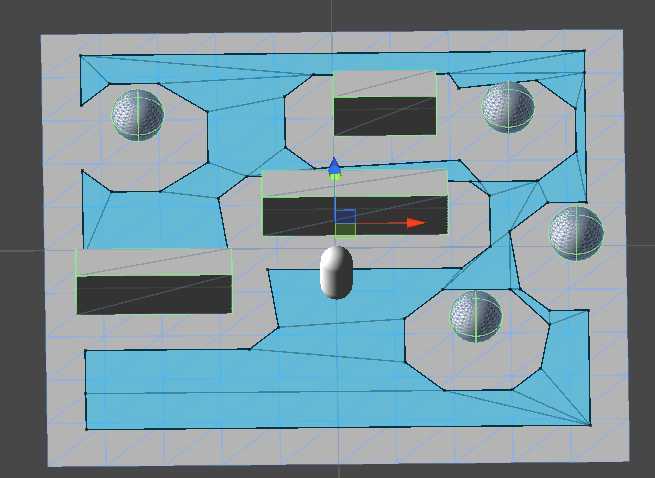
如果烘培出的路径不合理,可以调整障碍物后再烘培。
将Plane及其子物体的tag设为Terrain。
2.角色
添加一个Capsule当角色。同样给它添加rigidbody组件。
新建脚本CharacterController:

 1 public class PlayerController : MonoBehaviour
 2 {
 3
 4     private NavMeshAgent agent;
 5
 6     // Use this for initialization
 7     void Start ()
 8     {
 9         agent = GetComponent<NavMeshAgent>();
10     }
11
12     // Update is called once per frame
13     void Update () {
14
15         //鼠标点击场景设置目标点
16         if (Input.GetMouseButtonDown(0))
17         {
18             Ray ray = Camera.main.ScreenPointToRay(Input.mousePosition);
19             RaycastHit hit;
20             //如果点击目标点为地形
21             if (Physics.Raycast(ray,out hit))
22             {
23                 if (!hit.collider.tag.Equals("Terrain"))
24                 {
25                     return;
26                 }
27
28                 Vector3 point = hit.point;
29                 //角色转向
30                 transform.LookAt(new Vector3(point.x,transform.position.y,point.z));
31                 //设置目标点
32                 agent.SetDestination(point);
33             }
34         }
35
36         //正在行走,则输出提示
37         if (agent.remainingDistance > 0)
38         {
39             Debug.Log("seeking");
40         }
41     }
42 }
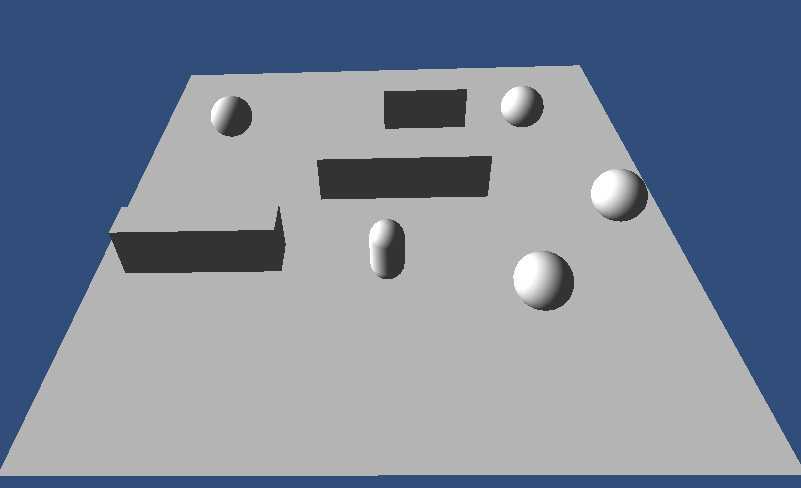
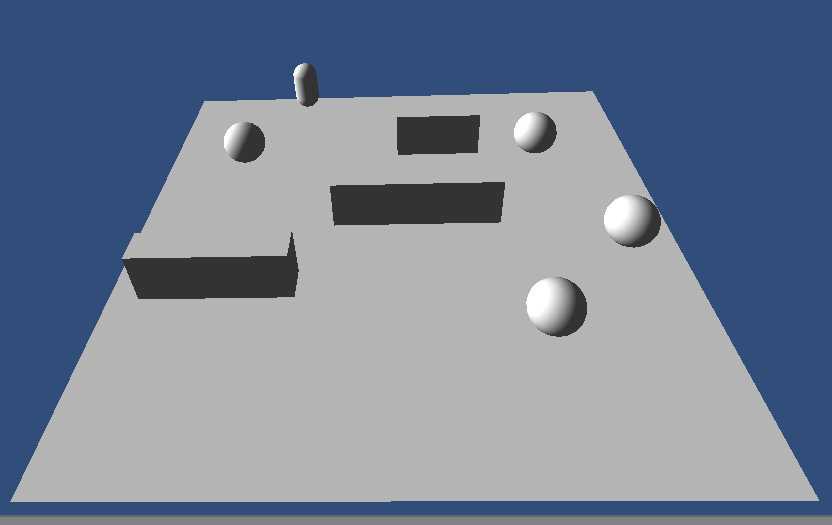
运行场景,点击目标点,看看是不是寻路成功。
标签:des style blog http color io os ar for
原文地址:http://www.cnblogs.com/seancheung/p/4028231.html