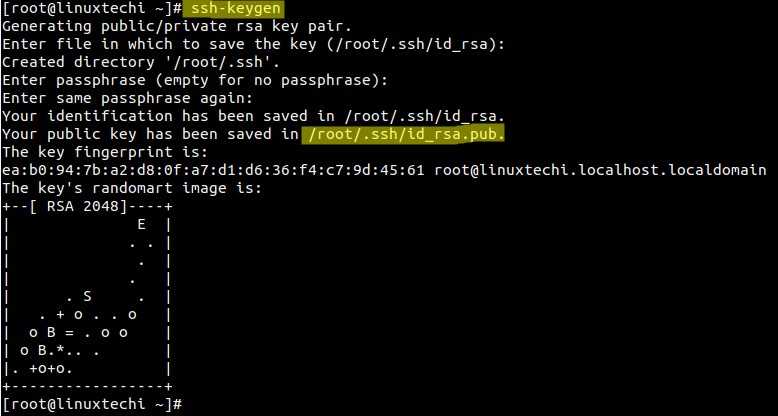
若提示“Permissions 0644 for ‘/root/.ssh/id_rsa’ are too open”,并且断开连接。
仔细阅读了一下ssh文档和这句提示,大概的意思时ssh的私有密钥的权限开放尺度太大了,可以供人随意欣赏了,ssh自身的策略关闭了ssh。
解决方案:将权限由0644降低为0600
chmod 0600 ~/.ssh/id_rsa
二、安装rsync + lsyncd
centos7:  yum -y install lsyncd
ubuntu18: apt install lsyncd

看具体情况  安装lsyncd依赖包
centos的配置文件是/etc/lsyncd.conf

ubuntu的配置文件是/etc/lsyncd/lsyncd.conf.lua

且ubuntu要手动创建/etc/lsyncd文件夹、log文件、status文件,centos不用 其他都一样
三、配置lsyncd
1.如果有example案例文件复制成配置文件
cp /usr/share/doc/lsyncd-2.1.5/examples/lrsync.lua /etc/lsyncd.conf
2. 编辑lsyncd配置文件
centos 7
位置:/etc/lsyncd.conf
----
-- User configuration file for lsyncd.
--
-- Simple example for default rsync, but executing moves through on the target.
--
-- For more examples, see /usr/share/doc/lsyncd*/examples/
--
-- 分发服务器
settings {
    logfile ="/var/log/lsyncd/lsyncd.log",   ---->需要配置或创建具体的文件目录或者文件
    statusFile = "/var/log/lsyncd/lsyncd.stat",
    statusInterval = 1,
    maxProcesses = 10, ---->这里变成10会报错  只能1个进程
    nodaemon = false,
    maxDelays = 7
}
sync{
	 default.rsyncssh,
	 source="/www/wwwroot/www.xxx.com",
	 host="192.168.0.1",
	 init = false, --->一般为false 服务启动的时候不会报错
	 targetdir="/www/wwwroot/test.com",
	 delete = true,
     delay = 0,
     rsync = {
        binary = "/usr/bin/rsync",
        archive = true, --归档
        compress = true, --压缩
        verbose = true,
        owner = true,   --属主
        perms = true,   --权限
        _extra = {"--bwlimit=2000"},
    },
    ssh = {
        port = 22
    }
}
sync{
	 default.rsyncssh,
	 source="/www/wwwroot/www.xxx.com",
	 host="192.168.0.2",
	 init = false,
	 targetdir="/www/wwwroot/test.com",
	 delete = true,
     delay = 0,
     rsync = {
        binary = "/usr/bin/rsync",
        archive = true, --归档
        compress = true, --压缩
        verbose = true,
        owner = true,   --属主
        perms = true,   --权限
        _extra = {"--bwlimit=2000"},
    },
    ssh = {
        port = 22
    }
}
双向同步
ubuntu 18
文件位置: /etc/lsyncd/lsyncd.conf.lua
settings {
   logfile = "/var/log/lsyncd/lsyncd.log",
   statusFile = "/var/log/lsyncd/lsyncd.status"
}
sync {
   default.rsyncssh,
   source = "/www/wwwroot/test.com",
   host = "47.244.107.27",
   targetdir = "/www/wwwroot/www.XXX.com",
   init = false,
   delay=0,
   rsync  = {
      binary    = "/usr/bin/rsync",
      archive   = true,
      compress  = true, --压缩传输默认为true。在带宽与cpu负载之间权衡,本地目录同步可以考虑把它设为false
      verbose   = true
   },
   ssh   = {
      port  = 22
   }
}
四、启动服务,并设置开机启动
1. 启动lsyncd服务
-----centos7
lsyncd /etc/lsyncd.conf   ---->检查配置信息是否正确
systemctl start lsyncd
systemctl status lsyncd
systemctl restart lsyncd
-----ubuntu18
/etc/init.d/lsyncd restart
/etc/init.d/lsyncd start
/etc/init.d/lsyncd status
----------------------------
2. 启动完成查看lsyncd状态,确保lsync启动成功
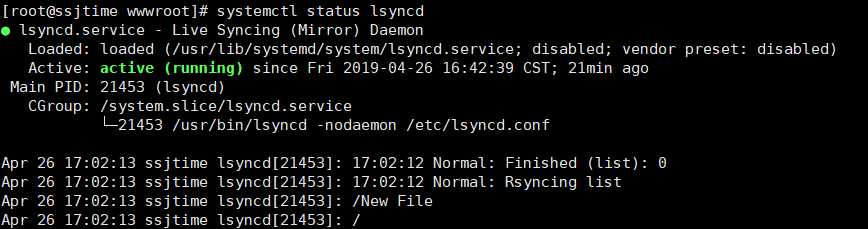
3. 设置开机启动
systemctl enable lsyncd