标签:参考 asp 后台 一段 repeat 命令注入 apache目录 init BMI
什么是表单
- 表单在网页中主要负责数据采集功能。
- 一个表单有三个基本组成部分:
- 表单标签:这里面包含了处理表单数据所用CGI程序的URL以及数据提交到服务器的方法。
- 表单域:包含了文本框、密码框、隐藏域、多行文本框、复选框、单选框、下拉选择框和文件上传框等。
- 表单按钮:包括提交按钮、复位按钮和一般按钮;用于将数据传送到服务器上的CGI脚本或者取消输入,还可以用表单按钮来控制其他定义了处理脚本的处理工作
浏览器可以解析运行什么语言
- 支持HTML(超文本标记语言)、XML(可扩展标记语言)以及Python、PHP、JavaScript、ASP等众多脚本语言。
WebServer支持哪些动态语言
- JavaScript、ASP、PHP、Ruby等脚本语言,ASP基于IIS WEB SERVER,是微软的服务器端脚本技术,PHP基于APACHE WEB SERVER,与ASP有几分类似,都是一种在服务器端执行的嵌入HTML文档的脚本语言。
service apache2 start命令可打开Apache服务。
127.0.0.1,如果可以打开Apache的默认网页,则开启成功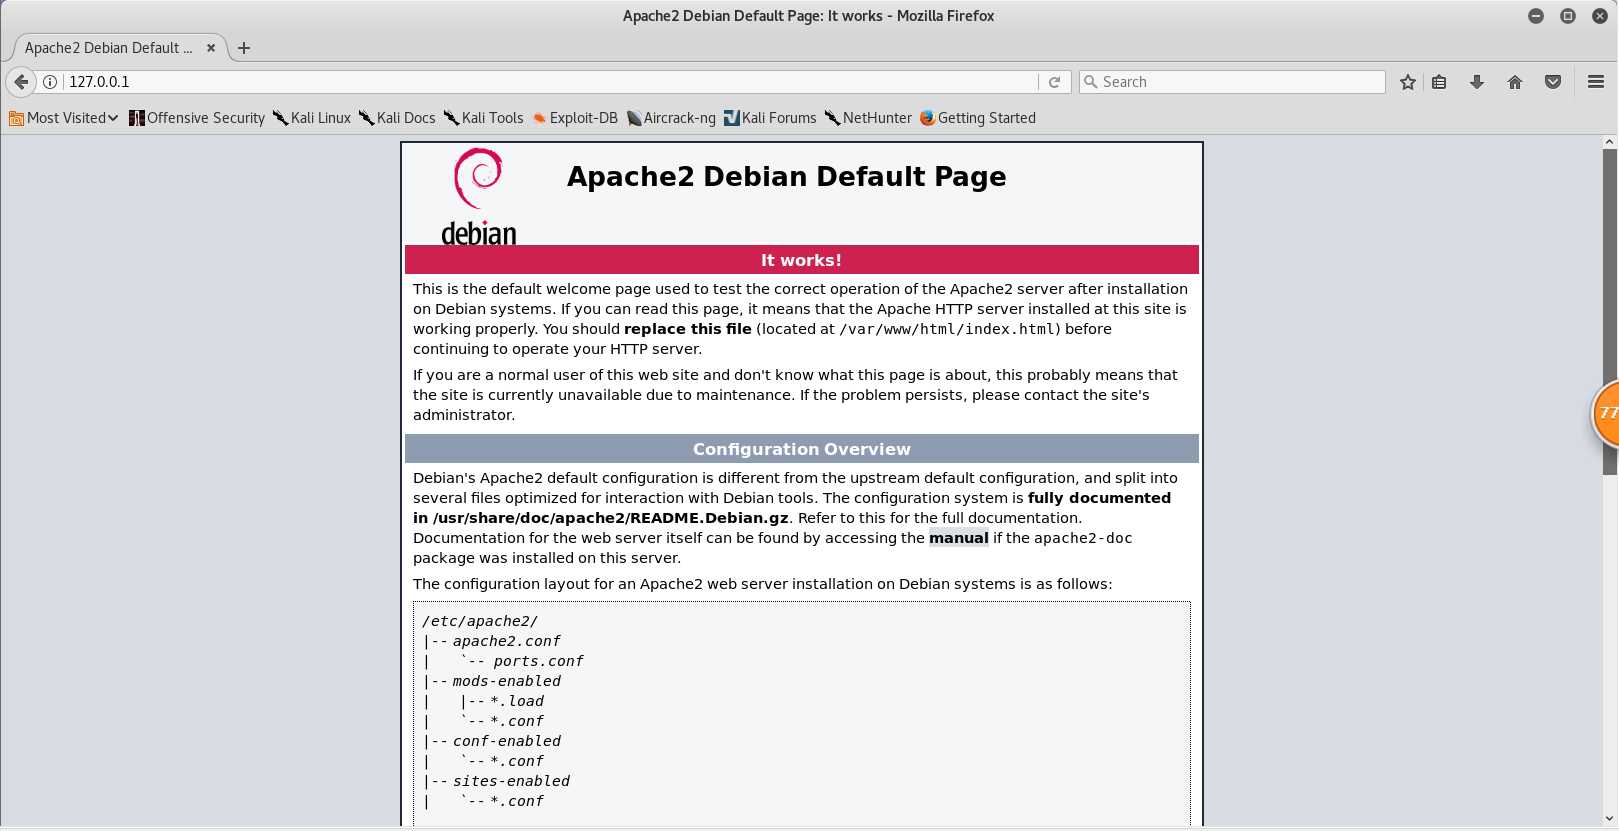
cd /var/www/html进入Apache目录下,新建一个含有表单的html文件test.html
/var/www/html中后,直接用./图片名的方式即可指定图片的位置。<form action="login.php" method="post" >login.html的内容如下
<!DOCTYPE html PUBLIC "-//W3C//DTD HTML 4.01 Transitional//EN" "http://www.w3.org/TR/html4/loose.dtd">
<html lang="en">
<head>
<meta http-equiv="Content-Type" content="text/html; charset=utf-8">
<title>登陆页面</title>
<link REL="stylesheet" TYPE="text/css">
<style type="text/css">
html{
  width: 100%;
  height: 100%;
  overflow: hidden;
  font-style: sans-serif;
 }
 input{
  width: 278px;
  height: 18px;
  margin-bottom: 10px;
  outline: none;
  padding: 10px;
  font-size: 13px;
  color:  #DCDCDC;
  border-top: 1px solid #ffffff;
  border-left: 1px solid #ffffff;
  border-right: 1px solid #ffffff;
  border-bottom: 1px solid #ffffff;
  border-radius: 4px;
  background-color: transparent;
 }
.but{
  width: 300px;
  min-height: 40px;
  display: block;
  background-color: transparent;
  border: 1px solid #a53f51;
  color: #fff;
  padding: 9px 14px;
  font-size: 15px;
  line-height: normal;
  border-radius: 5px;
  margin: 0;
 }
</style>
</head>
<body style="background-image:url('./2.jpg');background-repeat:no-repeat;background-size:100% 100%;position: absolute;top: 40%;left: 50%;transform: translate(-50%, -50%);">
<center>
      <h1 style="color:#fff;font-size: 2em;margin: 0.67em 0;">Login</h1>
      <form action="login.php" method="post" name="form1">
          <input type="text" name="username" placeholder="用户名"><br/><br/>
          <input type="password" name="password" placeholder="密码"><br/><br/>
          <input class="but" type="submit" value="登录">
      </form>
</center>
</body>
</html>
在浏览器尝试打开
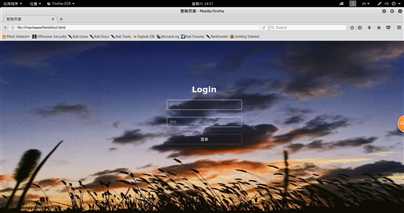
test.html基础上,添加一段JavaScript代码,以完成对用户是否填写用户名和密码的判断修改后的login.html如下所示
<!DOCTYPE html PUBLIC "-//W3C//DTD HTML 4.01 Transitional//EN" "http://www.w3.org/TR/html4/loose.dtd">
<html lang="en">
<head>
<meta http-equiv="Content-Type" content="text/html; charset=utf-8">
<title>登陆页面</title>
<link REL="stylesheet" TYPE="text/css">
<style type="text/css">
html{
  width: 100%;
  height: 100%;
  overflow: hidden;
  font-style: sans-serif;
 }
 input{
  width: 278px;
  height: 18px;
  margin-bottom: 10px;
  outline: none;
  padding: 10px;
  font-size: 13px;
  color:  #DCDCDC;
  border-top: 1px solid #ffffff;
  border-left: 1px solid #ffffff;
  border-right: 1px solid #ffffff;
  border-bottom: 1px solid #ffffff;
  border-radius: 4px;
  background-color: transparent;
 }
.but{
  width: 300px;
  min-height: 40px;
  display: block;
  background-color: transparent;
  border: 1px solid #a53f51;
  color: #fff;
  padding: 9px 14px;
  font-size: 15px;
  line-height: normal;
  border-radius: 5px;
  margin: 0;
 }
</style>
</head>
<body style="background-image:url('./2.jpg');background-repeat:no-repeat;background-size:100% 100%;position: absolute;top: 40%;left: 50%;transform: translate(-50%, -50%);">
<center>
      <h1 style="color:#fff;font-size: 2em;margin: 0.67em 0;">Login</h1>
      <form action="login.php" method="post" name="form1">
          <input type="text" name="username" placeholder="用户名" onfocus="if this.value='';"><br/><br/>
          <input type="password" name="password" placeholder="密码" onfocus="if this.value='';"><br/><br/>
          <input class="but" type="submit" onClick="return validateLogin()" value="登录">
      </form>
</center>
<script language="javascript">
  function validateLogin(){
      var sUserName = document.form1.username.value ;
      var sPassword = document.form1.password.value ;
      if ((sUserName =="") || (sUserName=="Your email")){
      alert("用户名不能为空!");
      return false ;
      }

      if ((sPassword =="") || (sPassword=="Your password")){
      alert("密码不能为空!");
      return false ;
      }

  }
</script>
</body>
</html>在浏览器访问login.html,如果用户邮箱或密码未填写就提交,网页会报提示
/etc/init.d/mysql start
mysql -u root -p使用root权限进入,默认密码为password
show databases;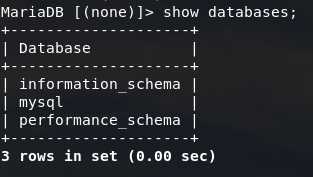
use mysql;(这里的mysql是上一步中查询到的数据库名称)select user, password, host from user;(mysql库中的user表中存储着用户名、密码与权限)UPDATE user SET password=PASSWORD("新密码") WHERE user=‘root‘;flush privileges;quit;create database 数据库名称;
show databases;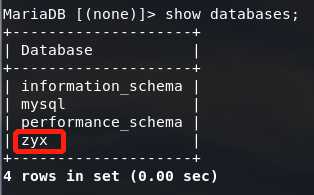
use zyx;create table 表名 (字段设定列表);(并设置字段基本信息)
show tables;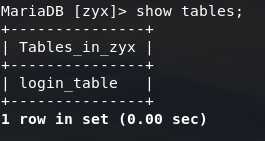
insert into 表名 values(‘值1‘,‘值2‘,‘值3‘...);
select * from 表名;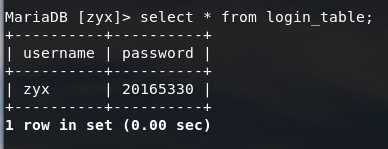
grant select,insert,update,delete on 数据库.* to 用户名@登录主机(可以是localhost,也可以是远程登录方式的IP) identified by "密码";(意思是将对某数据库的所有表的select,insert,update,delete权限授予某ip登录的某用户)
mysql -u zyx -p
在/var/www/html目录下新建一个PHP测试文件phptest.php
<?php
echo ($_GET["a"]);
include($_GET["a"]);
echo "This is my php test page!<br>";
?>localhost:80/phptest.php?a=/etc/passwd,可看到/etc/passwd文件的内容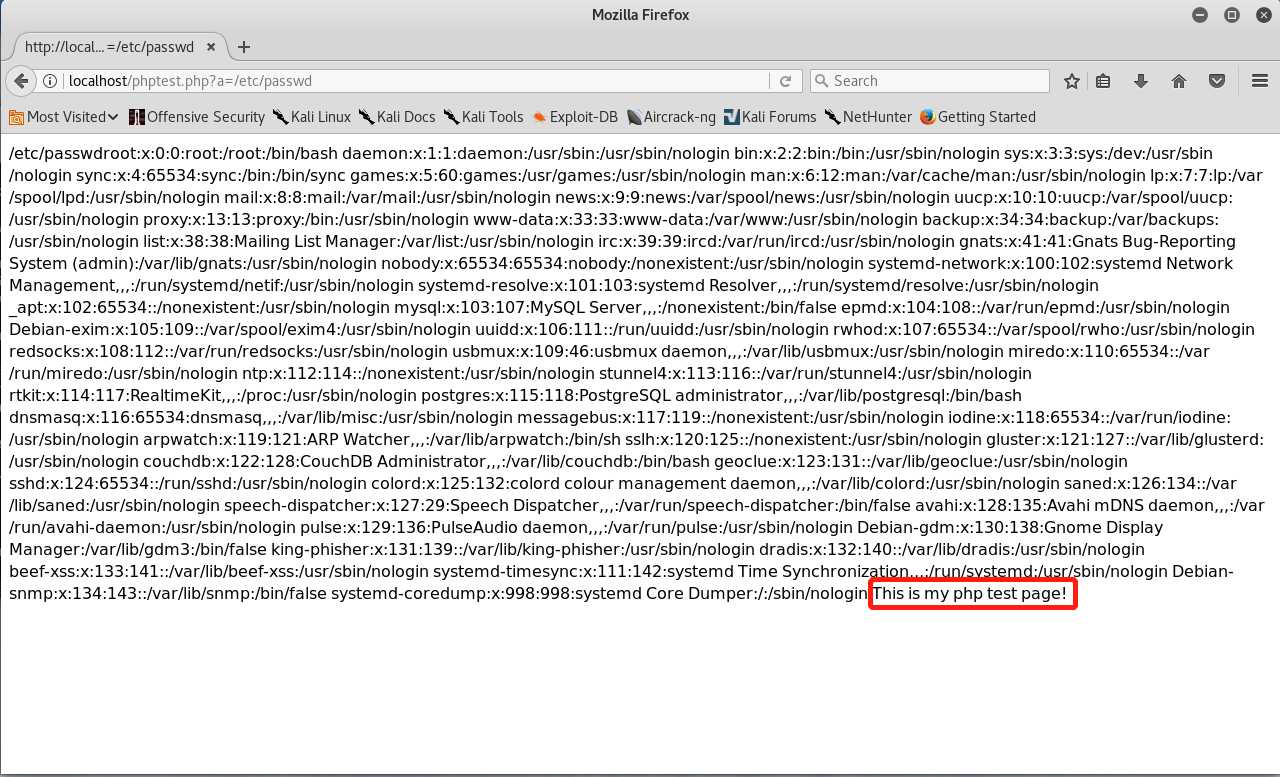
利用PHP和MySQL,结合前面编写的登录网页进行登录身份认证(注意要与前端action指定的php名称对应,注意对应自己的库名和表名),修改后的login.php代码如下:
<?php
$uname=$_POST["username"];
$pwd=$_POST["password"];
echo $uname;
$query_str="SELECT * FROM login_table where username='$uname' and password='$pwd';";
$mysqli = new mysqli("127.0.0.1", "zyx", "158138", "zyx");

/* check connection */
if ($mysqli->connect_errno) {
  printf("Connect failed: %s\n", $mysqli->connect_error);
  exit();
}
echo " connection ok!";
/* Select queries return a resultset */
if ($result = $mysqli->query($query_str)) {
  if ($result->num_rows > 0 ){
          echo "<br> {$uname}:Welcome login!! <br> ";
  }
  else {
      echo "<br> login failed!!!! <br> " ; }
  /* free result set */
  $result->close();
}
$mysqli->close();
?>127.0.0.1/login.html访问自己的登录界面输入用户名和密码进行认证,成功登录如下图所示
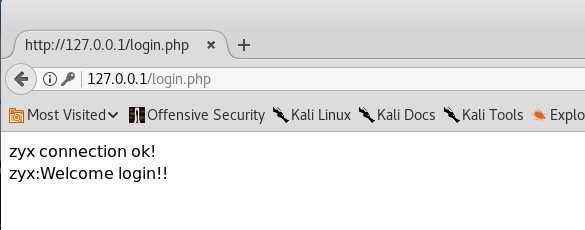
127.0.0.1/login.html访问自己的登录界面‘ or 1=1#,密码任意输入,可登陆成功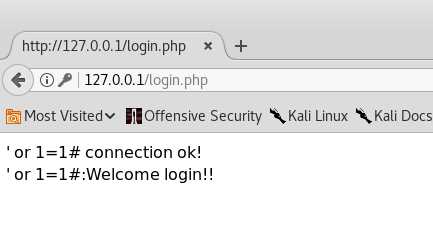
select * from users where username=‘‘ or 1=1#‘ and password=‘‘,#相当于注释符,把后面的内容都注释掉;而1=1是永真式,即这个条件永远成立,所以不管密码是否输入正确,都能够成功登陆!/var/www/html目录下,命名为2.jpg127.0.0.1/login.html访问自己的登录界面<img src="1.jpg" />,密码随意输入,就可以读取到图片
参考资料
2018-2019-2 20165330《网络对抗技术》Exp8 Web基础
标签:参考 asp 后台 一段 repeat 命令注入 apache目录 init BMI
原文地址:https://www.cnblogs.com/besty-zyx/p/10849355.html