标签:char 插件 https 内嵌 接下来 定义 命令 gen pyc
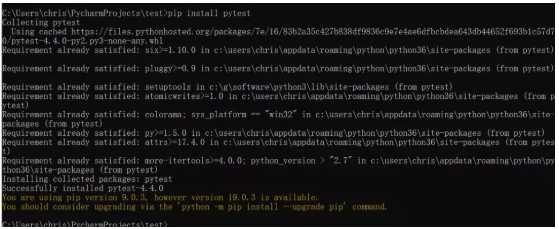
首先我们需要在python环境上安装pytest库,这里建议通过pip安装:pip install pytest
然后编写一个简单的pytest测试用例,这里我们需要满足以下条件
测试文件以test_开头(以_test结尾也可以)
测试类以Test开头,并且不能带有 init 方法
测试函数以test_开头
断言使用基本的assert即可
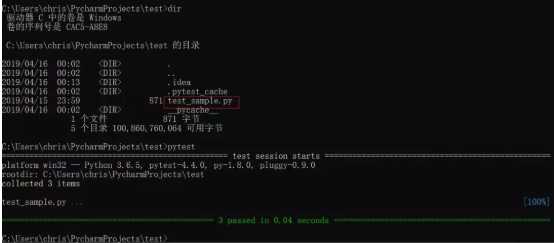
编写简单代码如下,test_sample.py
import pytest
class TestClass(object):
@pytest.fixture(scope=‘function‘)
def setup_function(request):
def teardown_function():
print("teardown_function called.")
request.addfinalizer(teardown_function) # 此内嵌函数做teardown工作
print(‘setup_function called.‘)
@pytest.fixture(scope=‘module‘)
def setup_module(request):
def teardown_module():
print("teardown_module called.")
request.addfinalizer(teardown_module)
print(‘setup_module called.‘)
@pytest.mark.website
def test_1(setup_function):
print(‘Test_1 called.‘)
def test_2(setup_module):
print(‘Test_2 called.‘)
def test_3(setup_module):
print(‘Test_3 called.‘)
assert 2==1+1 # 通过assert断言确认测试结果是否符合预期
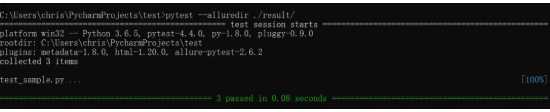
调用pytest,只需要在命令行里定位到测试文件所在路径,然后运行pytest即可
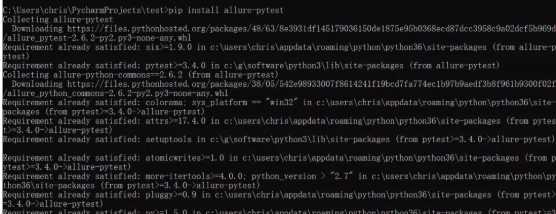
接下来,我们引入Allure 来生成漂亮的报告。
同样,也是通过pip来安装allure插件:
pip install allure-pytest
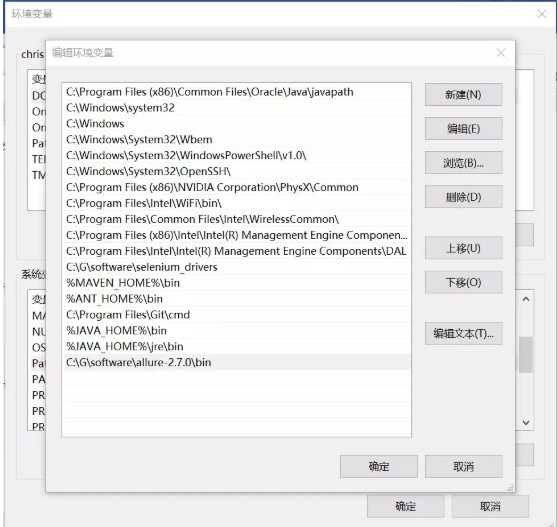
接着下载allure:2.7.0版本
https://dl.bintray.com/qameta/generic/io/qameta/allure/allure/2.7.0/allure-2.7.0.zip
解压之后,将allure/bin目录添加到环境变量path中:
接着,在测试脚本中,添加allure特性,直接看下面的脚本,我通过在脚本中添加注释的方式给大家解释allure特性的用途。
import pytest
import allure
@allure.feature(‘测试用例功能‘) # feature定义功能
class TestClass(object):
@pytest.fixture(scope=‘function‘)
def setup_function(request):
def teardown_function():
print("teardown_function called.")
request.addfinalizer(teardown_function) # 此内嵌函数做teardown工作
print(‘setup_function called.‘)
@pytest.fixture(scope=‘module‘)
def setup_module(request):
def teardown_module():
print("teardown_module called.")
request.addfinalizer(teardown_module)
print(‘setup_module called.‘)
@allure.story(‘功能测试用例1‘) # story定义用户场景
@pytest.mark.website
def test_1(setup_function):
print(‘Test_1 called.‘)
@allure.story(‘功能测试用例2‘) # story定义用户场景
def test_2(setup_module):
print(‘Test_2 called.‘)
@allure.story(‘功能测试用例3‘) # story定义用户场景
def test_3(setup_module):
print(‘Test_3 called.‘)
assert 2==1+1 # 通过assert断言确认测试结果是否符合预期
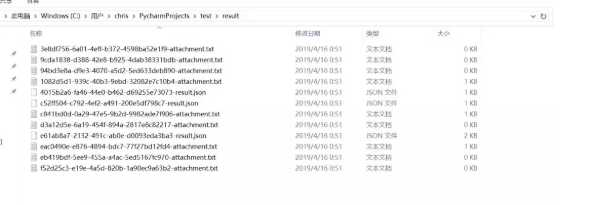
运行pytest --alluredir ./result/去生成测试结果
该目录下为测试结果
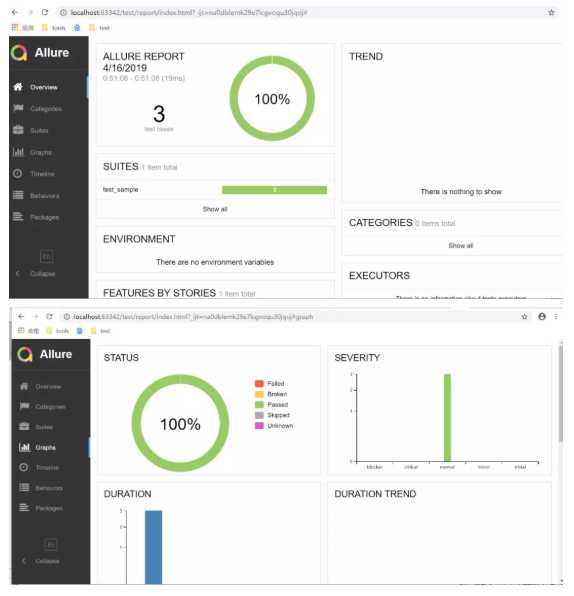
接下来,用allure generate ./result/ -o ./report/ --clean命令将测试结果生成测试报告

该目录下为测试报告所在,直接打开该报告有点问题,我们需要在pycharm中通过右键点击用浏览器打开
标签:char 插件 https 内嵌 接下来 定义 命令 gen pyc
原文地址:https://www.cnblogs.com/yanpan/p/10855861.html