标签:知识 arc 自动配置 收录 过程 支持 tier 隐藏 term
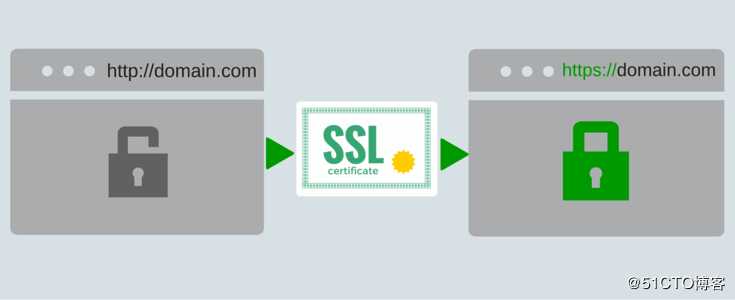
简单来说,http 是一个传输网页内容的协议,比如你看到的 http 开头的网站 http://www.163.com ,其网页上的文字、图片、 CSS 、 JS 等文件都是通过 http 协议传输到我们的浏览器,然后被我们看到。

而 https 可以理解为“ HTTP over SSL/TLS ”,好端端的 http 为什么需要“ over SSL/TLS ”呢,因为 http 是明文传输的,通过 http 协议传输的内容很容易被偷看和篡改,为了安全(你肯定不想被人偷看或者篡改网页内容吧,比如网站银行密码什么的。)就为 http 协议再加上了一层 SSL/TLS 安全协议,所以就有了 https 。
“ HTTP over SSL/TLS ”字面意思就是带”安全套接层”的 http 协议,内心纯洁的同学也可以理解为“带安全套的 http ”,因为带了安全套,所以当然会比较安全。其中 SSL 是“ Secure Sockets Layer ” 的缩写,是“安全套接层”的意思。 TLS 是 “Transport Layer Security” 的缩写,是 ” 传输层安全协议 ” 的意思。 SSL 和 TLS 是同一个东西的不同阶段,理解为同一个东西也行,都是安全协议就对了。
说到底,就是 https 更安全。甚至为了安全,一个专业可靠的网站, https 是必须的。 Firefox 和 Chrome 都计划将没有配置 SSL 加密的 http 网站标记为不安全(貌似 Firefox 50 已经这么干了),目前它们也正在联合其他相关的基金会与公司推动整个互联网 https 化,现在大家访问的一些主要的网站。如 Google 多年前就已经全部启用 https ,国内的淘宝、搜狗、知乎、百度等等也全面 https 了。甚至 Google 的搜索结果也正在给予 https 的网站更高的排名和优先收录权。
你只需要有一张被信任的 CA ( Certificate Authority )也就是证书授权中心颁发的 SSL 安全证书,并且将它部署到你的网站服务器上。一旦部署成功后,当用户访问你的网站时,浏览器会在显示的网址前加一把小绿锁,表明这个网站是安全的,当然同时你也会看到网址前的前缀变成了 https ,不再是 http 了。
理论上,我们自己也可以签发 SSL 安全证书,但是我们自己签发的安全证书不会被主流的浏览器信任,所以我们需要被信任的证书授权中心( CA )签发的安全证书。而一般的 SSL 安全证书签发服务都比较贵,比如 Godaddy 、 GlobalSign 等机构签发的证书一般都需要20美金一年甚至更贵,不过为了加快推广 https 的普及, EEF 电子前哨基金会、 Mozilla 基金会和美国密歇根大学成立了一个公益组织叫 ISRG ( Internet Security Research Group ),这个组织从 2015 年开始推出了 Let’s Encrypt 免费证书。这个免费证书不仅免费,而且还相当好用,所以我们就可以利用 Let’s Encrypt 提供的免费证书部署 https 了。那么怎么获得 Let’s Encrypt 安全证书,并且将它部署在自己的网站服务器上呢?这就是这篇文章要讲的内容了。
前面已经介绍过, Let’s Encrypt 是 一个叫 ISRG ( Internet Security Research Group ,互联网安全研究小组)的组织推出的免费安全证书计划。参与这个计划的组织和公司可以说是互联网顶顶重要的先驱,除了前文提到的三个牛气哄哄的发起单位外,后来又有思科(全球网络设备制造商执牛耳者)、 Akamai 加入,甚至连 Linux 基金会也加入了合作,这些大牌组织的加入保证了这个项目的可信度和可持续性。
后来 ISRG 的发起者 EFF (电子前哨基金会)为 Let’s Encrypt 项目发布了一个官方的客户端 Certbot ,利用它可以完全自动化的获取、部署和更新安全证书。这真是非常容易、方便呀,所以我们就可以直接使用官方客户端,不需要再使用第三方的工具了。虽然第三方工具也可以使用,但是官方工具更权威,风险也更小,而且遇到问题也更容易解决,毕竟有官方的支持。何况 Certbot 确实非常方便,也比所有的第三方工具都更方便,何乐而不用呢?
Certbot 支持两种类型的 plugin,一种是用来获取和安装证书的,成为称为 Authenticators;另外一种是用来安装证书的,称为 Installers。有的 plugin 支持一种,有的两种都支持,如 nginx。
Authenticators plugin 使用 certonly 命令来获取证书,而 Installers plugin 使用install命令来安装证书。
下面列举几个常用的 plugin 作简要说明:
Certbot 的官方网站是 https://certbot.eff.org/ ,打开这个链接选择自己使用的 web server 和操作系统,EFF 官方会给出详细的使用方法,以下以本网站域名( bbs.wzlinux.com )举例。
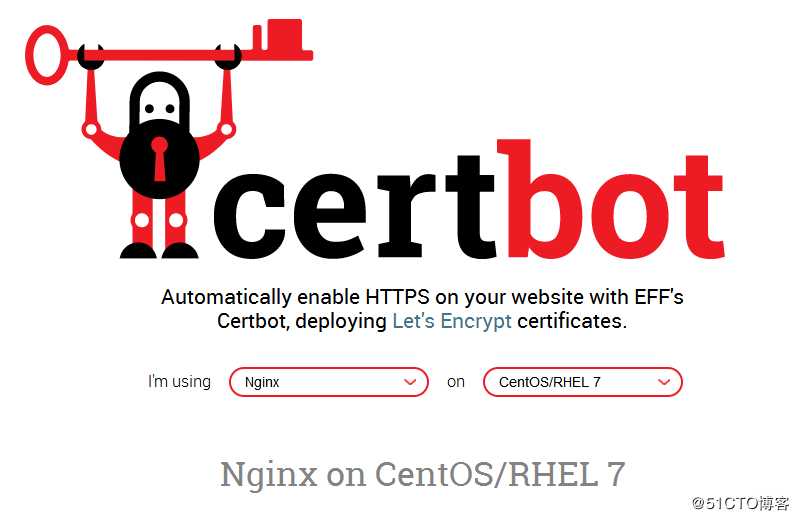
我们的系统环境为 CentOS 7,Web 服务器为 epel 源中的 nginx,只是为了掩饰安装证书,没有做什么网页,大家了解这个过程为主,我们使用下面命令进行安装 certbot。
yum install certbot python2-certbot-nginx我们在使用 certbot 生成证书之前,要把域名解析到当前的服务器,使用令生certbot --nginx成证书,并且会帮我们自动配置到 nginx 上面,过程中需要我们输入邮箱地址。
[root@localhost home]# certbot --nginx
Saving debug log to /var/log/letsencrypt/letsencrypt.log
Plugins selected: Authenticator nginx, Installer nginx
Enter email address (used for urgent renewal and security notices) (Enter ‘c‘ to
cancel): frank@pazzn.com
Starting new HTTPS connection (1): acme-v02.api.letsencrypt.org

- - - - - - - - - - - - - - - - - - - - - - - - - - - - - - - - - - - - - - - -
Please read the Terms of Service at
https://letsencrypt.org/documents/LE-SA-v1.2-November-15-2017.pdf. You must
agree in order to register with the ACME server at
https://acme-v02.api.letsencrypt.org/directory
- - - - - - - - - - - - - - - - - - - - - - - - - - - - - - - - - - - - - - - -
(A)gree/(C)ancel: A

- - - - - - - - - - - - - - - - - - - - - - - - - - - - - - - - - - - - - - - -
Would you be willing to share your email address with the Electronic Frontier
Foundation, a founding partner of the Let‘s Encrypt project and the non-profit
organization that develops Certbot? We‘d like to send you email about our work
encrypting the web, EFF news, campaigns, and ways to support digital freedom.
- - - - - - - - - - - - - - - - - - - - - - - - - - - - - - - - - - - - - - - -
(Y)es/(N)o: Y
Starting new HTTPS connection (1): supporters.eff.org
Which names would you like to activate HTTPS for?
- - - - - - - - - - - - - - - - - - - - - - - - - - - - - - - - - - - - - - - -
1: www.pazz.com
2: pazzn.com
- - - - - - - - - - - - - - - - - - - - - - - - - - - - - - - - - - - - - - - -
Select the appropriate numbers separated by commas and/or spaces, or leave input
blank to select all options shown (Enter ‘c‘ to cancel): 2
Obtaining a new certificate
Performing the following challenges:
http-01 challenge for pazzn.com
Waiting for verification...
Cleaning up challenges
Deploying Certificate to VirtualHost /etc/nginx/conf.d/default.conf

Please choose whether or not to redirect HTTP traffic to HTTPS, removing HTTP access.
- - - - - - - - - - - - - - - - - - - - - - - - - - - - - - - - - - - - - - - -
1: No redirect - Make no further changes to the webserver configuration.
2: Redirect - Make all requests redirect to secure HTTPS access. Choose this for
new sites, or if you‘re confident your site works on HTTPS. You can undo this
change by editing your web server‘s configuration.
- - - - - - - - - - - - - - - - - - - - - - - - - - - - - - - - - - - - - - - -
Select the appropriate number [1-2] then [enter] (press ‘c‘ to cancel): 2
Redirecting all traffic on port 80 to ssl in /etc/nginx/conf.d/default.conf

- - - - - - - - - - - - - - - - - - - - - - - - - - - - - - - - - - - - - - - -
Congratulations! You have successfully enabled https://pazzn.com

You should test your configuration at:
https://www.ssllabs.com/ssltest/analyze.html?d=pazzn.com
- - - - - - - - - - - - - - - - - - - - - - - - - - - - - - - - - - - - - - - -

IMPORTANT NOTES:
 - Congratulations! Your certificate and chain have been saved at:
   /etc/letsencrypt/live/pazzn.com/fullchain.pem
   Your key file has been saved at:
   /etc/letsencrypt/live/pazzn.com/privkey.pem
   Your cert will expire on 2019-09-15. To obtain a new or tweaked
   version of this certificate in the future, simply run certbot again
   with the "certonly" option. To non-interactively renew *all* of
   your certificates, run "certbot renew"
 - If you like Certbot, please consider supporting our work by:

   Donating to ISRG / Let‘s Encrypt:   https://letsencrypt.org/donate
   Donating to EFF:                    https://eff.org/donate-le
上面就已经提示恭喜你https安装成功
按照提示输入自己的信息即可,如果希望自己手动配置 nginx 证书,可以使用下面的命令。
certbot --nginx certonly
最后记得放行443端口https
[root@localhost home]# firewall-cmd --zone=public --add-port=443/tcp --permanent
success
[root@localhost home]# firewall-cmd --reload
success
目前已经自动帮我们配置证书了,我们可以看下配置的形式,后续可以自己配置。
server {
    #server_name  localhost;
    server_name  pazzn.com www.pazz.com;

    #charset koi8-r;
    #access_log  /var/log/nginx/host.access.log  main;

    location / {
        #root   /usr/share/nginx/html;
        root   /home/www/pazzn;
    index  index.html index.htm index.php;
    }

    #error_page  404              /404.html;

    # redirect server error pages to the static page /50x.html
    #
    error_page   500 502 503 504  /50x.html;
    location = /50x.html {
        root   /usr/share/nginx/html;
    }

    # proxy the PHP scripts to Apache listening on 127.0.0.1:80
    #
    #location ~ \.php$ {
    #    proxy_pass   http://127.0.0.1;
    #}

    # pass the PHP scripts to FastCGI server listening on 127.0.0.1:9000
    #
    location ~ \.php$ {
       #root   /usr/share/nginx/html;
       root   /home/www/pazzn;
        try_files $uri =404;
        fastcgi_pass   127.0.0.1:9000;
        fastcgi_index  index.php;
           fastcgi_param  SCRIPT_FILENAME  $document_root$fastcgi_script_name;
        include        fastcgi_params;
 }

    # deny access to .htaccess files, if Apache‘s document root
    # concurs with nginx‘s one
    #
    #location ~ /\.ht {
    #    deny  all;
    #}

    listen 443 ssl; # managed by Certbot
    ssl_certificate /etc/letsencrypt/live/pazzn.com/fullchain.pem; # managed by Certbot
    ssl_certificate_key /etc/letsencrypt/live/pazzn.com/privkey.pem; # managed by Certbot
    include /etc/letsencrypt/options-ssl-nginx.conf; # managed by Certbot
    ssl_dhparam /etc/letsencrypt/ssl-dhparams.pem; # managed by Certbot

}
server {
    if ($host = pazzn.com) {
        return 301 https://$host$request_uri;
    } # managed by Certbot


    listen       80;
    server_name  pazzn.com www.pazz.com;
    return 404; # managed by Certbot


}
既然已经按照好了,我们可以查看一下证书的安装情况。
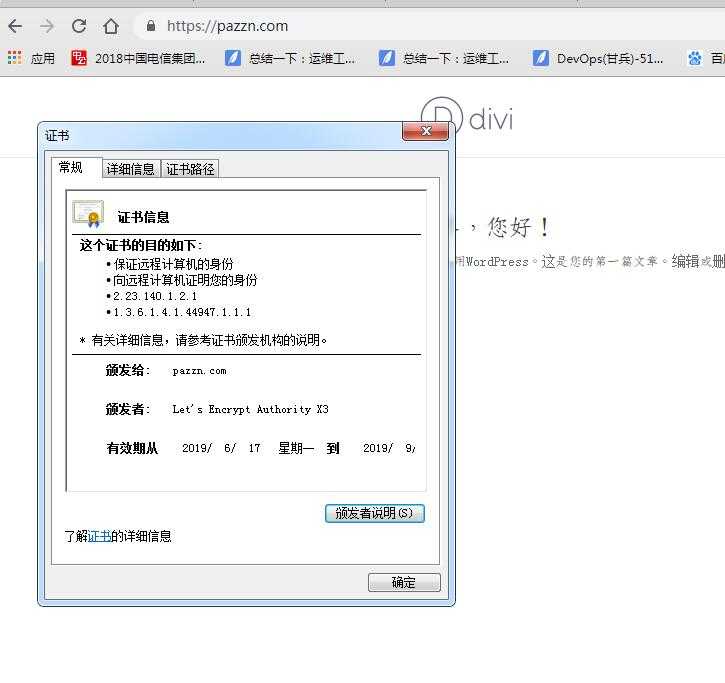
出于安全策略, Let’s Encrypt 签发的证书有效期只有 90 天,所以需要每隔三个月就要更新一次安全证书,虽然有点麻烦,但是为了网络安全,这是值得的也是应该的。好在 Certbot 也提供了很方便的更新方法。
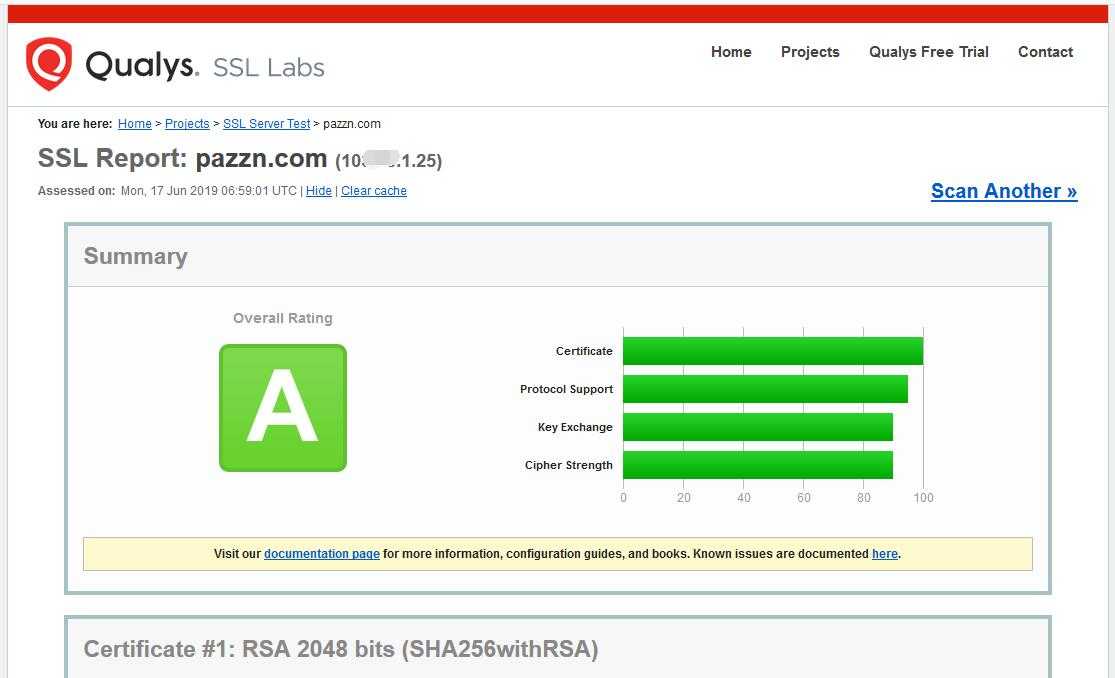
我们可以在 www.ssllabs.com 测试证书是否正常。
certbot renew --dry-run
建议在服务器上面添加一个定时任务,让服务器定时请求进行更新。
0 0,12 * * * python -c ‘import random; import time; time.sleep(random.random() * 3600)‘ && certbot renew
操作如下:
[root@localhost home]# crontab -e
no crontab for root - using an empty one
crontab: installing new crontab
[root@localhost home]# crontab -l
0 0,12 * * * python -c ‘import random; import time; time.sleep(random.random() * 3600)‘ && certbot renew
[root@localhost home]#
本文参考大神连:https://blog.51cto.com/wzlinux/2385116
Nginx 通过 certbot 为网站自动配置 SSL 证书并续期
标签:知识 arc 自动配置 收录 过程 支持 tier 隐藏 term
原文地址:https://www.cnblogs.com/Crazy-Liu/p/11039859.html