标签:ali hello localhost 访问 public net bsp das type
入门实例的四步骤:
1)配置Eureka服务器
在Spring官网上新建一个SpringCloud项目
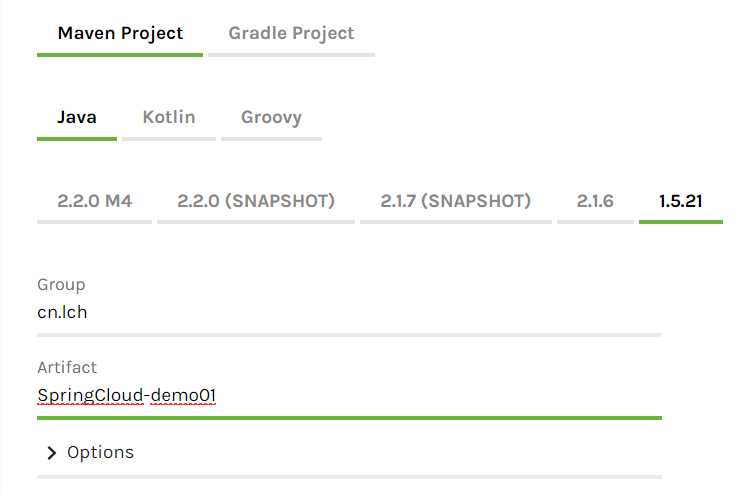
增加Eurake组件

将其中的pom.xml文件拷贝至eclipse新建的Maven文件中
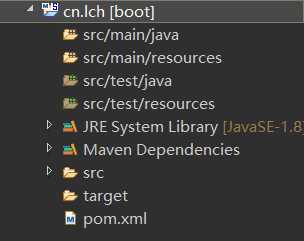
由于SpringCloud是基于SpringBoot的,先创建一个启动类Application
package cn.lch;

import org.springframework.boot.SpringApplication;
import org.springframework.boot.autoconfigure.SpringBootApplication;
import org.springframework.cloud.netflix.eureka.server.EnableEurekaServer;

@SpringBootApplication
@EnableEurekaServer //启动Eurake服务
public class Application {
    public static void main(String[] args) {
        SpringApplication.run(Application.class, args);
    }
}
创建配置文件application.properties
#1.配置端口
server.port=5121
#2.配置eureka主机名,找到eureka所在的机器
eureka.instance.hostname=localhost
#3.是否将自身注册为服务 false表示不注册
eureka.client.register-with-eureka=false
#4.是否主动发现服务  false表示不发现
eureka.client.fetch-registry=false
#5.对外提供的注册入口
eureka.client.service-url.defaultZone=http://${eureka.instance.hostname}:${server.port}/eureka/
启动程序,通过url:http://localhost:5121进行访问

2)创建一个注册服务实例
在spring官网上新建一个SpringCloud项目
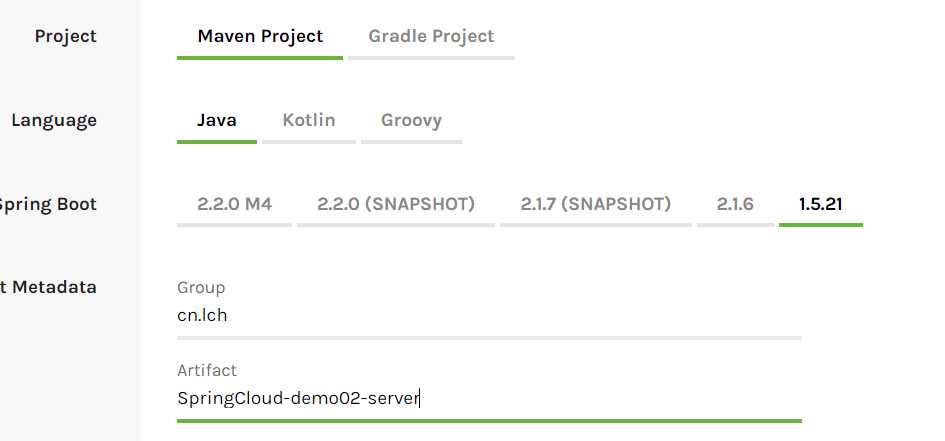
增加web和cloud discovery组件
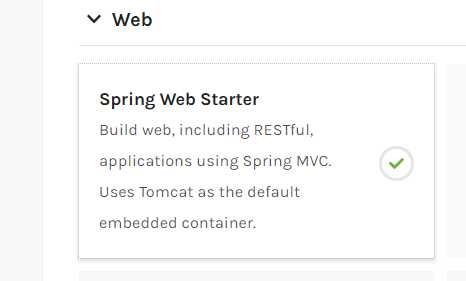
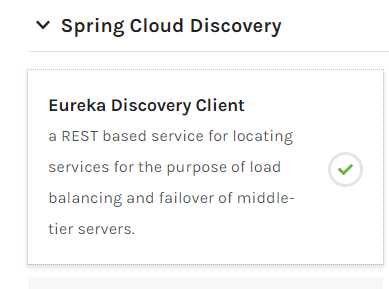
将其中的pom.xml文件拷贝至eclipse新建的Maven文件中
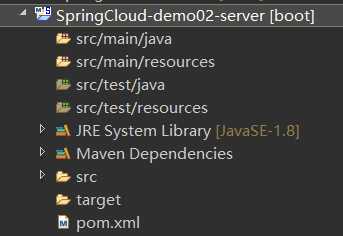
编写程序启动类Application
package cn.lch;

import org.springframework.boot.SpringApplication;
import org.springframework.boot.autoconfigure.SpringBootApplication;
import org.springframework.cloud.netflix.eureka.EnableEurekaClient;

@SpringBootApplication
@EnableEurekaClient
public class Application {

    public static void main(String[] args) {
        SpringApplication.run(Application.class, args);
    }

}
编写配置文件application.properties
#指定实例端口
server.port=8080
#指定实例名,springcloud是通过实例名称来寻址服务的
spring.application.name=instanceServer
#指定Eureka服务端访问路径
eureka.client.service-url.defaultZone=http://localhost:5121/eureka
编写一个Controller类
package cn.lch.controller;

import org.springframework.web.bind.annotation.RequestMapping;
import org.springframework.web.bind.annotation.RestController;

@RestController
public class UserController {

    @RequestMapping("/say")
    public String say() {

        return "Hello,SpringCloud";
    }

}
启动实例(在启动前启动Eurake服务端)

3)调用服务
将上述实例1复制一份,并修改项目名


修改appplication.properties配置文件
#指定实例端口
server.port=8081
#指定实例名,springcloud是通过实例名称来寻址服务的
spring.application.name=instanceClient
#指定Eureka服务端访问路径
eureka.client.service-url.defaultZone=http://localhost:5121/eureka
修改启动类Application注解
package cn.lch;

import org.springframework.boot.SpringApplication;
import org.springframework.boot.autoconfigure.SpringBootApplication;
import org.springframework.cloud.client.discovery.EnableDiscoveryClient;

@SpringBootApplication
@EnableDiscoveryClient //标记该项目为一个,该实例是一个发现服务的实例
public class Application {

    public static void main(String[] args) {
        SpringApplication.run(Application.class, args);
    }
}
同时启动Eurake服务端,和实例1和实例2,进行测试

4)实现客户端与服务端的远程调用
在instanceServer中发布一个login方法的restful接口给instanceClient调用该接口
在SpringCloud中远程调用的方法有两种:
1.Ribbon+RestTemplate,基于restful实现。
2.Feign(默认启动Ribbon负载均衡)
本篇讲述的是第一种方式的实现,第二种方式可看第三章的讲解
修改注册服务,新建User类
package cn.lch.pojo;

import java.io.Serializable;

public class User implements Serializable{

    /**
     *
     */
    private static final long serialVersionUID = 7260598142983180828L;

    private Integer id;

    private String username;

    private String password;

    public Integer getId() {
        return id;
    }

    public void setId(Integer id) {
        this.id = id;
    }

    public String getUsername() {
        return username;
    }

    public void setUsername(String username) {
        this.username = username;
    }

    public String getPassword() {
        return password;
    }

    public void setPassword(String password) {
        this.password = password;
    }

}
修改Controller,增加一个login方法
package cn.lch.controller;

import org.springframework.web.bind.annotation.RequestBody;
import org.springframework.web.bind.annotation.RequestMapping;
import org.springframework.web.bind.annotation.RequestMethod;
import org.springframework.web.bind.annotation.RestController;

import cn.lch.pojo.User;

@RestController
public class UserController {
    /**
     * 用户登录
     * @return
     */
    @RequestMapping(value="/login",method=RequestMethod.POST)
    public String login(@RequestBody User user){
        System.out.println("用户名:"+user.getUsername()+",密码:"+user.getPassword());
        return "Ok—intanceServer--8080";
    }
}
修改客户端实例
增加Ribbon依赖
<dependency>
    <groupId>org.springframework.cloud</groupId>
    <artifactId>spring-cloud-starter-ribbon</artifactId>
</dependency>
修改启动类Application,标记该实例是发现服务实例
package cn.lch;

import org.springframework.boot.SpringApplication;
import org.springframework.boot.autoconfigure.SpringBootApplication;
import org.springframework.cloud.client.discovery.EnableDiscoveryClient;
import org.springframework.cloud.client.loadbalancer.LoadBalanced;
import org.springframework.context.annotation.Bean;
import org.springframework.web.client.RestTemplate;

@SpringBootApplication
@EnableDiscoveryClient//2.用于标识该项目是一个Eureka客户端(发现服务)
public class Application {

    public static void main(String[] args) {
        SpringApplication.run(Application.class, args);
    }

  //2.创建RestTemplate实例对象,用来远程调用服务
    @Bean
    @LoadBalanced
    public RestTemplate restTemplate(){

        return new RestTemplate();
    }
}
创建UserService类
package cn.lch.service;

import org.springframework.beans.factory.annotation.Autowired;
import org.springframework.stereotype.Service;
import org.springframework.web.client.RestTemplate;

import cn.lch.pojo.User;


@Service
public class UserService {

    @Autowired
    private RestTemplate restTemplate;

    public String login(User user){
        String result = restTemplate.postForObject("http://instanceServer/login",user, String.class);

        return result;
    }
}
依次启动注册中心、服务提供实例、服务发现实例
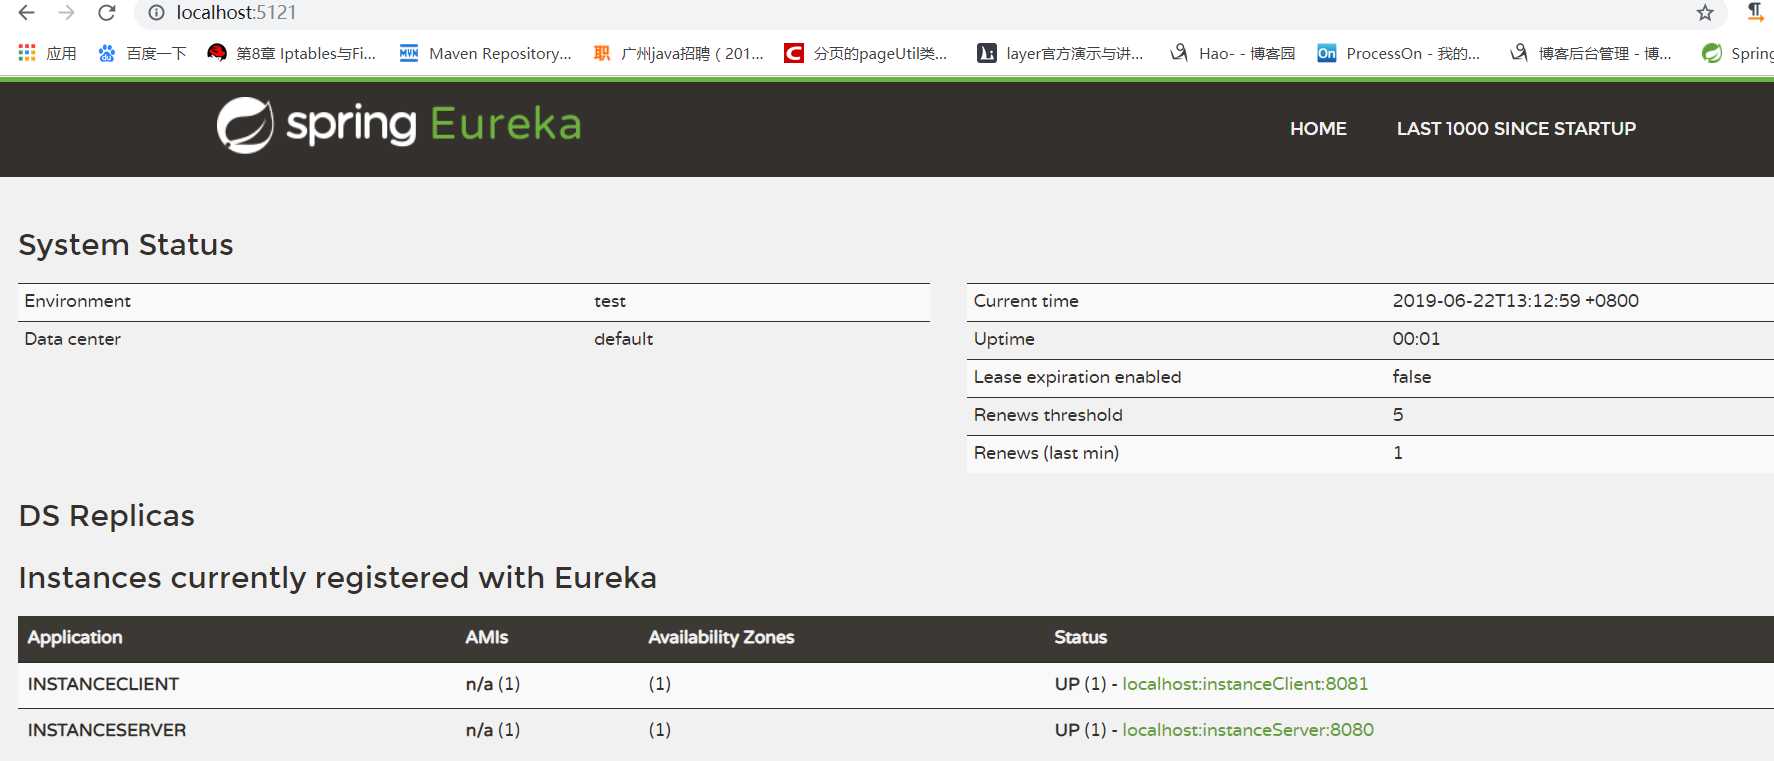
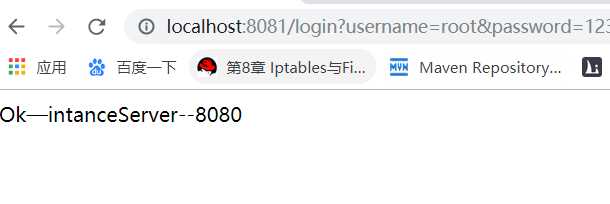
远程调用成功
基于ribbon实现负载均衡
复制一份instanceserver,并修改maven坐标和配置文件中的端口


修改Controller中的返回信息

依次启动Eurake注册中心,instanceServer1,instanceServer2和instanceClient,多次访问登陆接口,查看结果

第一次调用

第二次调用

标签:ali hello localhost 访问 public net bsp das type
原文地址:https://www.cnblogs.com/lch-Hao/p/11069916.html