标签:runner 选择 dem 状态 src mamicode 启动 git add publish
1.开发工具
2.GitLab服务器搭建
3.新建webapi
dotnet new webapi --name Demo
在Program中修改启动地址:.UseUrls("http://*:80")
4.Dockerfile配置
在VSCode中打开命令面板:Ctrl+Shift+P
    FROM mcr.microsoft.com/dotnet/core/sdk:2.2 AS build-env
    WORKDIR /app

    # Copy csproj and restore as distinct layers
    COPY *.csproj ./
    RUN dotnet restore

    # Copy everything else and build
    COPY . ./
    RUN dotnet publish -c Release -o out

    # Build runtime image
    FROM mcr.microsoft.com/dotnet/core/aspnet:2.2
    WORKDIR /app
    COPY --from=build-env /app/out .
    EXPOSE 80
ENTRYPOINT ["dotnet", "Demo.dll"]5.配置docker-compose.yml
在项目根目录下新建docker-compose.yml文件
    version: ‘3‘

    services:
    web:
        build: .
        container_name: aspnetcore
        ports:
        - ‘8080:80‘
6.配置.gitlab-ci.yml
在项目根目录下新建.gitlab-ci.yml文件
    rtest:
     script:
      - docker-compose up -d --build --force-recreate
7.在GitLab上添加一个新项目
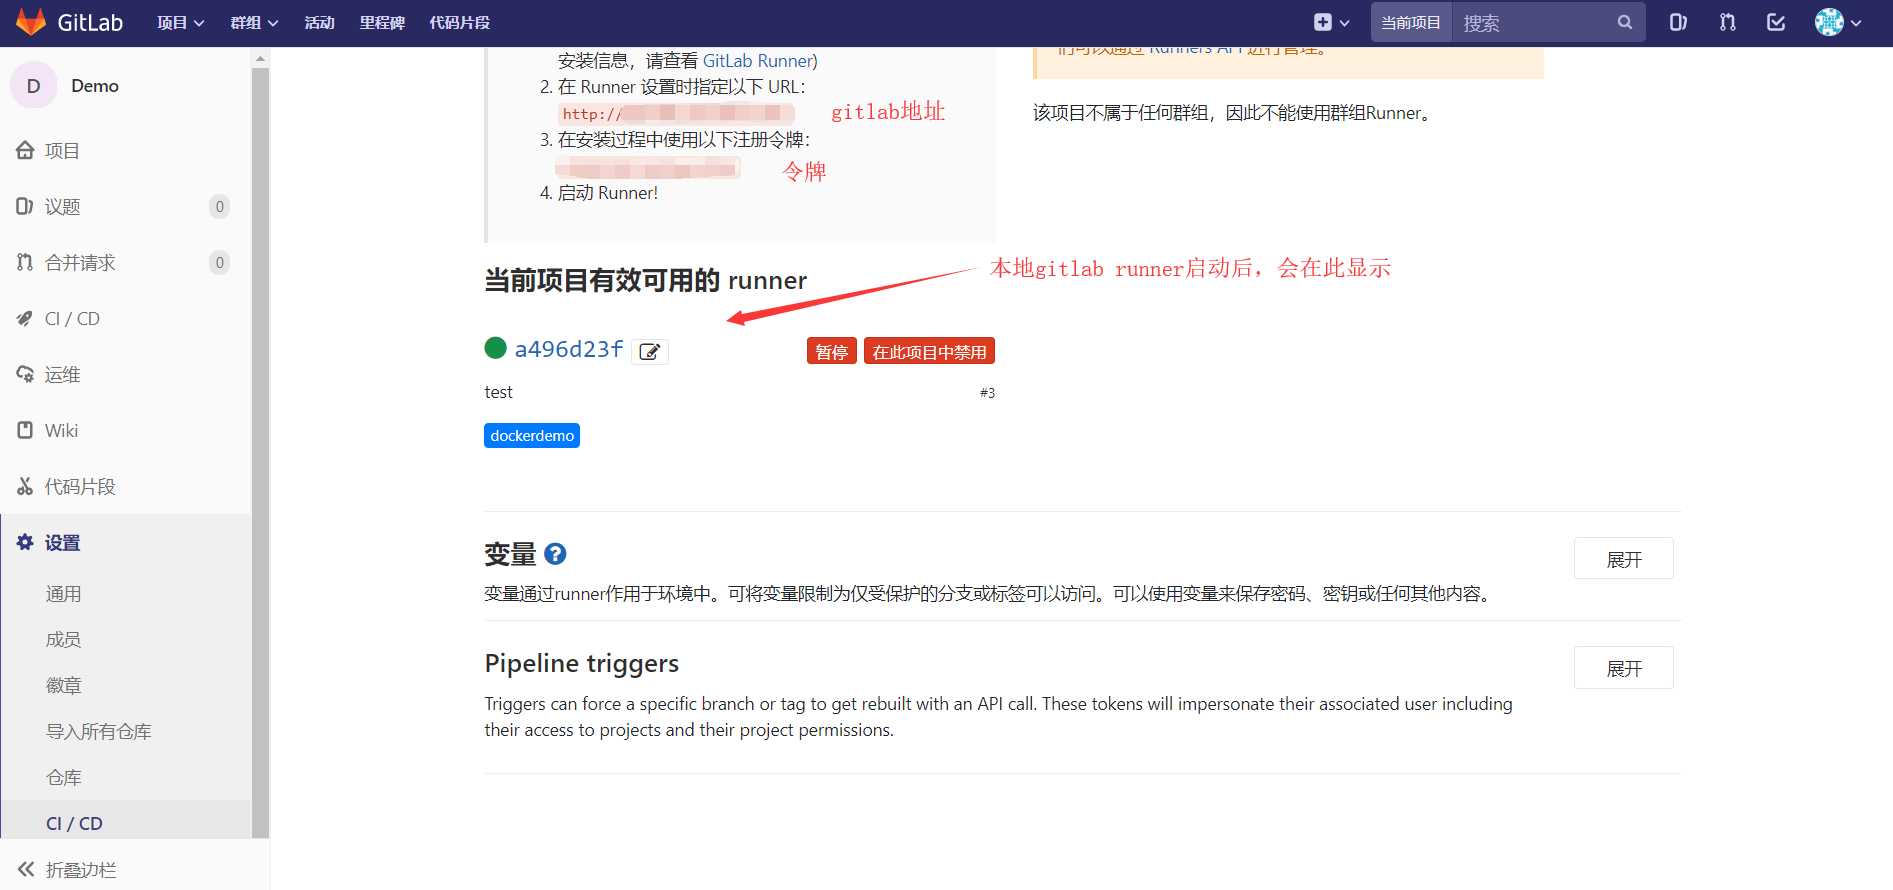
8.GitLib Runner安装
环境:win10
安装:gitlab-runner.exe install
启动:gitlab-runner.exe start

9.提交代码到gitlab
每次提交会触发gitlab runner,实现自动化部署
    git init
    git remote add origin ssh://地址
    git add .
    git commit -m "Initial commit"
    git push -u origin master
10.在GitLab上查看运行状态
11.本地运行:http://localhost:8080/api/values
标签:runner 选择 dem 状态 src mamicode 启动 git add publish
原文地址:https://www.cnblogs.com/tianyaguoke/p/11219648.html