标签:port int ESS users scheme 端口 constrain his tom
Tomcat配置强制https端口变成8443跳转端口:
http默认端口 8080
https默认端口 8443
或者
http默认端口 80
https默认端口 443
这里只讲tomcat配置,至于证书生成请参考其他文档;
修改tomcat配置文件 vim /etc/tomcat/server.xml 启用ssl
service.xml
    <Connector port="80" protocol="HTTP/1.1"
               connectionTimeout="20000"
               redirectPort="8443" />

    <Connector port="8443" protocol="HTTP/1.1"
                SSLEnabled="true"
                maxThreads="150"
                scheme="https"
                secure="true"
                keystoreFile="/usr/ca/server/server.keystore.jks"
                keystorePass="yzd2019"
                clientAuth="false"
                sslProtocol="TLS"
强制跳转:
访问http的8080或者80自动跳转
修改 web.xml
在welcome-file-list标签后加入
<login-config>
        <!-- Authorization setting for SSL -->
        <auth-method>CLIENT-CERT</auth-method>
        <realm-name>Client Cert Users-only Area</realm-name>
    </login-config>
    <security-constraint>
        <!-- Authorization setting for SSL -->
        <web-resource-collection >
            <web-resource-name >SSL</web-resource-name>
            <url-pattern>/*</url-pattern>
        </web-resource-collection>
        <user-data-constraint>
            <transport-guarantee>CONFIDENTIAL</transport-guarantee>
        </user-data-constraint>
</security-constraint> 
注意: 如果是YUM安装的tomcat无法使用1024以下的端口固无法使用80与443 ;
若修改监听端口为80休要修改tomcat运行用户为root;安全起见官方不建议这么干;
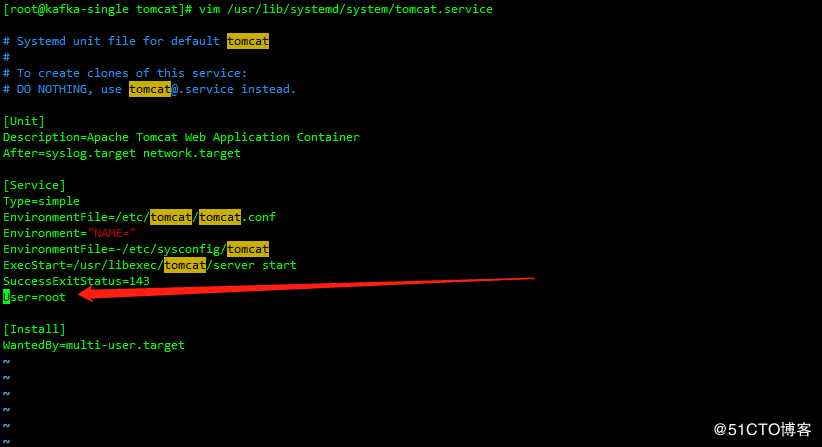
修改下面的tomcat用户为root
vim /usr/lib/systemd/system/tomcat.service
# Systemd unit file for default tomcat
#
# To create clones of this service:
# DO NOTHING, use tomcat@.service instead.

[Unit]
Description=Apache Tomcat Web Application Container
After=syslog.target network.target

[Service]
Type=simple
EnvironmentFile=/etc/tomcat/tomcat.conf
Environment="NAME="
EnvironmentFile=-/etc/sysconfig/tomcat
ExecStart=/usr/libexec/tomcat/server start
SuccessExitStatus=143
# User=Tomcat
User=root

[Install]
WantedBy=multi-user.target
Tomcat配置8080强制跳转https端口变成8443或者80跳转443
标签:port int ESS users scheme 端口 constrain his tom
原文地址:https://blog.51cto.com/37003839/2427385