标签:程序 bsp 状态 透传 直接 html www creat sdk
https://www.cnblogs.com/yangfengwu/p/11432795.html
注:这节实现的功能是WIFI模块作为TCP 客户端,连接咱的TCP服务器,然后实现透传
本来想着做成断线重连,但是无论如何测试,使用官方给的API默认大约2个小时以后就会主动断开连接......
其实和咱 https://www.cnblogs.com/yangfengwu/p/11112014.html (TCP 服务器差不多)
先看下程序测试 (连接路由器测试,让电脑和WIFI连接同一个路由器)
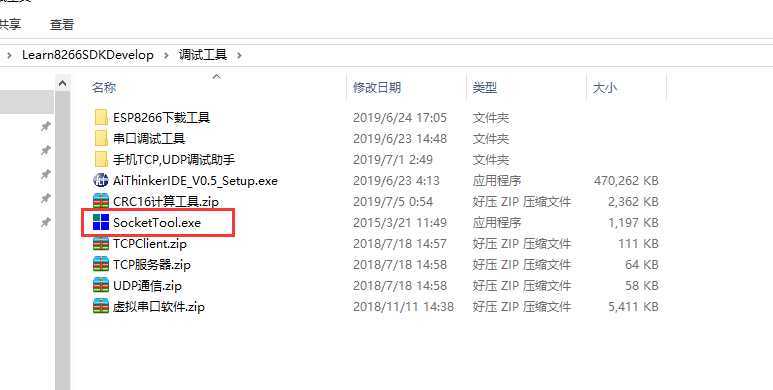
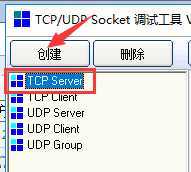
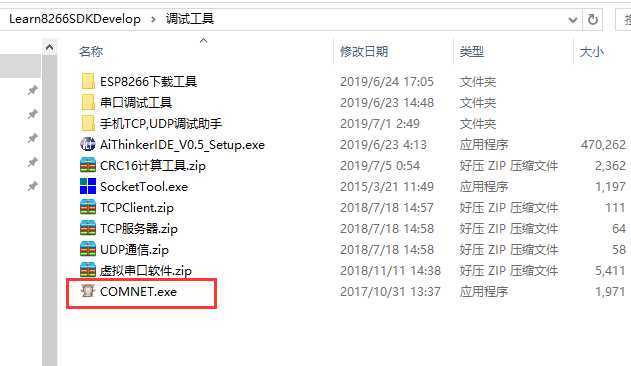
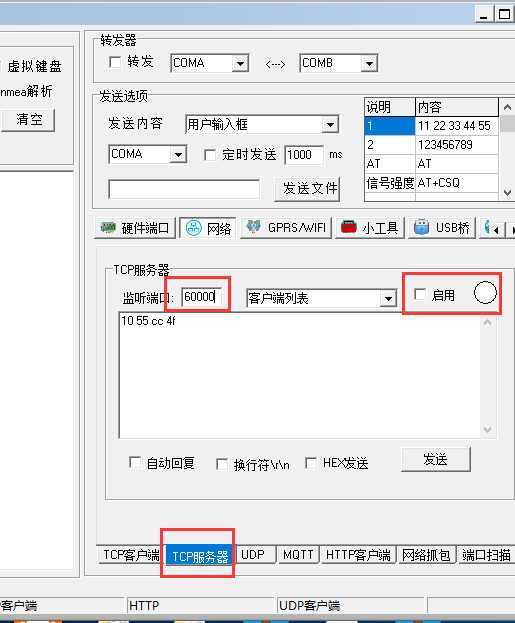
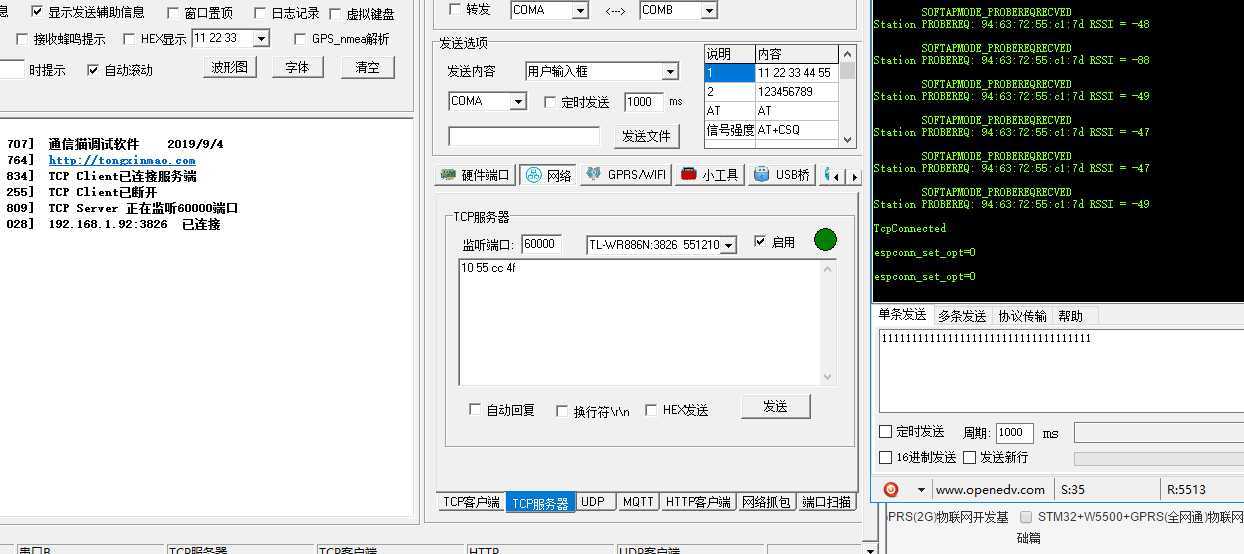
打开网络调试助手
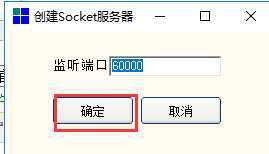
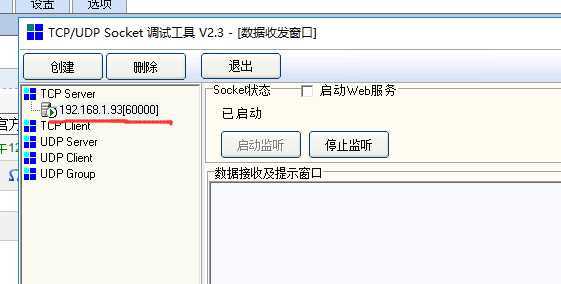
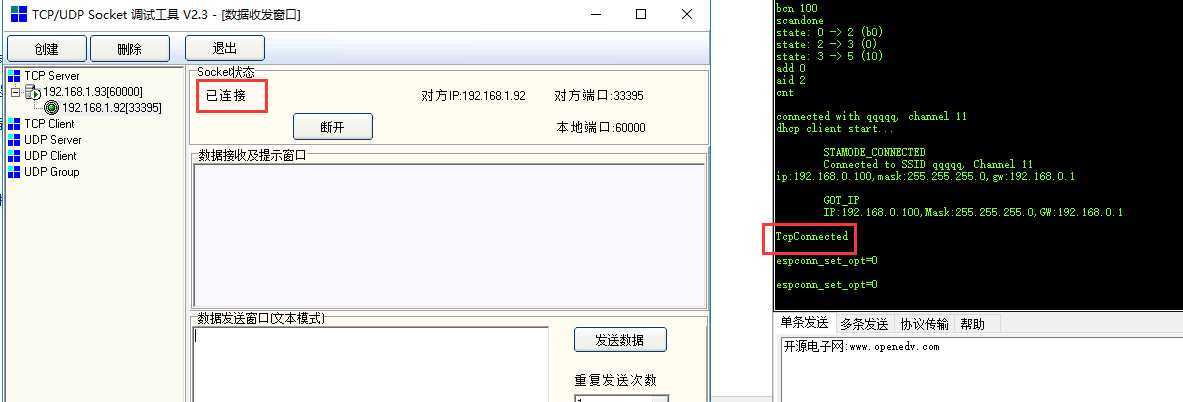
我的TCP服务器IP是 192.168.1.93 端口号是 60000 根据自己的修改
下载进去
配网就不说了,如果不是从前面看过来的,去看前面文章哈
正常运行后
测试通信
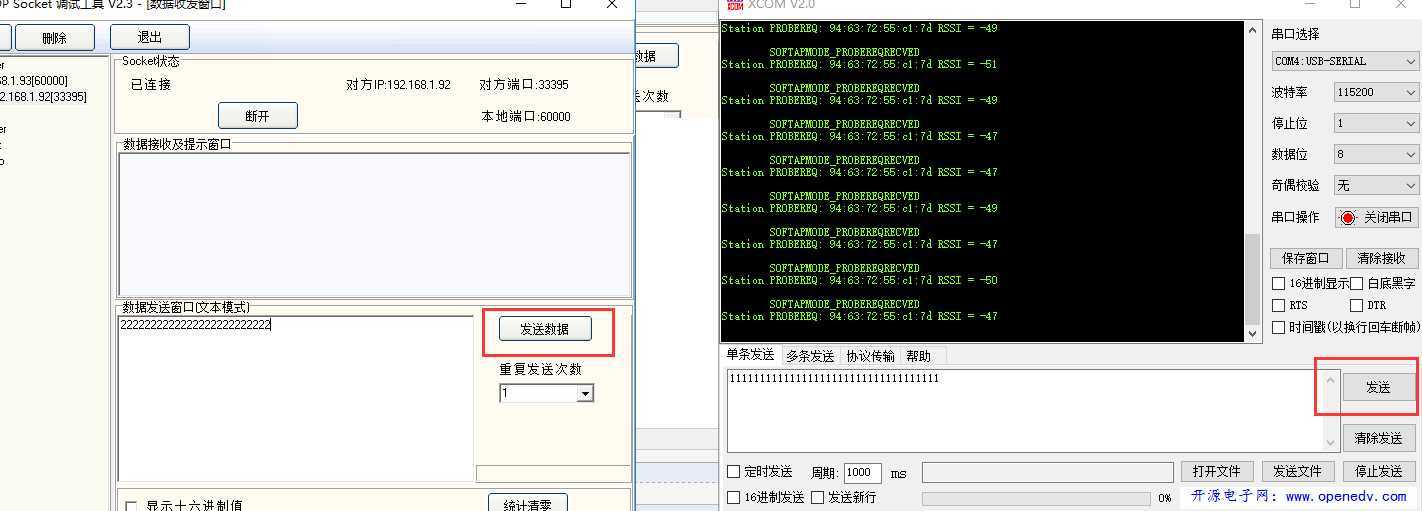
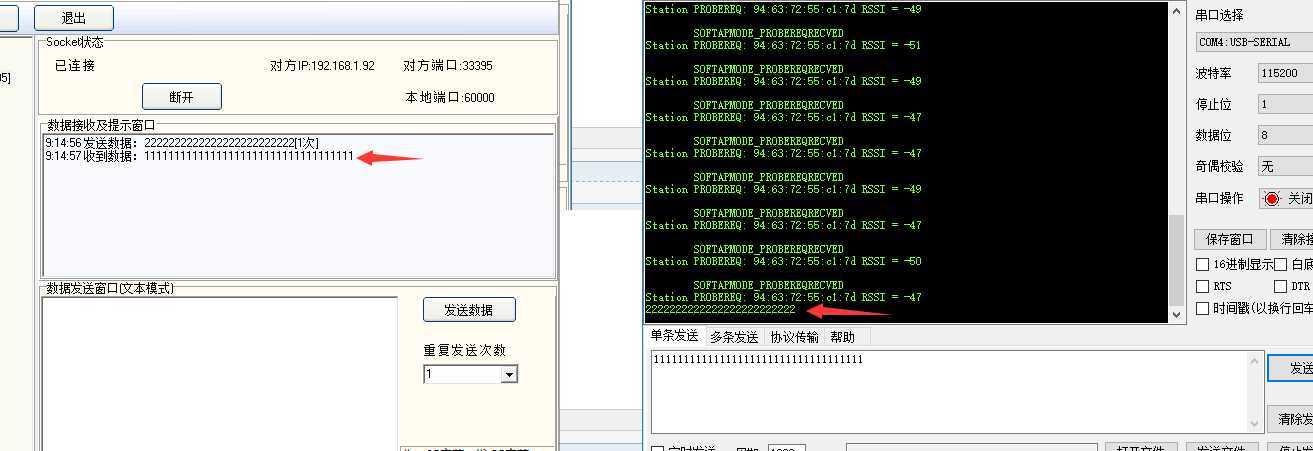
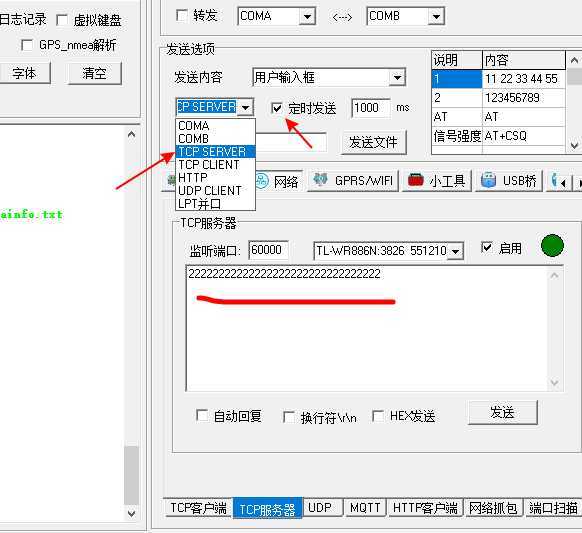
不用这个调试助手了,关掉这个调试助手,咱用另一个网络调试助手,带自动发送的
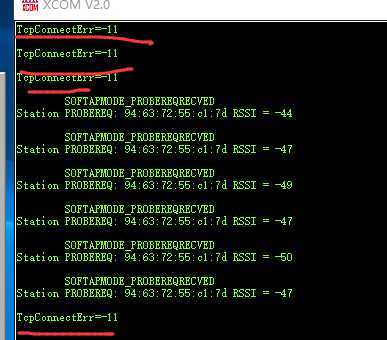
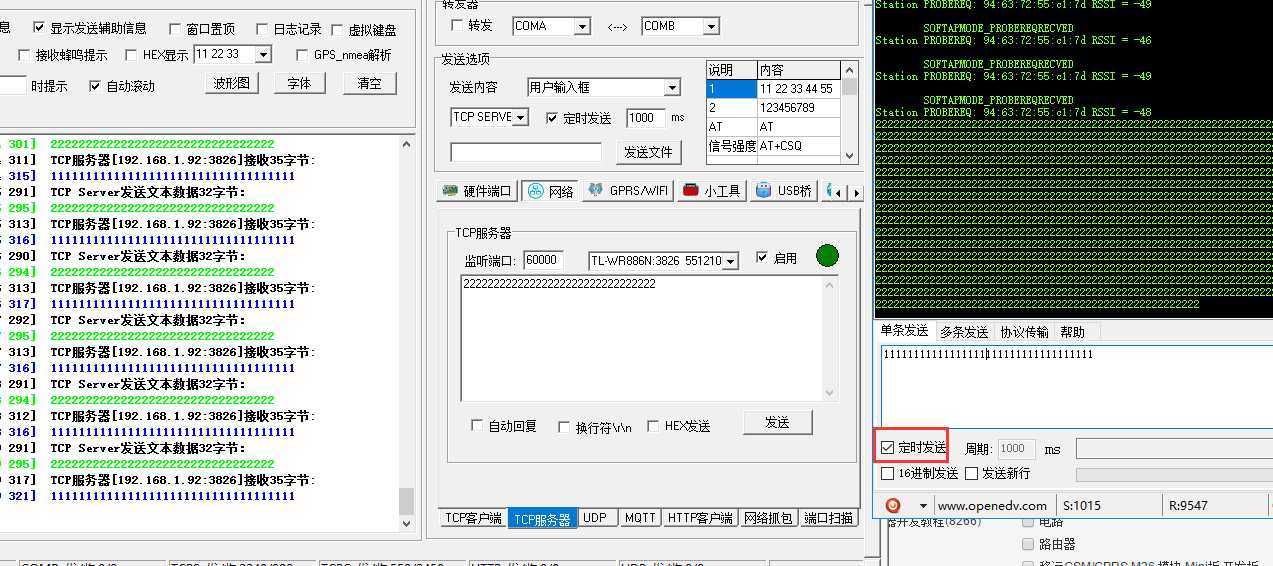
关掉调试助手以后,会发现客户端一直在尝试重新连接
启动以后客户端会自动连接上
好,现在看一下程序
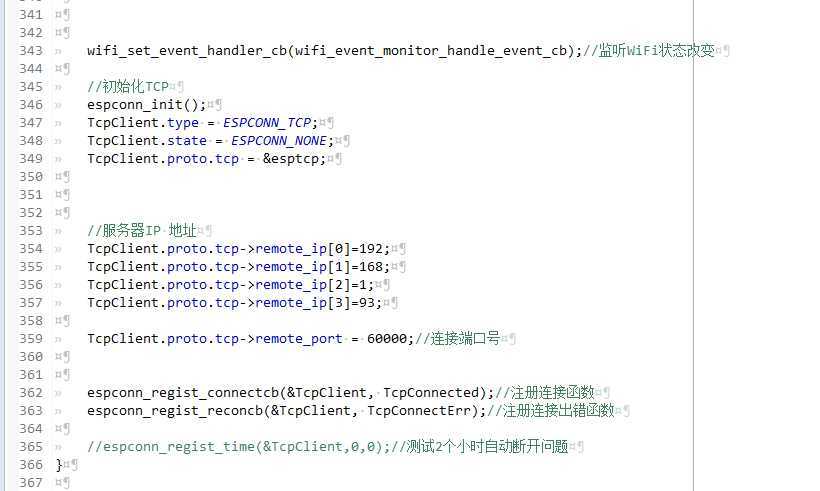
连接放在了
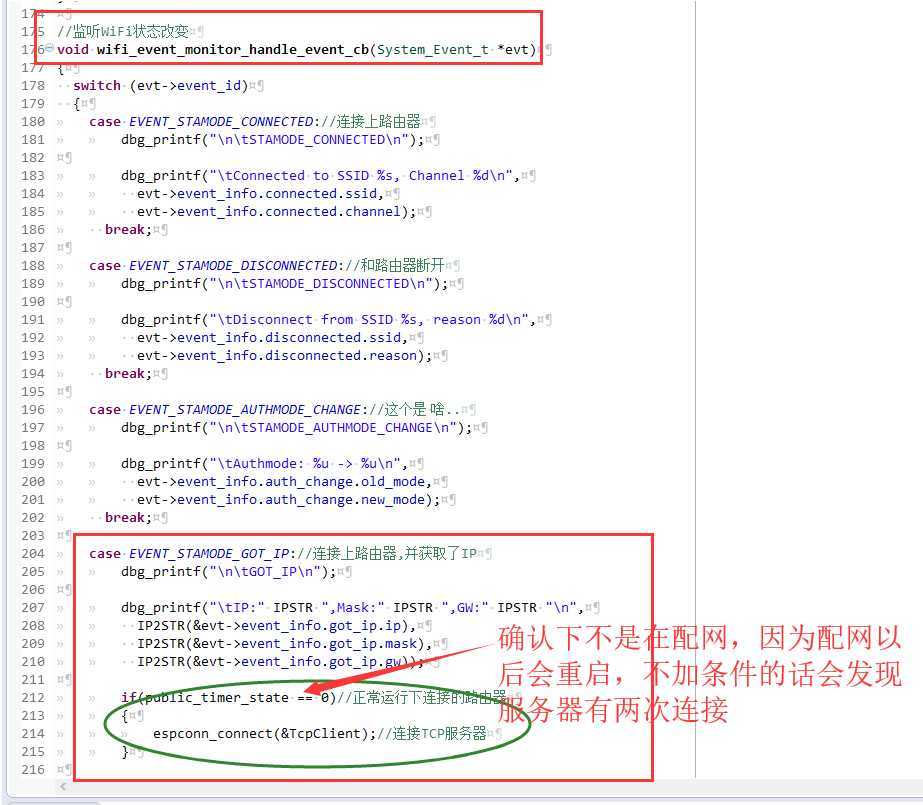

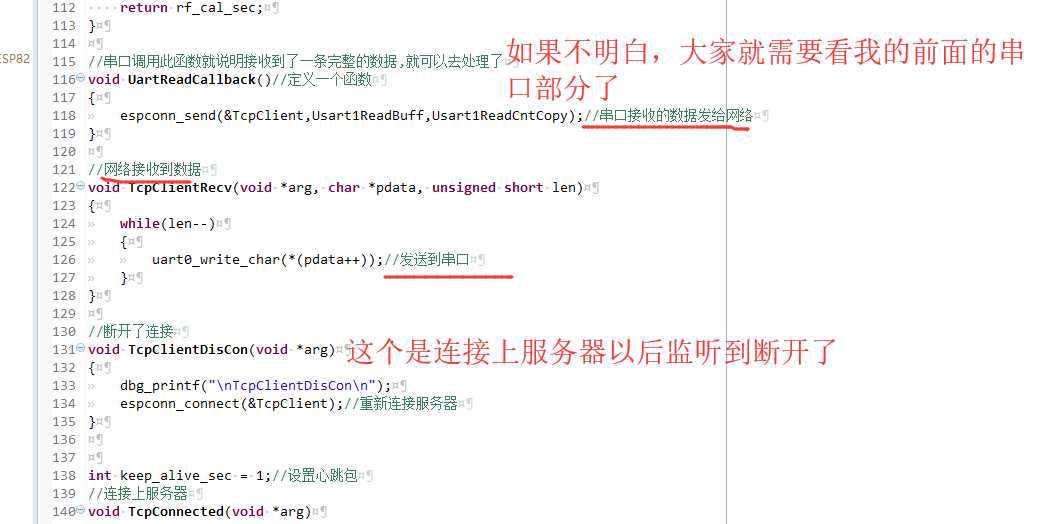
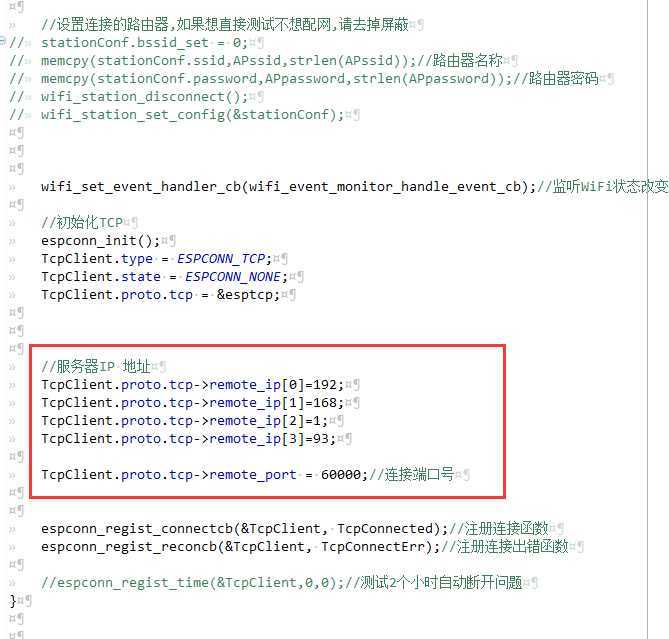
#include "esp_common.h"
#include "gpio.h"
#include "uart.h"
#include "esp_timer.h"
#include "hw_timer.h"
#include "pwm.h"
#include  "data_dispose.h"
#include  "espconn.h"
#include  "esp_wifi.h"
#include "lwip/api.h"

#include "crc.h"
#include "smart_config.h"


LOCAL os_timer_t public_timer;//定时器
u32 public_timer_cnt=0;//累加
u32 public_timer_state=0;//状态
u32 public_timer_out=0;//超时
u32 public_timer_cnt1=0;//累加


extern u8  Usart1ReadBuff[Usart1ReadLen];//接收数据的数组
extern u32 Usart1ReadCnt;//串口1接收到的数据个数
extern u32 Usart1ReadCntCopy;//串口1接收到的数据个数拷贝
extern u8  Usart1ReadFlage;//串口1接收到一条完整数据


#define  SSID "Learn8266" //无线名称
#define     PWD "11223344"     //密码
struct softap_config soft_ap_Config;//AP模式配置

//连接的路由器信息
#define APssid "qqqqq"
#define APpassword "11223344"
struct station_config stationConf;

//TCP客户端
struct espconn TcpClient;
esp_tcp esptcp;

ResolveData ResolveDataTest;//解析数据IEEE754
//uint32 pin_info_list[1][3]={PERIPHS_IO_MUX_GPIO5_U,FUNC_GPIO5,5};//配置GPIO5作为PWM输出
//int duty[1]={0};//高电平时间是0us


/******************************************************************************
 * FunctionName : user_rf_cal_sector_set
 * Description  : SDK just reversed 4 sectors, used for rf init data and paramters.
 *                We add this function to force users to set rf cal sector, since
 *                we don‘t know which sector is free in user‘s application.
 *                sector map for last several sectors : ABCCC
 *                A : rf cal
 *                B : rf init data
 *                C : sdk parameters
 * Parameters   : none
 * Returns      : rf cal sector
*******************************************************************************/
uint32 user_rf_cal_sector_set(void)
{
    flash_size_map size_map = system_get_flash_size_map();
    uint32 rf_cal_sec = 0;

    switch (size_map) {
        case FLASH_SIZE_4M_MAP_256_256:
            rf_cal_sec = 128 - 5;
            break;

        case FLASH_SIZE_8M_MAP_512_512:
            rf_cal_sec = 256 - 5;
            break;

        case FLASH_SIZE_16M_MAP_512_512:
        case FLASH_SIZE_16M_MAP_1024_1024:
            rf_cal_sec = 512 - 5;
            break;

        case FLASH_SIZE_32M_MAP_512_512:
        case FLASH_SIZE_32M_MAP_1024_1024:
            rf_cal_sec = 1024 - 5;
            break;

        default:
            rf_cal_sec = 0;
            break;
    }

    return rf_cal_sec;
}

//串口调用此函数就说明接收到了一条完整的数据,就可以去处理了
void UartReadCallback()//定义一个函数
{
    espconn_send(&TcpClient,Usart1ReadBuff,Usart1ReadCntCopy);//串口接收的数据发给网络
}

//网络接收到数据
void TcpClientRecv(void *arg, char *pdata, unsigned short len)
{
    while(len--)
    {
        uart0_write_char(*(pdata++));//发送到串口
    }
}

//断开了连接
void TcpClientDisCon(void *arg)
{
    dbg_printf("\nTcpClientDisCon\n");
    espconn_connect(&TcpClient);//重新连接服务器
}


int keep_alive_sec = 1;//设置心跳包
//连接上服务器
void TcpConnected(void *arg)
{
    dbg_printf("\nTcpConnected\n");


    //设置启用心跳包
    dbg_printf("\nespconn_set_opt=%d\n",espconn_set_opt(&TcpClient,ESPCONN_KEEPALIVE));//成功:0  失败:其它
    //客户端断开直接释放内存
    dbg_printf("\nespconn_set_opt=%d\n",espconn_set_opt(&TcpClient,ESPCONN_REUSEADDR));//成功:0  失败:其它


    //每隔ESPCONN_KEEPIDLE 开始启动心跳包探测,
    //如果探测失败,则每每隔  ESPCONN_KEEPINTVL  发送一次探测,
    //探测  ESPCONN_KEEPCNT  次以后还是无相应,则进入  espconn_reconnect_callback 回调函数  (espconn_regist_reconcb(&TcpClient, TcpConnectErr);//注册连接出错函数)

    keep_alive_sec = 30;//每隔30S开始一次探测
    espconn_set_keepalive(&TcpClient,ESPCONN_KEEPIDLE,&keep_alive_sec);

    keep_alive_sec = 1;//开始探测后,心跳包每隔1S发送一次
    espconn_set_keepalive(&TcpClient,ESPCONN_KEEPINTVL,&keep_alive_sec);

    keep_alive_sec = 3;//心跳包总共发送3次
    espconn_set_keepalive(&TcpClient,ESPCONN_KEEPCNT,&keep_alive_sec);

    espconn_regist_recvcb(&TcpClient, TcpClientRecv);//设置接收回调
    espconn_regist_disconcb(&TcpClient, TcpClientDisCon);//设置断开连接回调
}

//连接出错
void TcpConnectErr(void *arg, sint8 err)
{
    dbg_printf("\nTcpConnectErr=%d\n",err);
    espconn_connect(&TcpClient);//链接
}

//监听WiFi状态改变
void wifi_event_monitor_handle_event_cb(System_Event_t *evt)
{
  switch (evt->event_id)
  {
    case EVENT_STAMODE_CONNECTED://连接上路由器
        dbg_printf("\n\tSTAMODE_CONNECTED\n");

        dbg_printf("\tConnected to SSID %s, Channel %d\n",
          evt->event_info.connected.ssid,
          evt->event_info.connected.channel);
      break;

    case EVENT_STAMODE_DISCONNECTED://和路由器断开
        dbg_printf("\n\tSTAMODE_DISCONNECTED\n");

        dbg_printf("\tDisconnect from SSID %s, reason %d\n",
          evt->event_info.disconnected.ssid,
          evt->event_info.disconnected.reason);
      break;

    case EVENT_STAMODE_AUTHMODE_CHANGE://这个是 啥..
        dbg_printf("\n\tSTAMODE_AUTHMODE_CHANGE\n");

        dbg_printf("\tAuthmode: %u -> %u\n",
          evt->event_info.auth_change.old_mode,
          evt->event_info.auth_change.new_mode);
      break;

    case EVENT_STAMODE_GOT_IP://连接上路由器,并获取了IP
        dbg_printf("\n\tGOT_IP\n");

        dbg_printf("\tIP:" IPSTR ",Mask:" IPSTR ",GW:" IPSTR "\n",
          IP2STR(&evt->event_info.got_ip.ip),
          IP2STR(&evt->event_info.got_ip.mask),
          IP2STR(&evt->event_info.got_ip.gw));

        if(public_timer_state == 0)//正常运行下连接的路由器
        {
            espconn_connect(&TcpClient);//连接TCP服务器
        }


      break;

    case EVENT_STAMODE_DHCP_TIMEOUT://连接上路由器,但是路由器给WIFI模块分配IP等信息超时了
        dbg_printf("\n\tSTAMODE_DHCP_TIMEOUT\n");
      break;

    case EVENT_SOFTAPMODE_STACONNECTED://AP模式下,有设备连接WIFI模块的无线
        dbg_printf("\n\tSOFTAPMODE_STACONNECTED\n");

        dbg_printf("\tStation: " MACSTR "join, AID = %d\n",
          MAC2STR(evt->event_info.sta_connected.mac),
          evt->event_info.sta_connected.aid);
      break;

    case EVENT_SOFTAPMODE_STADISCONNECTED://AP模式下,有设备断开和WIFI模块的无线连接
        dbg_printf("\n\tSOFTAPMODE_STADISCONNECTED\n");

        dbg_printf("\tstation: " MACSTR "leave, AID = %d\n",
          MAC2STR(evt->event_info.sta_disconnected.mac),
          evt->event_info.sta_disconnected.aid);
      break;

    case EVENT_SOFTAPMODE_PROBEREQRECVED://这是啥??,,,信号强度改变了
        dbg_printf("\n\tSOFTAPMODE_PROBEREQRECVED\n");

        dbg_printf("Station PROBEREQ: " MACSTR " RSSI = %d\n",
          MAC2STR(evt->event_info.ap_probereqrecved.mac),
          evt->event_info.ap_probereqrecved.rssi);
      break;

    default://其它错误
        dbg_printf("\n\tswitch/case default\n");
      break;
  }
}

//所有需要定时操作的函数在此函数中执行
LOCAL void ICACHE_FLASH_ATTR
public_timer_callback(void)
{
    if(GPIO_INPUT_GET(0) == 0)//按键按下
    {
        public_timer_cnt++;
        if(public_timer_cnt>=300 && public_timer_state==0)//3S
        {
            dbg_printf("\nstartsmart\n");
            public_timer_state=1;
            wifi_station_disconnect();
            wifi_set_opmode(STATION_MODE);
            smartconfig_set_type(SC_TYPE_ESPTOUCH_AIRKISS);//SmartConfig  +  AirKiss
            xTaskCreate(smartconfig_task, "smartconfig_task", 256, NULL, 2, NULL);
        }
    }
    else
    {
        if(public_timer_state!=1 && public_timer_cnt>0 && public_timer_cnt<300)//短按复位
        {
            dbg_printf("\nsystem_restart\n");
            system_restart();//复位
        }
        public_timer_cnt=0;
    }

    switch(public_timer_state)
    {
        case 0:break;
        case 1:
            public_timer_out++;
            public_timer_cnt1++;
            if(public_timer_out>=6000)//60S
            {
                dbg_printf("\nsmartconfig_timeout\n");
                system_restart();//复位
            }
            if(public_timer_cnt1>10)//LED快闪
            {
                public_timer_cnt1=0;
                GPIO_OUTPUT_SET(2, 1-GPIO_INPUT_GET(2));//LED快闪
            }
            break;
        default:break;
    }
}


/******************************************************************************
 * FunctionName : user_init
 * Description  : entry of user application, init user function here
 * Parameters   : none
 * Returns      : none
*******************************************************************************/
void user_init(void)
{
    GPIO_OUTPUT_SET(5, 1);
    GPIO_OUTPUT_SET(2, 0);//让两个灯初始的状态一样,GOIO2是反接的,0的时候是亮
    GPIO_OUTPUT_SET(0, 1);
    uart_init_new();
    printf("SDK version:%s\n", system_get_sdk_version());

    wifi_set_opmode(STATIONAP_MODE);//配置WiFi的模式STATION + AP AP--连接WIFI自身的无线实现通信  STATION--wifi连接路由器,手机或者电脑也连接路由器,实现通信
    soft_ap_Config.ssid_len = strlen(SSID);//热点名称长度,与你实际的名称长度一致就好
    memcpy(soft_ap_Config.ssid,SSID,soft_ap_Config.ssid_len);//实际热点名称设置,可以根据你的需要来
    memcpy(soft_ap_Config.password,PWD,strlen(PWD));//热点密码设置
    soft_ap_Config.authmode = AUTH_WPA2_PSK;//加密模式
    soft_ap_Config.channel = 1;//信道,共支持1~13个信道
    soft_ap_Config.max_connection = 4;//最大连接数量,最大支持四个,默认四个

    wifi_softap_set_config_current(&soft_ap_Config);//设置 Wi-Fi SoftAP 接口配置,不保存到 Flash
    //    wifi_softap_set_config(&soft_ap_Config);//设置 Wi-Fi SoftAP 接口配置,保存到 Flash
    UartCallbackRegister(UartReadCallback);//把 UartReadCallback 函数地址传过去,在串口里面调用

    os_timer_disarm(&public_timer);
    os_timer_setfn(&public_timer, (os_timer_func_t *)public_timer_callback, NULL);
    os_timer_arm(&public_timer, 10, 1);//10ms


    //设置连接的路由器,如果想直接测试不想配网,请去掉屏蔽
//    stationConf.bssid_set = 0;
//    memcpy(stationConf.ssid,APssid,strlen(APssid));//路由器名称
//    memcpy(stationConf.password,APpassword,strlen(APpassword));//路由器密码
//    wifi_station_disconnect();
//    wifi_station_set_config(&stationConf);


    wifi_set_event_handler_cb(wifi_event_monitor_handle_event_cb);//监听WiFi状态改变

    //初始化TCP
    espconn_init();
    TcpClient.type = ESPCONN_TCP;
    TcpClient.state = ESPCONN_NONE;
    TcpClient.proto.tcp = &esptcp;


    //服务器IP 地址
    TcpClient.proto.tcp->remote_ip[0]=192;
    TcpClient.proto.tcp->remote_ip[1]=168;
    TcpClient.proto.tcp->remote_ip[2]=1;
    TcpClient.proto.tcp->remote_ip[3]=93;

    TcpClient.proto.tcp->remote_port = 60000;//连接端口号


    espconn_regist_connectcb(&TcpClient, TcpConnected);//注册连接函数
    espconn_regist_reconcb(&TcpClient, TcpConnectErr);//注册连接出错函数

    //espconn_regist_time(&TcpClient,0,0);//测试2个小时自动断开问题
}
大家自己去测试。
28-ESP8266 SDK开发基础入门篇--编写TCP 客户端程序(官方API版,非RTOS版)
标签:程序 bsp 状态 透传 直接 html www creat sdk
原文地址:https://www.cnblogs.com/yangfengwu/p/11456667.html