标签:class mtu byte opp 16px ram 忘记 flags loopback
1.环境与相关软件
1.1 本机系统win10家庭版,使用软件Xshell,vmware15,虚拟机中的系统centos72.
2.具体实现
2.1 由于在虚拟机中操作不太方便,使用终端远程管理本地虚拟机中的服务器.这样开着虚拟机就可在XShell中管理
2.2 使用ip a 或者 ifconfig等命令查看虚拟机的ip,
[linoxwong@CentOS-7-64 ~]$ ifconfig
ens33: flags=4163<UP,BROADCAST,RUNNING,MULTICAST>  mtu 1500
        inet 192.168.235.129  netmask 255.255.255.0  broadcast 192.168.235.255
        inet6 fe80::7739:9602:d64b:bc45  prefixlen 64  scopeid 0x20<link>
        ether 00:0c:29:9a:63:9b  txqueuelen 1000  (Ethernet)
        RX packets 207271  bytes 307678779 (293.4 MiB)
        RX errors 0  dropped 0  overruns 0  frame 0
        TX packets 89761  bytes 5412462 (5.1 MiB)
        TX errors 0  dropped 0 overruns 0  carrier 0  collisions 0

lo: flags=73<UP,LOOPBACK,RUNNING>  mtu 65536
        inet 127.0.0.1  netmask 255.0.0.0
        inet6 ::1  prefixlen 128  scopeid 0x10<host>
        loop  txqueuelen 1000  (Local Loopback)
        RX packets 48  bytes 4080 (3.9 KiB)
        RX errors 0  dropped 0  overruns 0  frame 0
        TX packets 48  bytes 4080 (3.9 KiB)
        TX errors 0  dropped 0 overruns 0  carrier 0  collisions 0

virbr0: flags=4099<UP,BROADCAST,MULTICAST>  mtu 1500
        inet 192.168.122.1  netmask 255.255.255.0  broadcast 192.168.122.255
        ether 52:54:00:ee:0a:c6  txqueuelen 1000  (Ethernet)
        RX packets 0  bytes 0 (0.0 B)
        RX errors 0  dropped 0  overruns 0  frame 0
        TX packets 0  bytes 0 (0.0 B)
        TX errors 0  dropped 0 overruns 0  carrier 0  collisions 0
如上代码,我使用了ifconfig命令后得到了三个网络信息 ens33: lo: virbr0: 看你的系统用的网络 我用的是ens33 所以在ens33中去找ip
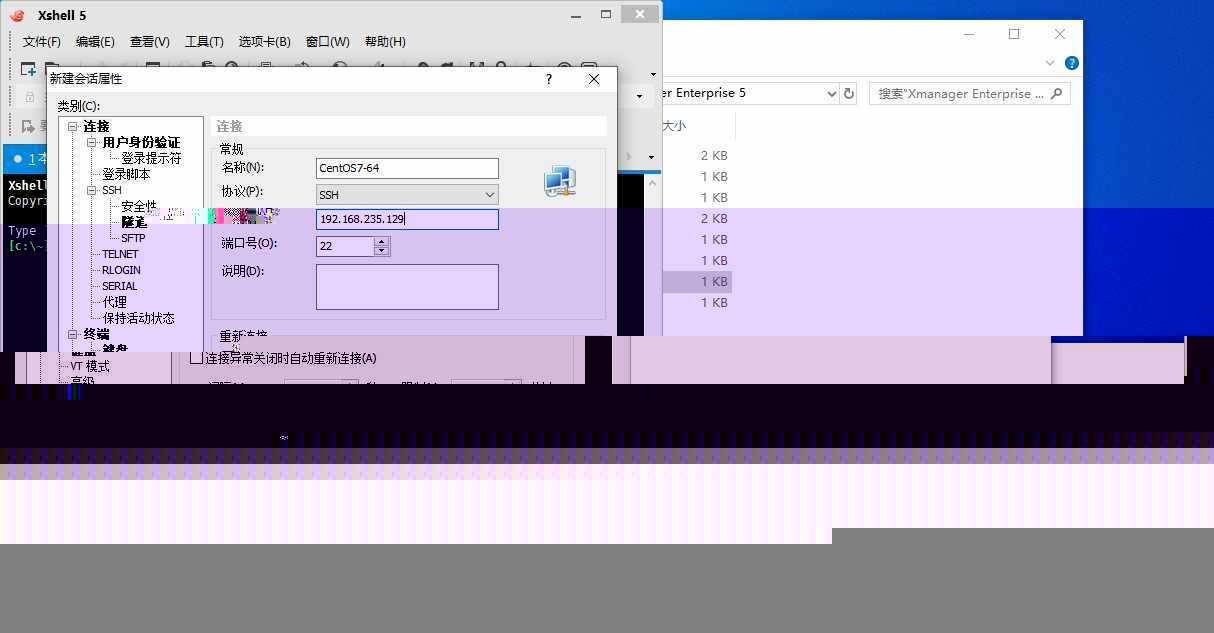
2.3 得到了ip之后,我就能在xshell中连接了,如下 新建会话,主机写上刚刚得到的ip

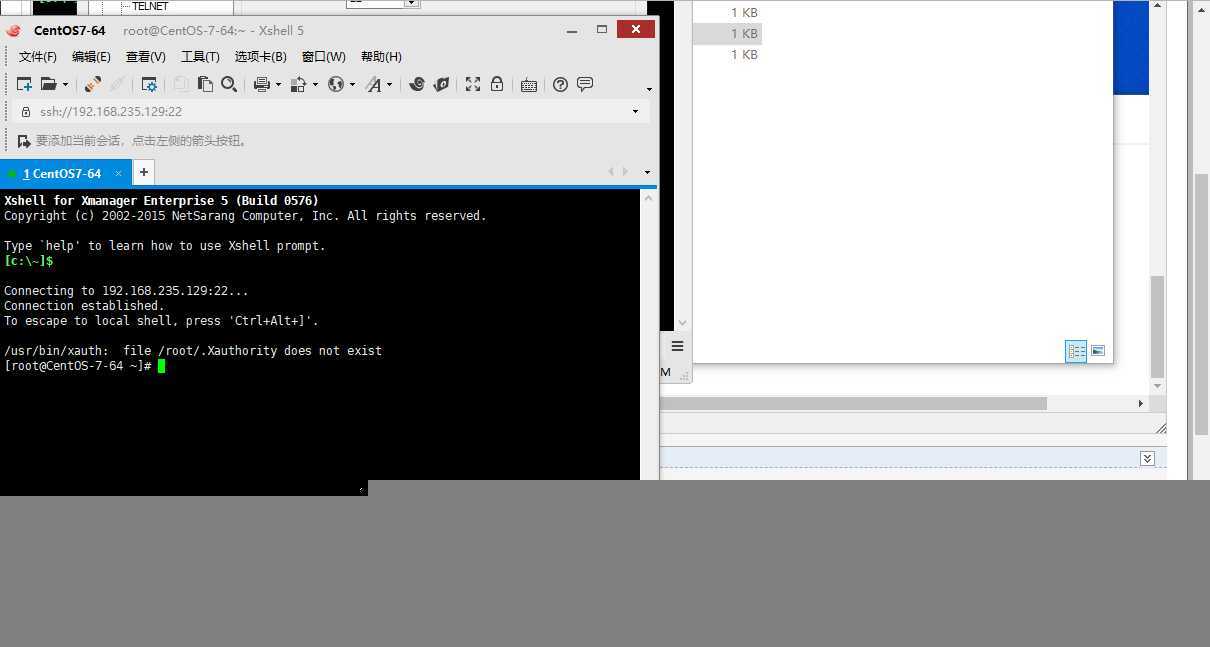
2.4 点了确定之后,输入一次用户,一次密码之后就登录上了,输入用户跟密码忘记截图了,下面是登录进入的图片

3. 总结
使用终端登录之后,无需在虚拟机中操作,这样只要挂着虚拟机就可以了。很方便。
标签:class mtu byte opp 16px ram 忘记 flags loopback
原文地址:https://www.cnblogs.com/dreamfreedom/p/11563406.html