标签:string 简单的 storm 引入 官方 func 格式 ext typeof
开始使用 WebStorm 搭建( WebStorm 请自行安装...... )
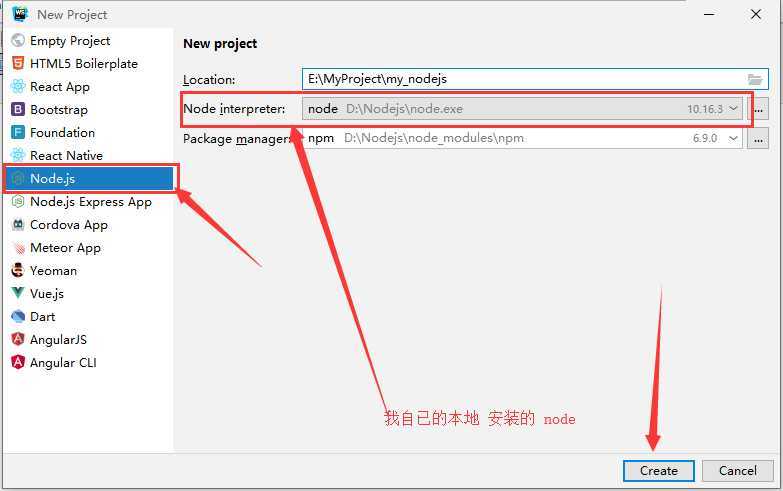
在 项目 根目录 新建个 app.js
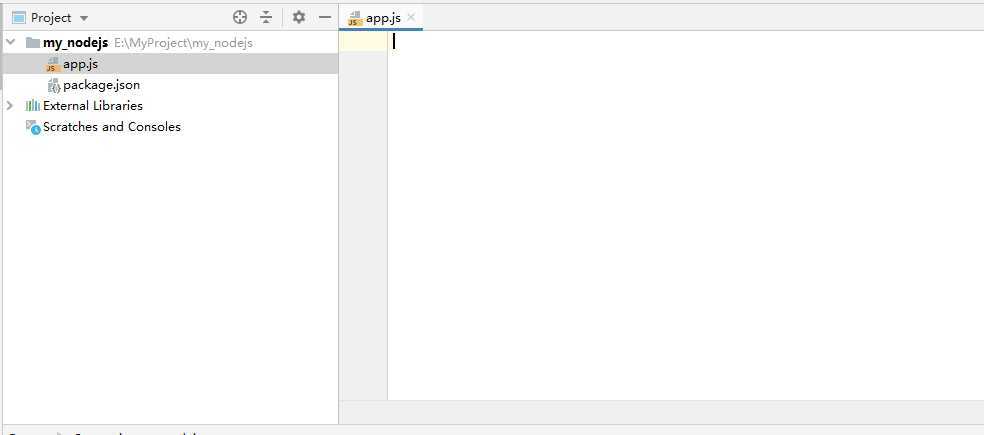
开始 编写 app,js
// 引入 HTTP 模块
const http = require("http");
// 可以使用 HTTPS 模块
// const https = require("https");

var httpService = function (app,port) {
    // 创建 node 服务
    // 如果 使用 https 的话 还需要 证书
    var httpService = http.createServer(app).listen(port);
    // 监听服务
    httpService.on(‘listening‘,onListening);
    // 监听函数
    function onListening() {
        var addr = httpService.address();
        var bind = typeof addr === ‘string‘
            ? ‘pipe ‘ + addr
            : ‘port ‘ + addr.port;
        console.log(‘Listening on ‘ + bind);
    }
}

// 模块导出
module.exports = httpService;
app.js ( 这里 我专门是用来写创建 nodeJs 服务的 ),那还缺少一个 启动的.....
同样也是在根目录 新建个 start,js 文件
// 引入自已的模块
const start = require(‘./app‘);
// 引入 express 模块
const express = require(‘express‘);

// 使用 express 极简的web开发框架
// 具体搜官方
var app = express();

// 你可以这样使用:
// app.use
// app.post
// app.get
// app.delete
app.use(function (req, res, next) {
    res.writeHead(200,{"Content_Type":"text/html"});//设置响应格式
    res.write("hello NodeJS");
    res.end();
});

// 启动服务
start(app, 8020);
现在来启动 这个 start.js
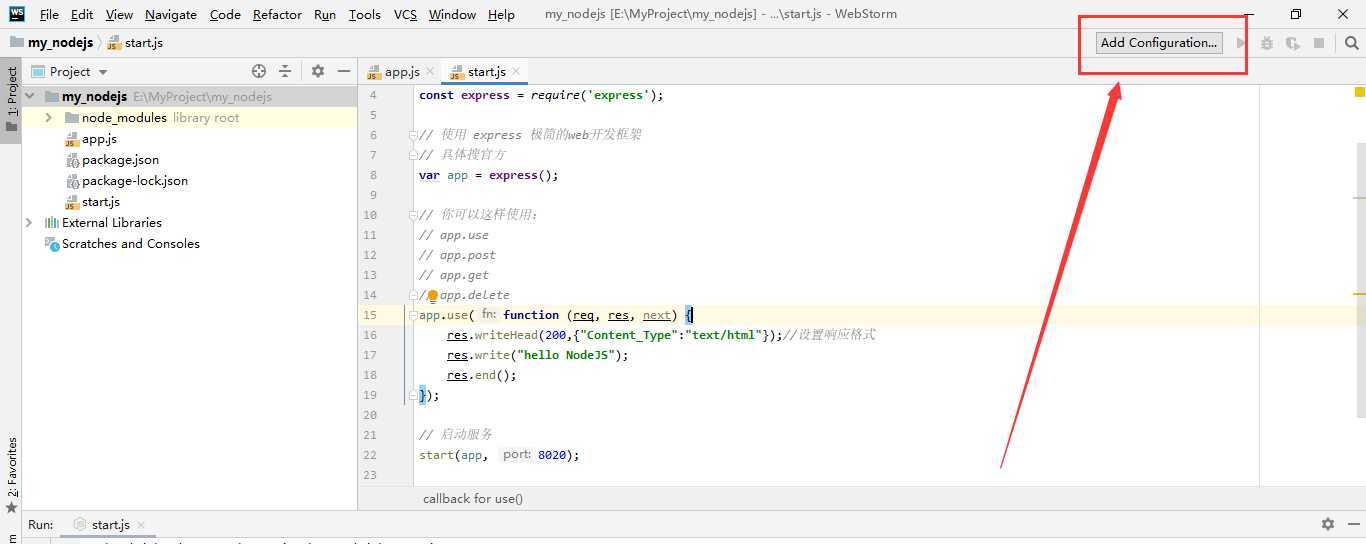
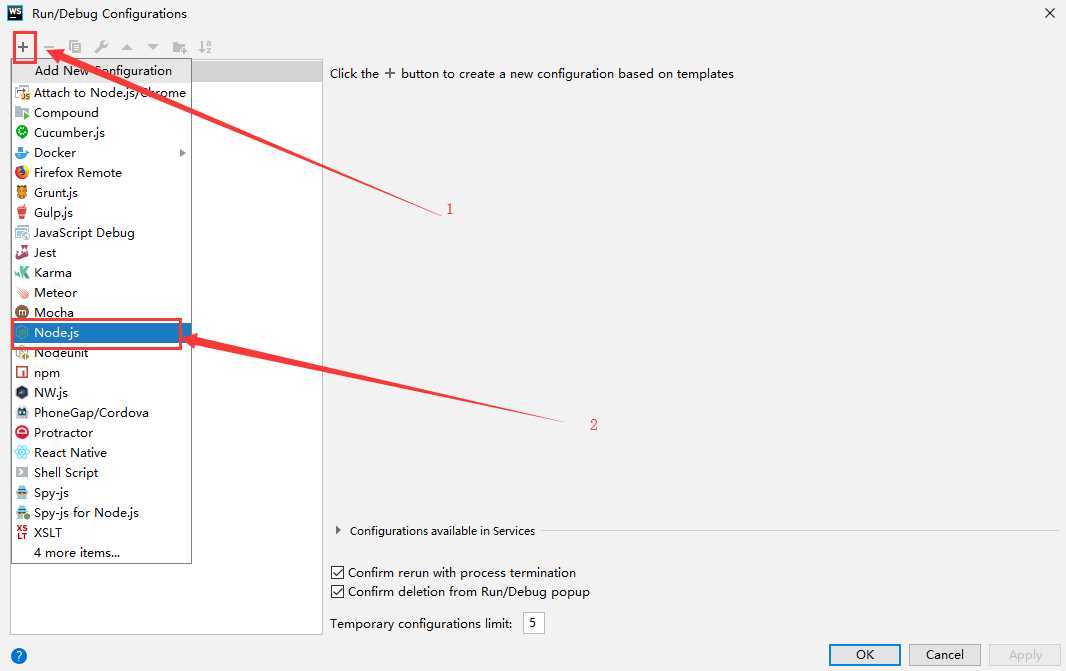
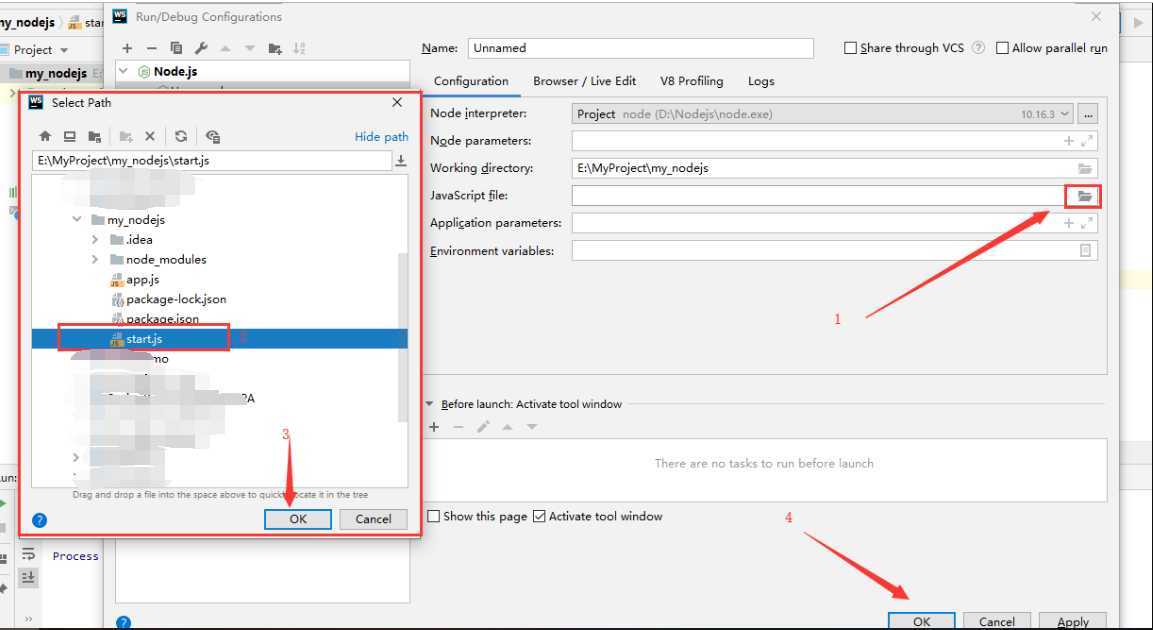
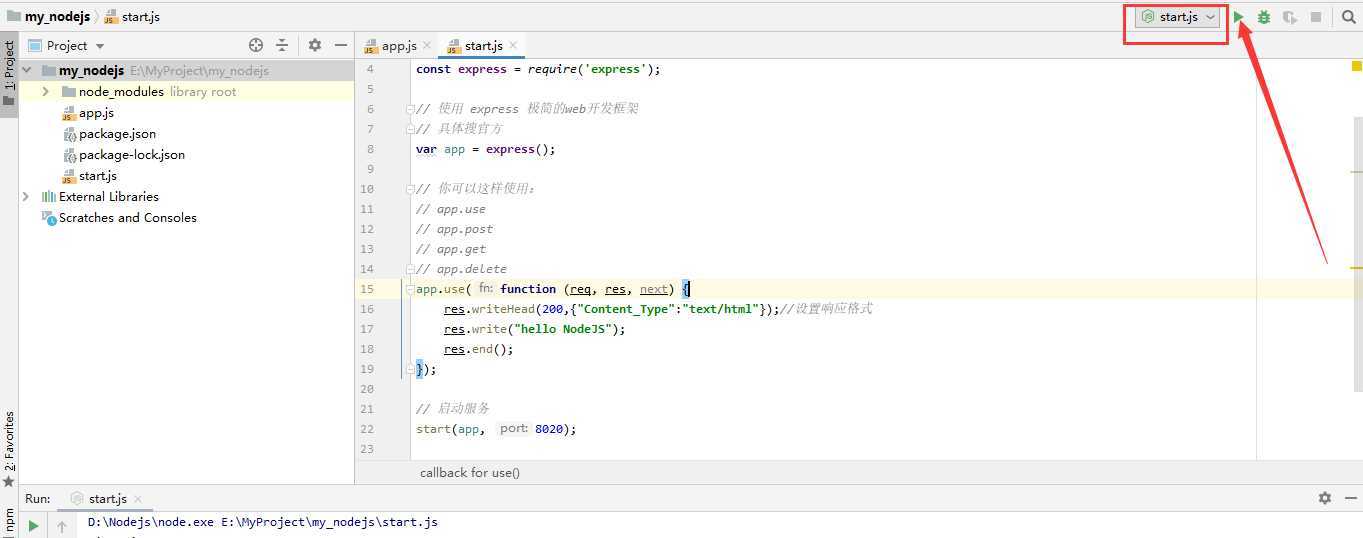
启动完成后 看 控制台:

进行访问:
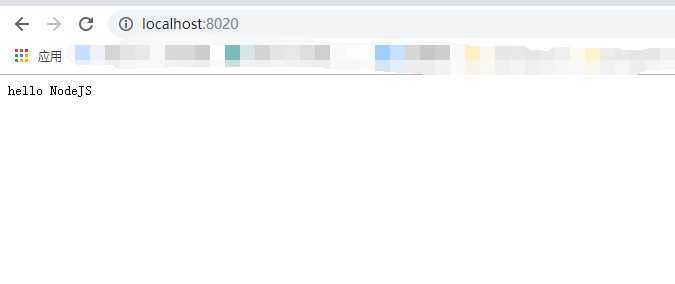
这样 就完成了一个 简单的 nodeJs 服务搭建
标签:string 简单的 storm 引入 官方 func 格式 ext typeof
原文地址:https://www.cnblogs.com/oukele/p/11595138.html