标签:均衡 注册 服务器 依赖项 轮询 github仓库 技术 负载 管理
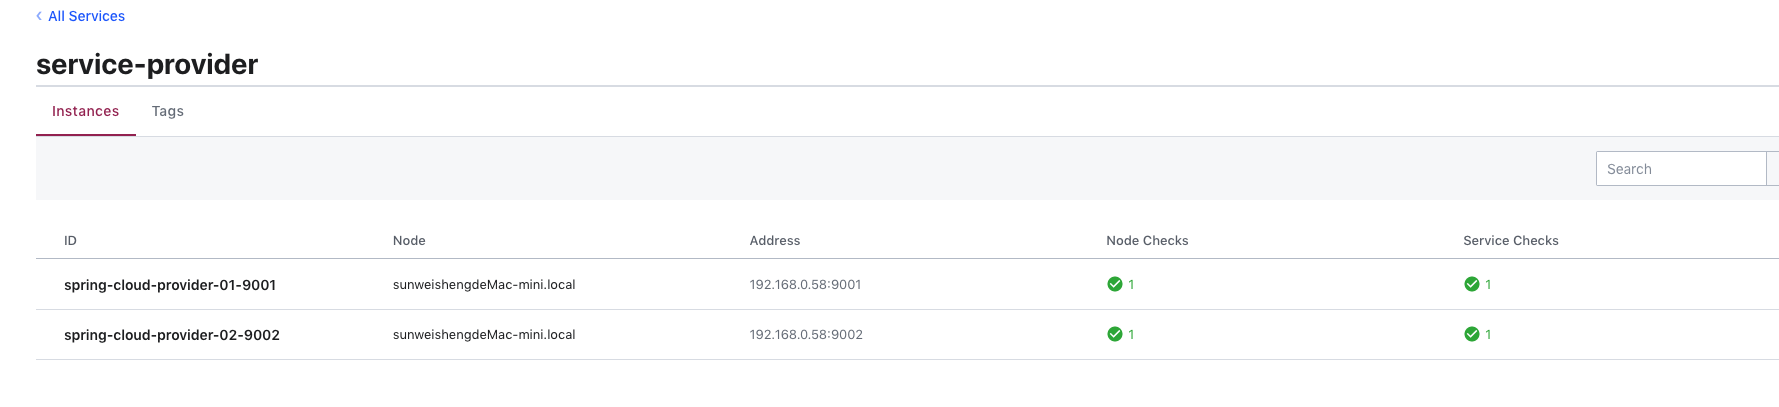
启动Consul(./consul agent -dev)作为服务中心,默认是8500端口,然后启动spring-cloud-provider(9001端口)和spring-cloud-provider-second(9002端口)两个项目作为微服务。
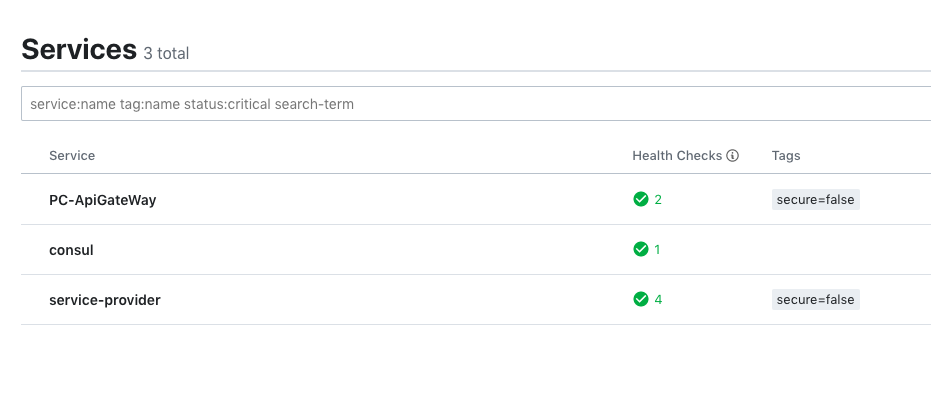
在Consul管理后台可以看见两个服务启动:
POM内增加如下依赖:
                <dependency>
            <groupId>org.springframework.boot</groupId>
            <artifactId>spring-boot-starter-actuator</artifactId>
        </dependency>
        <dependency>
            <groupId>org.springframework.cloud</groupId>
            <artifactId>spring-cloud-starter-consul-discovery</artifactId>
</dependency>server:
port: 9000
spring:
cloud:
consul:
host: 127.0.0.1
port: 8500
discovery:
register: true
gateway:
routes:
- id: test_route
uri: lb://service-provider
predicates:
- Path=/service-provider/{segment}
filters:
- SetPath=/{segment}
application:
name: PC-ApiGateWay启动后Consul后台可以看见Spring Cloud Gateway项目的注册内容
访问 “127.0.0.1:9000/service-provider/hello?name=sws” 这个地址,并刷新页面测试网关的负载均衡。
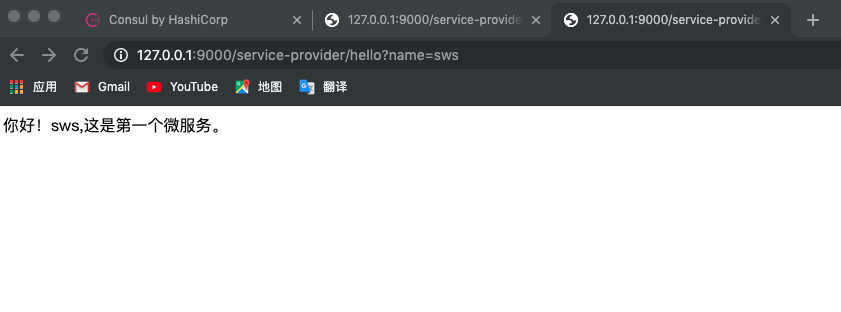
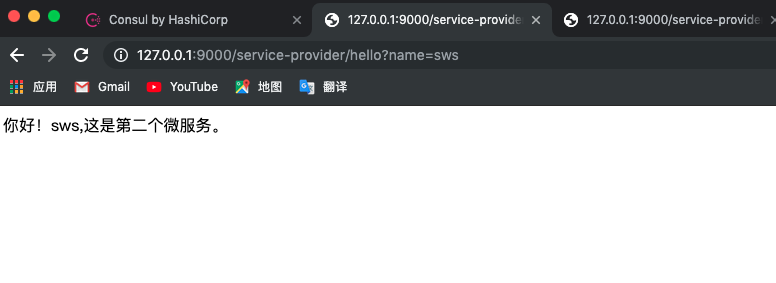
可以看出网关代理了后台微服务的功能,并起到了轮询访问的作用。
Github仓库:https://github.com/sunweisheng/spring-cloud-example
Spring Cloud Gateway注册到服务器中心(Consul)
标签:均衡 注册 服务器 依赖项 轮询 github仓库 技术 负载 管理
原文地址:https://www.cnblogs.com/bluersw/p/11610707.html