标签:profile type ems types clear 数据 cli tco 提示
我们先新增一个网站,名为“ClientMvc",也是asp.net core Web应用程序(模型视图控制器)
使用nuget安装以下引用
Microsoft.AspNetCore.Authentication.Cookies
Microsoft.AspNetCore.Authentication.OpenIdConnect
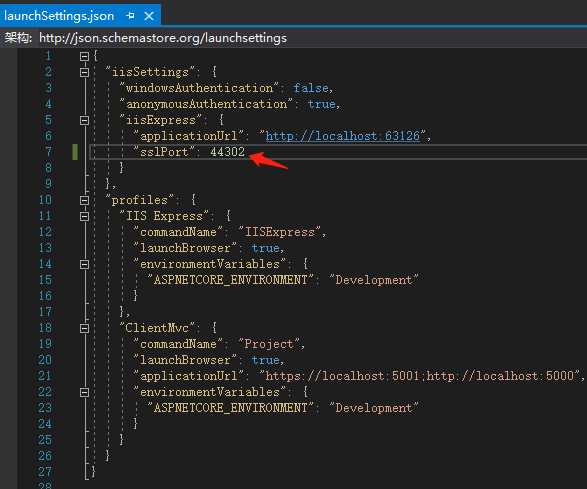
打开Properties\launchSettings.json,修改端口为44302
我们修改该网站的Home页,打开View/Home/Index.cshtml,使用以下内容替换
@using Microsoft.AspNetCore.Authentication

<h2>Claims</h2>

<dl>
    @foreach (var claim in User.Claims)
    {
        <dt>@claim.Type</dt>
        <dd>@claim.Value</dd>
    }
</dl>

<h2>Properties</h2>

<dl>
    @foreach (var prop in (await Context.AuthenticateAsync()).Properties.Items)
    {
        <dt>@prop.Key</dt>
        <dd>@prop.Value</dd>
    }
</dl>
修改控制器,加上Authorize属性

同样需要调整startup.cs的两个方法
public void ConfigureServices(IServiceCollection services)
{
    services.AddControllersWithViews();

    JwtSecurityTokenHandler.DefaultInboundClaimTypeMap.Clear();

    IdentityModelEventSource.ShowPII = true;

    services.AddAuthentication(options =>
        {
            options.DefaultScheme = "Cookies";
            options.DefaultChallengeScheme = "oidc";
        })
        .AddCookie("Cookies")
        .AddOpenIdConnect("oidc", options =>
        {
            options.SignInScheme = "Cookies";
            options.Authority = "https://localhost:44300";
            options.RequireHttpsMetadata = true;
            options.ClientId = "mvc";
            options.SaveTokens = true;
        });
}
Configure方法,增加app.UseAuthentication();
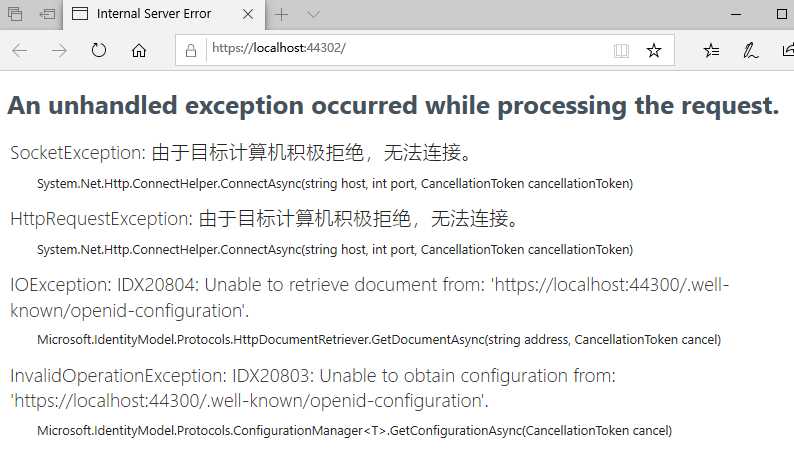
MVC的网站调整好了,现在如果运行该网站的话,会提示错误
好了,现在需要去为我们的认证服务器加上Implicit模式的支持
在Config.cs上需修改两处
1.加上相应的Client。
2.添加IdentityResource
以下是整个文件代码
using IdentityServer4;
using IdentityServer4.Models;
using System.Collections.Generic;

namespace IdentityMvc
{
    public static class Config
    {
        public static IEnumerable<IdentityResource> GetIdentityResources()
        {
            return new IdentityResource[]
            {
                new IdentityResources.OpenId(),
                new IdentityResources.Profile()//Implicit需要
            };
        }

        public static IEnumerable<ApiResource> GetApiResources()
        {
            return new List<ApiResource>
            {
                new ApiResource("api1", "My API")
            };
        }

        public static IEnumerable<Client> GetClients()
        {
            return new List<Client>
            {
                new Client
                {
                    ClientId = "client",
                    // no interactive user, use the clientid/secret for authentication
                    AllowedGrantTypes = GrantTypes.ClientCredentials,
                    // secret for authentication
                    ClientSecrets =
                    {
                        new Secret("secret".Sha256())
                    },
                    // scopes that client has access to
                    AllowedScopes = { "api1" }
                },
                new Client
                {
                    ClientId = "mvc",
                    ClientName = "MVC Client",
                    AllowedGrantTypes = GrantTypes.Implicit,
                    RedirectUris =           { "https://localhost:44302/signin-oidc" },
                    PostLogoutRedirectUris = { "https://localhost:44302/" },
                    FrontChannelLogoutUri =  "https://localhost:44302/signout-oidc",

                    AllowedScopes =
                    {
                        IdentityServerConstants.StandardScopes.OpenId,
                        IdentityServerConstants.StandardScopes.Profile,
                        IdentityServerConstants.StandardScopes.Email,

                        "api1", "api2.read_only"
                    },
                }
            };
        }
    }
}
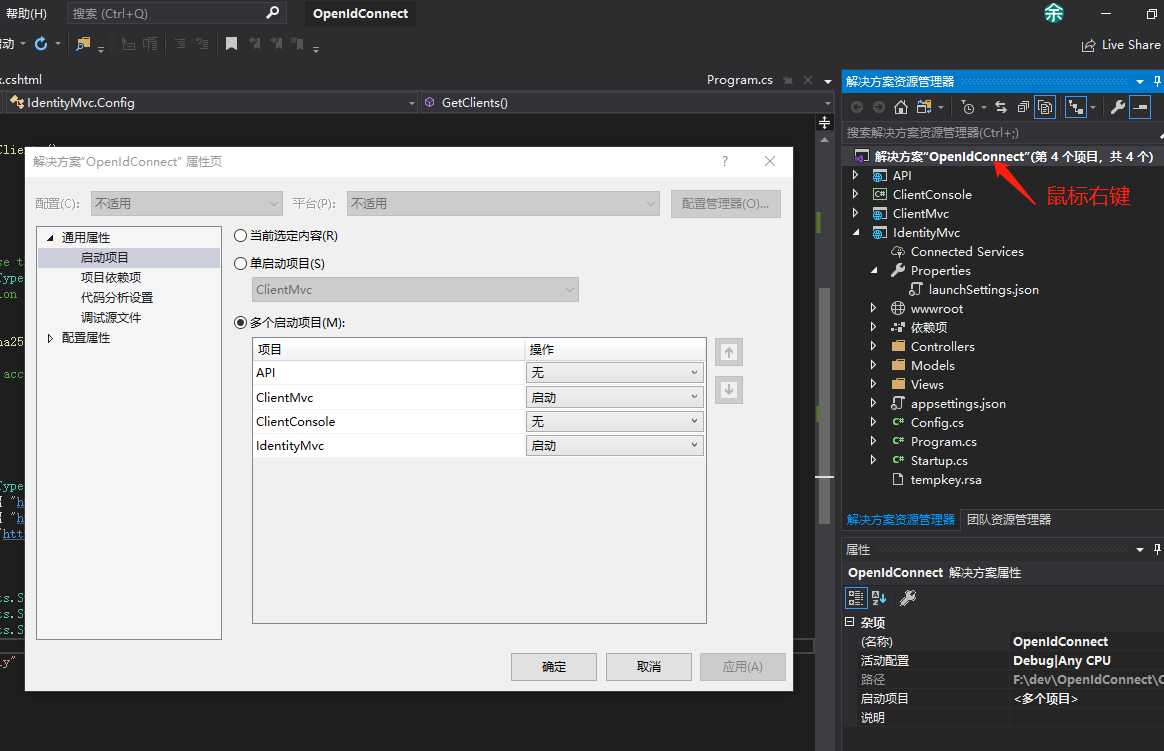
修改项目为多启动项目
鼠标右键点击”解决方案”,选择属性
按上图启动后,你会发现IE打开两个page,且都访问了44300端口
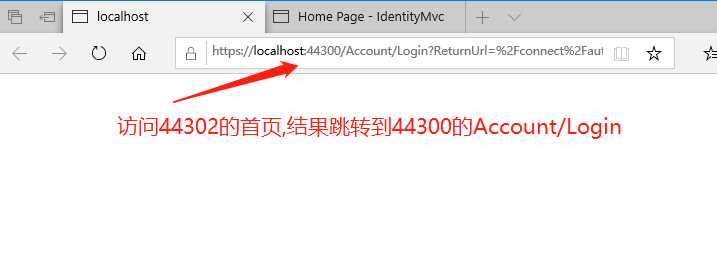
至此,44302的首页处于认证保护之下了。下一步就是回到44300去实现Account控制器的Login方法,完成整个认证过程。因为要读取数据库,内容比较多,另起一篇来说明过程。
IdentityServer4入门四:应用Implicit模式保护网站
标签:profile type ems types clear 数据 cli tco 提示
原文地址:https://www.cnblogs.com/kevin-Y/p/11686909.html