标签:lin auto height php cat evel list time access
环境: CenterOS 7
1.安装nginx之前先安装nginx所需的依赖包
yum -y install zlib zlib-devel openssl openssl-devel pcre pcre-devel
2.使用wget下载nginx压缩文件,并且解压安装,操作步骤如下:
点击查看官网nginx版本,此处我使用的是1.16.1版本
[root@VM_1_14_centos ~]# cd /data/
[root@VM_1_14_centos data]# wget  http://nginx.org/download/nginx-1.15.7.tar.gz
[root@VM_1_14_centos data]# tar -xvf nginx-1.16.1.tar.gz
[root@VM_1_14_centos data]# mkdir //usr/local/nginx -p
[root@VM_1_14_centos data]# ll
total 1008
drwxr-xr-x 9 1001 1001    4096 Dec 17 15:16 nginx-1.15.7
-rw-r--r-- 1 root root 1026732 Nov 27 22:51 nginx-1.15.7.tar.gz
[root@VM_1_14_centos data]# cd nginx-1.15.7/
[root@VM_1_14_centos nginx-1.15.7]# ./configure --prefix=/usr/local/nginx
[root@VM_1_14_centos nginx-1.15.7]#make&&make install
3.nginx配置文件 (nginx默认已经配置好了,需要改的话请看下面带‘#‘的描述)
[root@VM_1_14_centos /]# cd /usr/local/nginx/conf/
[root@VM_1_14_centos conf]#
[root@VM_1_14_centos conf]#
[root@VM_1_14_centos conf]#
[root@VM_1_14_centos conf]# vim nginx.conf

#user  nobody;
worker_processes  1;

#error_log  logs/error.log;
#error_log  logs/error.log  notice;
#error_log  logs/error.log  info;

#pid        logs/nginx.pid;


events {
    worker_connections  1024;
}


http {
    include       mime.types;
    default_type  application/octet-stream;

    #log_format  main  ‘$remote_addr - $remote_user [$time_local] "$request" ‘
    #                  ‘$status $body_bytes_sent "$http_referer" ‘
    #                  ‘"$http_user_agent" "$http_x_forwarded_for"‘;

    #access_log  logs/access.log  main;

    sendfile        on;
    #tcp_nopush     on;

    #keepalive_timeout  0;
    keepalive_timeout  65;

    #gzip  on;

    server {
        listen       80;             #这里需要我们设置web访问的端口
        server_name  localhost;       #这里设置web访问的IP,最终在浏览器访问;默认为localhost    也可以设置成服务器的ip,如129.xxx.xxx.xxx

        #charset koi8-r;

        #access_log  logs/host.access.log  main;

        location / {                                  #这里配置nginx页面访问跳转
            root   html;                              #这里更重要,root是指直接访问 IP:port 时,获取文件的根目录,如果上一行设置为 / ,则直接访问IP:port会去拉取 /html下面的index.html
            index  index.html index.htm;              #接上一行,如果location后面设置了目录  /abc ,则访问IP:port时,会拉取 /html/abc/index.html.
        }

        #error_page  404              /404.html;

        # redirect server error pages to the static page /50x.html
        #
        error_page   500 502 503 504  /50x.html;
        location = /50x.html {
            root   html;
        }

        # proxy the PHP scripts to Apache listening on 127.0.0.1:80
        #
        #location ~ \.php$ {
        #    proxy_pass   http://127.0.0.1;
        #}

        # pass the PHP scripts to FastCGI server listening on 127.0.0.1:9000
        #
        #location ~ \.php$ {
        #    root           html;
        #    fastcgi_pass   127.0.0.1:9000;
        #    fastcgi_index  index.php;
        #    fastcgi_param  SCRIPT_FILENAME  /scripts$fastcgi_script_name;
        #    include        fastcgi_params;
        #}

        # deny access to .htaccess files, if Apache‘s document root
        # concurs with nginx‘s one
        #
        #location ~ /\.ht {
        #    deny  all;
        #}
    }


    # another virtual host using mix of IP-, name-, and port-based configuration
    #
    #server {
    #    listen       8000;
    #    listen       somename:8080;
    #    server_name  somename  alias  another.alias;

    #    location / {
    #        root   html;
    #        index  index.html index.htm;
    #    }
    #}


    # HTTPS server
    #
    #server {
    #    listen       443 ssl;
    #    server_name  localhost;

    #    ssl_certificate      cert.pem;
    #    ssl_certificate_key  cert.key;

    #    ssl_session_cache    shared:SSL:1m;
    #    ssl_session_timeout  5m;

    #    ssl_ciphers  HIGH:!aNULL:!MD5;
    #    ssl_prefer_server_ciphers  on;

    #    location / {
    #        root   html;
    #        index  index.html index.htm;
    #    }
    #}

}
4.启动nginx服务
[root@VM_1_14_centos sbin]# pwd
/usr/local/nginx/sbin
[root@VM_1_14_centos sbin]# ./nginx -t #检查配置文件是否正确无误
nginx: the configuration file /usr/local/nginx/conf/nginx.conf syntax is ok
nginx: configuration file /usr/local/nginx/conf/nginx.conf test is successful
[root@VM_1_14_centos sbin]# ./nginx -c /usr/local/nginx/conf/nginx.conf  #使用上一步配置的nginx.conf启动nginx服务
[root@VM_1_14_centos sbin]# ps -aux | grep nginx
root      6341  0.0  0.0  20552   620 ?        Ss   16:04   0:00 nginx: master process ./nginx -c /usr/local/nginx/conf/nginx.conf
nobody    6342  0.0  0.0  23088  1396 ?        S    16:04   0:00 nginx: worker process
root      6360  0.0  0.0 112708   980 pts/1    S+   16:05   0:00 grep --color=auto nginx
5.打开浏览器,输入服务器上对应的ip地址和端口即可看见nignx默认的页面
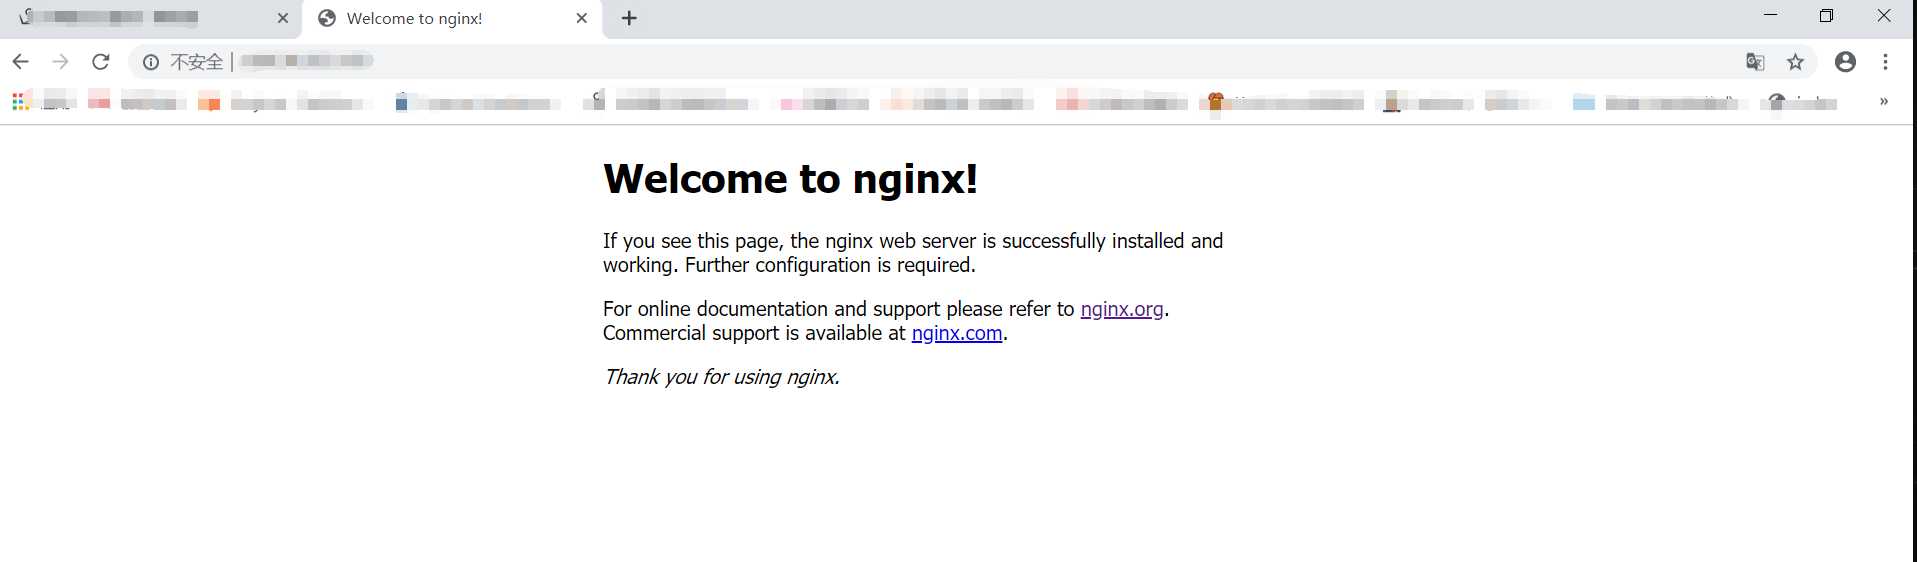
这样就配置成功了nginx
标签:lin auto height php cat evel list time access
原文地址:https://www.cnblogs.com/zzd0916/p/11718163.html