标签:adc ges war value mamicode config sign 显示 权限
1. 先判断系统是否已经安装了nasm
打开终端,执行 whereis nasm ;如果显示nasm: /usr/bin/nasm ,则已经安装;如果只显示nasm:,则未安装。
如下图 则是未安装状态

2.下载NASM
点击这个链接下载
3.按照下面步骤安装nasm
依次输入以下命令
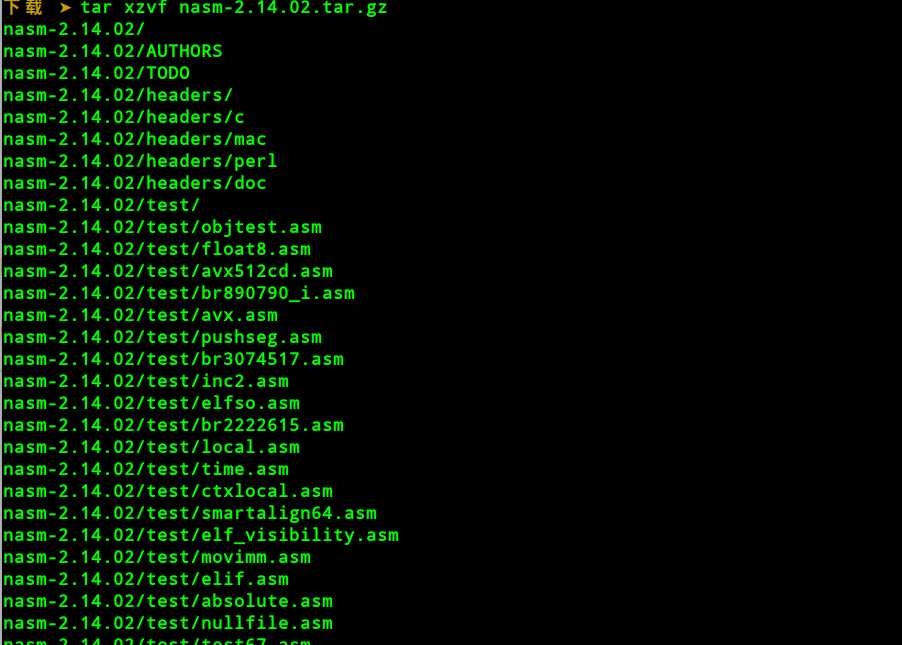
tar xzvf nasm-2.14.02.tar.gz // 解压nasm
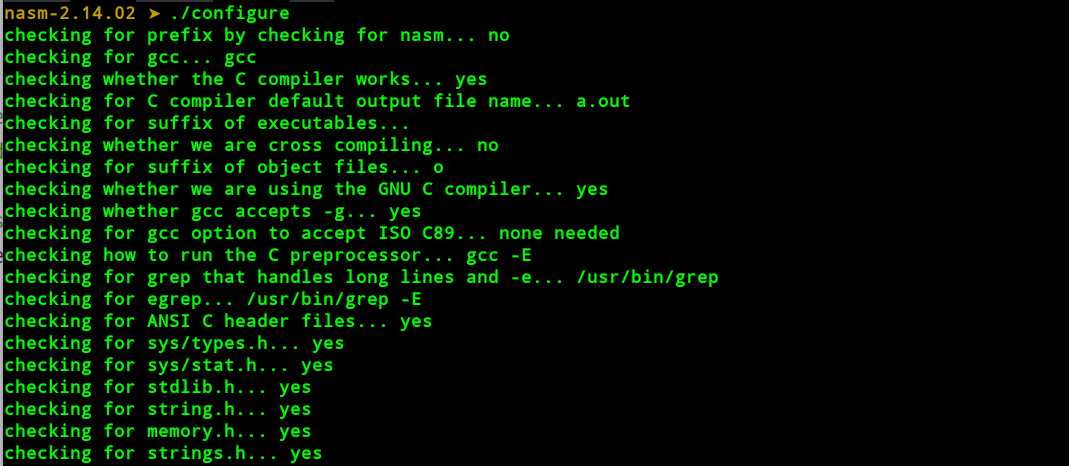
cd nasm-2.14.02 // 进入目录

./configure // {configure脚本会寻找最合适的C编译器,并生成相应的makefile文件}
接着输入 make 创建nasm和ndisasm 的二进制代码

最后输入 make install 进行安装(这一步需要root权限)
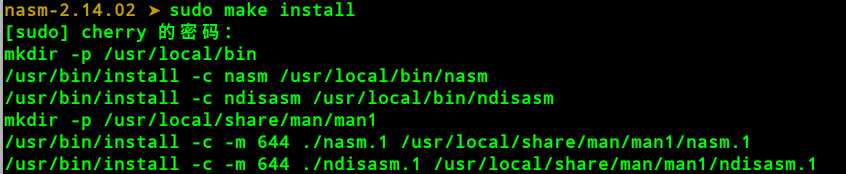
make install会将 nasm 和ndisasm 装进/usr/local/bin 并安装相应的man pages。
如果想验证是否安装成功的话,输入whereis nasm

这样就安装成功了
1. 新建文件,将其命名为hello.asm,编辑并保存
section .data
  hello:     db ‘Hello world!‘,10    ; ‘Hello world!‘ plus a linefeed character
  helloLen:  equ $-hello             ; Length of the ‘Hello world!‘ string
                                     ; (I‘ll explain soon)
section .text
  global _start
_start:
  mov eax,4            ; The system call for write (sys_write)
  mov ebx,1            ; File descriptor 1 - standard output
  mov ecx,hello        ; Put the offset of hello in ecx
  mov edx,helloLen     ; helloLen is a constant, so we don‘t need to say
                       ;  mov edx,[helloLen] to get it‘s actual value
  int 80h              ; Call the kernel
  mov eax,1            ; The system call for exit (sys_exit)
  mov ebx,0            ; Exit with return code of 0 (no error)
  int 80h
2. 编译
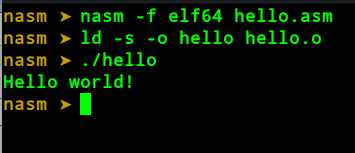
nasm -f elf64 hello.asm // elf64是64位机 如果是32位机请使用elf32
3. 链接
ld -s -o hello hello.o
4.运行
./hello
运行结果如下所示:
本人水平有限, 如有问题请在下面评论指出
标签:adc ges war value mamicode config sign 显示 权限
原文地址:https://www.cnblogs.com/Cherrison-Time/p/11756239.html