标签:this 配置路由 gdb 启动 服务 ++ info i++ 最大
1,服务器角色解释B机器:192.168.1.32 ,config server(SECONDARY),shard1(SECONDARY),shard2(PRIMARY),shard3(ARBITER)
C机器:192.168.1.33 ,config server(PRIMARY),shard1(ARBITER),shard2(SECONDARY),shard3(PRIMARY)
端口分配:mongos 20000、config server 21000、shard1 27001、shard2 27002、shard3 27003
config server :存储元数据服务器
shard:数据分片服务器,真正存数据的
mongos:路由服务器,前端
2.创建各服务器的目录
mkdir -p /data/mongodb/{{config,shard1,shard2,shard3}/{data,log},mongos/log,etc}
#创建各服务器的数据 log 配置的文件的目录路径 ,三个节点都得创建
3.创建config server,开启服务,创建副本集ifconfigs
vim /data/mongodb/etc/config.conf #创建config服务器的配置文件
dbpath = /data/mongodb/config/data
logpath = /data/mongodb/config/log/configsrv.log
logappend = true
bind_ip =192.168.1.31   # 绑定你的监听ip
port = 21000
fork = true
configsvr = true #declare this is a config db of a cluster;
replSet=configs #副本集名称
maxConns=20000 #设置最大连接数
mongod -f /data/mongodb/etc/config.conf #用刚才建的配置文件启动
-----三台机器都要执行上述操作
mongo --host 192.168.221.50 --port 21000 #登陆到config服务器
config = { _id: "configs", members: [ {_id : 0, host : "192.168.1.31:21000"},{_id : 1, host : "192.168.1.32:21000"},{_id : 2, host : "192.168.1.33:21000"}] }
rs.initiate(config)
rs.status()   #查看副本集状态
"name" : "192.168.1.31:21000",
"stateStr" : "PRIMARY",

"name" : "192.168.1.32:21000",
"stateStr" : "SECONDARY",

"name" : "192.168.1.33:21000",
"stateStr" : "SECONDARY",
4.创建分片服务器
A.创建分片服务器1 shard1
vim /data/mongodb/etc/shard1.conf #创建shard1服务器的配置文件
pidfilepath = /var/run/mongodb/shard1.pid
dbpath = /data/mongodb/shard1/data
logpath = /data/mongodb/shard1/log/shard1.log
logappend = true
bind_ip = 192.168.1.31  #各自绑定自己的ip
port = 27001
fork = true
replSet=shard1
shardsvr = true
maxConns=20000
-----三台机器都要执行上述操作
mongod -f /data/mongodb/etc/shard1.conf #启动shard1服务器
config = {_id:"shard1",members:[{_id:0,host:"192.168.1.31:27001"},{_id:1,host:"192.168.1.32:27001"},{_id:2,host:"192.168.1.33:27001",arbiterOnly:true}]}
rs.initiate(config)
rs.status()
如上图启动成功
B.创建分片服务器2 shard2
vim /data/mongodb/etc/shard2.conf #创建shard2服务器的配置文件
pidfilepath = /var/run/mongodb/shard2.pid
dbpath = /data/mongodb/shard2/data
logpath = /data/mongodb/shard2/log/shard2.log
logappend = true
bind_ip = 192.168.1.31 #换IP
port = 27002
fork = true
replSet=shard2
shardsvr = true
maxConns=20000
mongod -f /data/mongodb/etc/shard2.conf #启动shard2 服务器
------以上配置三个节点都要完成
mongo -port 27002 -host 192.168.1.32 #这个副本集要在.32上做,不能在.31上做,因为31在shard2这个副本集设置的是仲裁角色
config = { _id: "shard2", members: [ {_id : 0, host : "192.168.1.31:27002",arbiterOnly:true},{_id : 1, host : "192.168.1.32:27002"},{_id : 2, host : "192.168.1.33:27002"}] }
rs.initiate(config)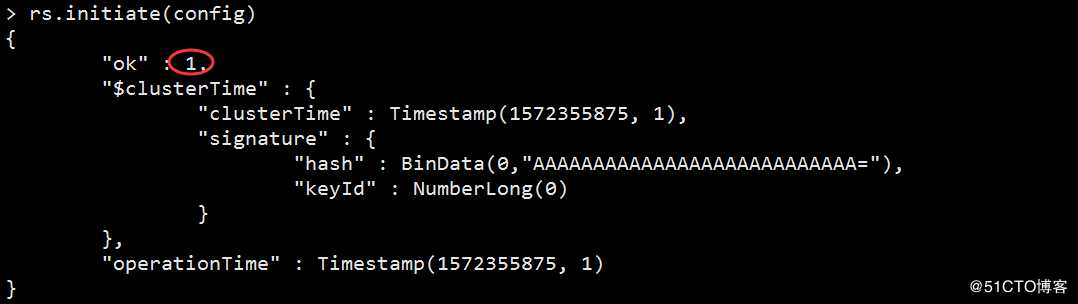
C.创建分片服务器3 shard3
vim /data/mongodb/etc/shard3.conf #创建shard3服务器的配置文件
pidfilepath = /var/run/mongodb/shard3.pid
dbpath = /data/mongodb/shard3/data
logpath = /data/mongodb/shard3/log/shard3.log
logappend = true
bind_ip = 192.168.1.31 #换IP
port = 27003
fork = true
replSet=shard3
shardsvr = true
maxConns=20000
mongod -f /data/mongodb/etc/shard3.conf #启动shard3 服务器
------以上配置三个节点都要完成
mongo -port 27003 -host 192.168.1.31
config={_id:"shard3",members:[{_id:0,host:"192.168.1.31:27003"},{_id:1,host:"192.168.1.32:27003",arbiterOnly:true},{_id:2,host:"192.168.1.33:27003"}]}
rs.initiate(config)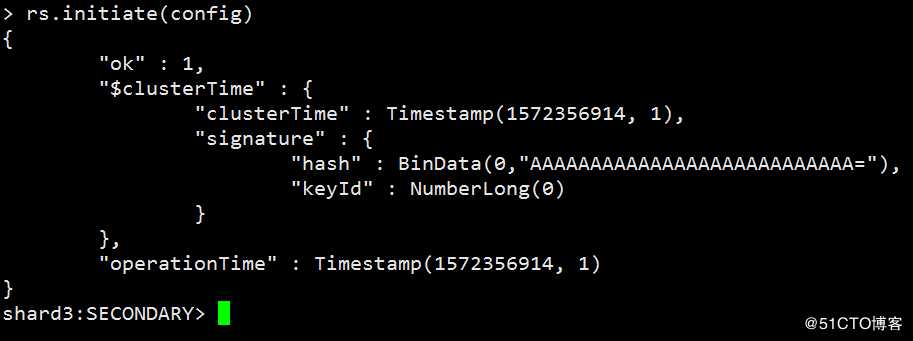
5.配置路由服务器
vim /data/mongodb/etc/mongos.conf #创建mongos服务器的配置文件
pidfilepath = /var/run/mongodb/mongos.pid
logpath = /data/mongodb/mongos/log/mongos.log
logappend = true
bind_ip = 192.168.1.31 # 绑定你的监听ip
port = 20000
fork = true
configdb = configs/192.168.1.31:21000, 192.168.1.32:21000, 192.168.1.33:21000
maxConns=20000
mongos -f /data/mongodb/etc/mongos.conf #启动mongos服务器
mongos> sh.addShard("shard1/192.168.1.31:27001,192.168.1.32:27001,192.168.1.33:27001")
mongos> sh.addShard("shard2/192.168.1.31:27002,192.168.1.32:27002,192.168.1.33:27002")
mongos> sh.addShard("shard3/192.168.1.31:27003,192.168.1.32:27003,192.168.1.33:27003")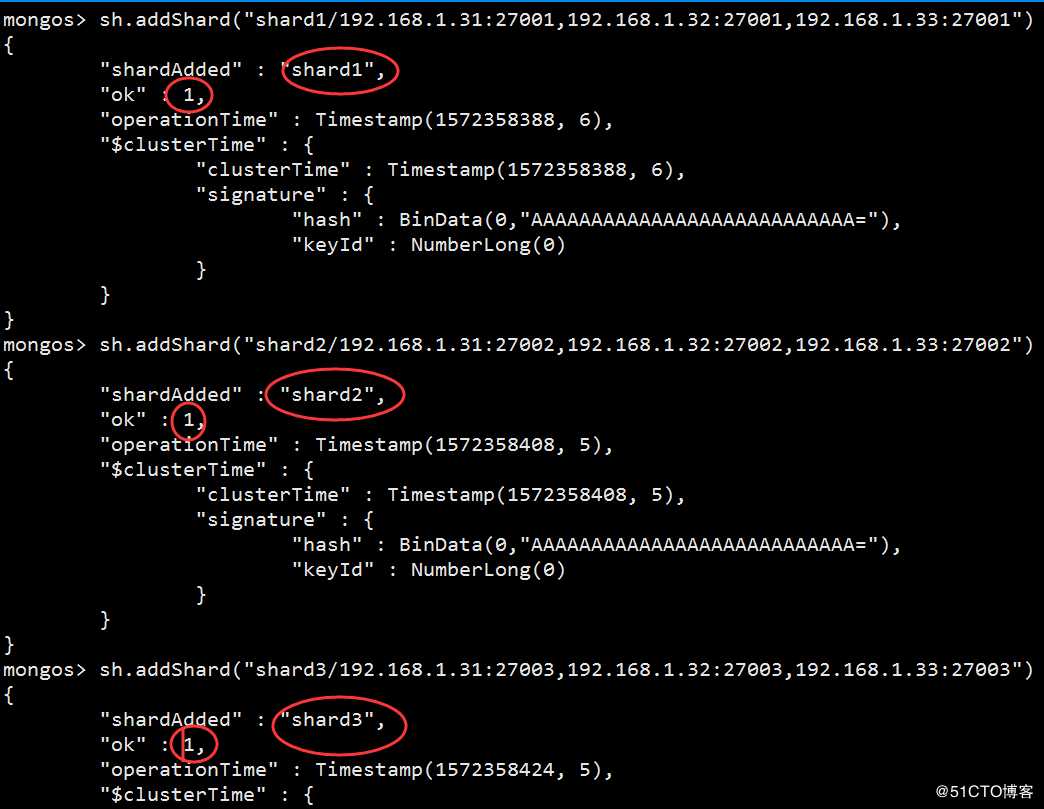
sh.status()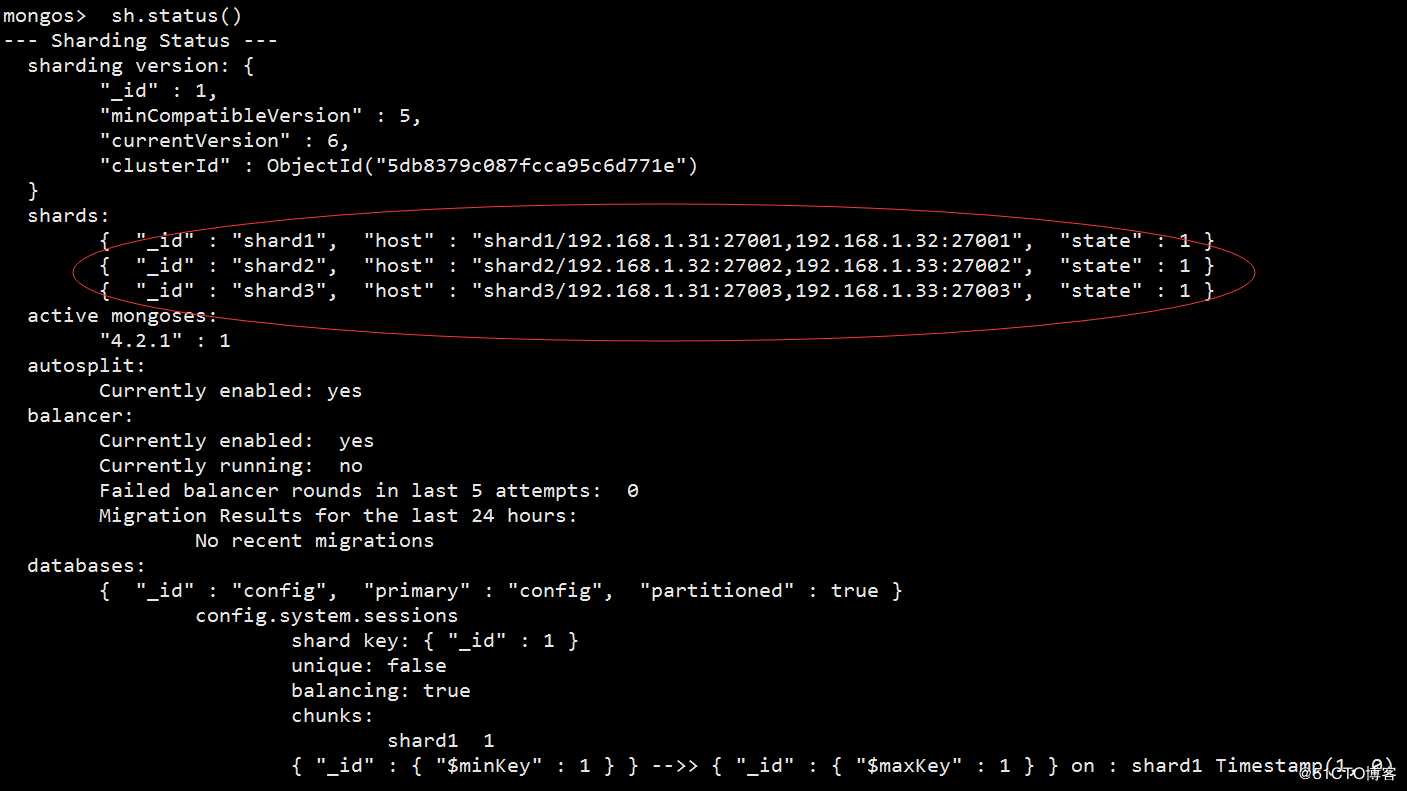
如上图就是配置成功
6.分片测试
mongos> sh.enableSharding("testdb"); #指定要分片的数据库
mongos> sh.shardCollection("testdb.table1",{id:1}) #指定数据库里要分片的集合和片键
mongos> use testdb #进入数据库
mongos> for(var i=1;i<=10000;i++) db.table1.save({id:i,test1:"testval1"}) #插入数据
标签:this 配置路由 gdb 启动 服务 ++ info i++ 最大
原文地址:https://blog.51cto.com/13620944/2446366