标签:not xsd 一起 增强 core import name standards 代码解析
Spring是J2EE的轻量级代替品,它通过依赖注入和面向切面编程,用简单的Java对象实现了EJB的功能。(EJB是一组构建企业级web应用的专用javaBean。)
(1)配置文件很多。一开始,Spring是用很多的xml配置;Sping2.5引入了基于注解的组件扫描,消除了大量针对应用程序自身组件的显示xml配置;Spring3.0引入了基于Java的配置,这是一种类型安全的可重构配置方式,可以代替xml。 所以Spring的配置依然是重量级的。
(2)测试、启动、发布,需要依赖外界的容器。
(3)无法独立运行。
Springboot是基于Spring框架的一个可以快速搭建、让系统独立运行的工具体系。它使用约定优于配置的理念使项目快速运行。
(1)为基于Spring的开发提供更快的入门体验。
(2)开箱即用,没有代码生成,也无需xml配置,同时也可以修改默认值来满足特定的需求。
(3)提供了一些大型项目中常见的非功能性特性,如嵌入式服务器、安全、指标、健康检测、外部配置等
(4)Springboot不是对Spring功能上的增强,而是提供了一种快速使用Spring的方式。
(1)简化依赖:Springboot提供了一系列的starter来简化Maven的依赖加载。简单的说就是讲具备某种功能的jar包打包到一起,并提供一些默认的功能(定义了对其他库的传递依赖)。
(2)自动配置:Springboot会根据在类路径中的jar包、类,为jar包里的类自动配置bean。Springboot的自动配置是一个运行时(应用程序启动时)的过程。
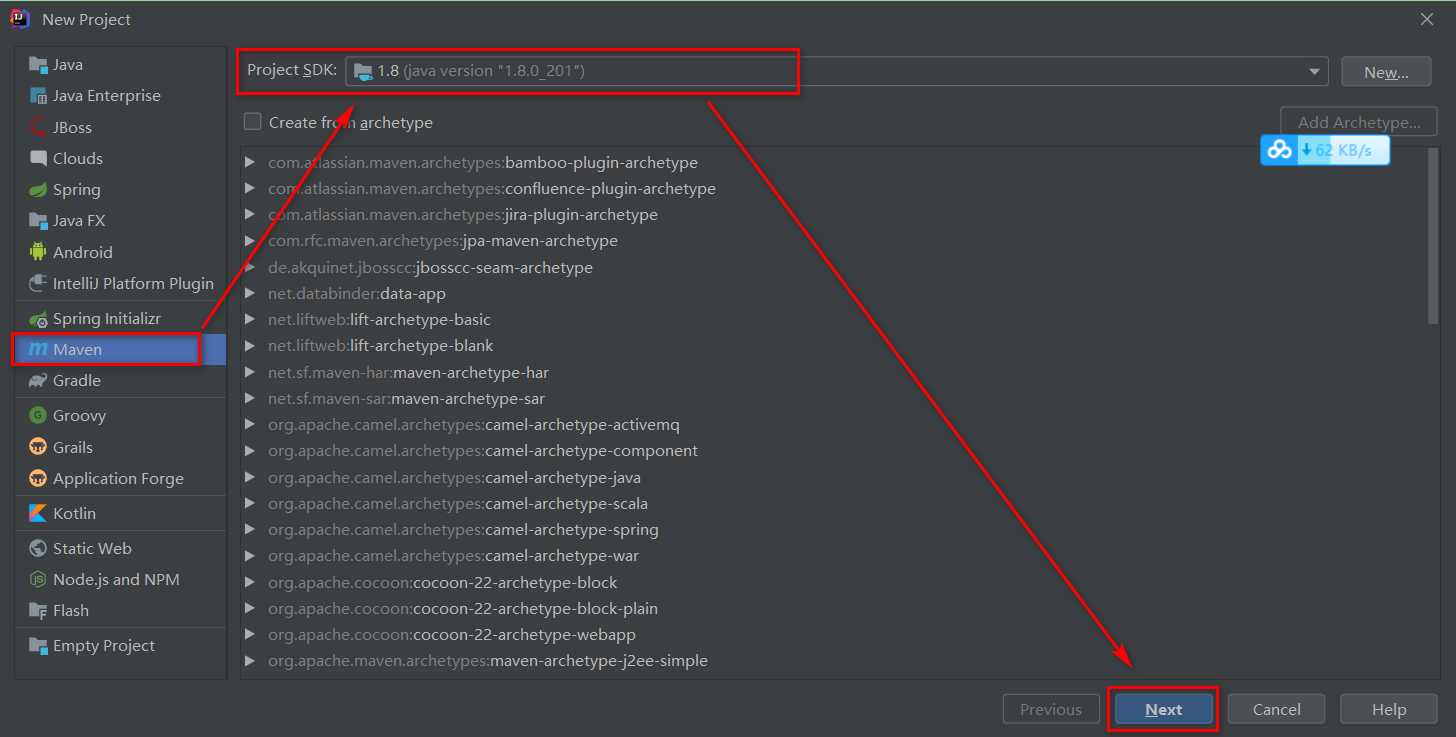
(1)创建Mavne工程(普通的Java工程就可以),这里我们使用idea工具。(安装配置maven的步骤不再赘述)

(2)配置pom文件
① 继承依赖Springboot的起步依赖spring-boot-starter-parent
    <parent>
        <groupId>org.springframework.boot</groupId>
        <artifactId>spring-boot-starter-parent</artifactId>
        <version>2.2.0.RELEASE</version>
        <relativePath/> <!-- lookup parent from repository -->
    </parent>
② Springboot要继承SpringMVC进行Controller的开发,所以要导入web的启动依赖
    <dependencies>
        <dependency>
            <groupId>org.springframework.boot</groupId>
            <artifactId>spring-boot-starter-web</artifactId>
        </dependency>
    </dependencies>
(3)编写启动类
package com.cn.starter;

import org.springframework.boot.SpringApplication;
import org.springframework.boot.autoconfigure.SpringBootApplication;
import org.springframework.context.annotation.ComponentScan;

@SpringBootApplication
@ComponentScan(basePackages={"com.cn.controller"})//修改默认扫描包的路径
public class MySpringbootApplication {
    public static void main(String[] args) {
        SpringApplication.run(MySpringbootApplication.class);
    }
}
注意:创建项目后,可能会出现@SpringBootApplication注解jar包无法引入的问题。
解决办法:找到maven的本地仓库,删除 本地库\org\springframework\boot\spring-boot-autoconfigure 这个路径下的文件夹,然后在idea中重新install项目即可(View->Tool Windows->Maven projects)。
(4)编写Controller,Springboot默认会扫描启动类的同级包或子包下的文件,不在此路径下的文件需要手动更改默认扫描路径
package com.cn.controller;

import org.springframework.stereotype.Controller;
import org.springframework.web.bind.annotation.RequestMapping;
import org.springframework.web.bind.annotation.ResponseBody;

@Controller
public class QuickStarterController {
    @RequestMapping("/quick")
    @ResponseBody
    public String quick(){
        return "Springboot 访问成功";
    }
}
(5)测试
启动MySpringbootApplication.java,控制台打印日志
  .   ____          _            __ _ _
 /\\ / ___‘_ __ _ _(_)_ __  __ _ \ \ \ \
( ( )\___ | ‘_ | ‘_| | ‘_ \/ _` | \ \ \ \
 \\/  ___)| |_)| | | | | || (_| |  ) ) ) )
  ‘  |____| .__|_| |_|_| |_\__, | / / / /
 =========|_|==============|___/=/_/_/_/
 :: Spring Boot ::        (v2.2.0.RELEASE)

2019-11-10 22:03:58.566  INFO 50584 --- [           main] com.cn.starter.MySpringbootApplication   : Starting MySpringbootApplication on H0T37LAJE3WUP2H with PID 50584 (E:\ideaWorkspaces\springboot_quick\target\classes started by Administrator in E:\ideaWorkspaces\springboot_quick)
2019-11-10 22:03:58.572  INFO 50584 --- [           main] com.cn.starter.MySpringbootApplication   : No active profile set, falling back to default profiles: default
2019-11-10 22:04:00.774  INFO 50584 --- [           main] o.s.b.w.embedded.tomcat.TomcatWebServer  : Tomcat initialized with port(s): 8080 (http)
2019-11-10 22:04:00.790  INFO 50584 --- [           main] o.apache.catalina.core.StandardService   : Starting service [Tomcat]
2019-11-10 22:04:00.791  INFO 50584 --- [           main] org.apache.catalina.core.StandardEngine  : Starting Servlet engine: [Apache Tomcat/9.0.27]
2019-11-10 22:04:00.934  INFO 50584 --- [           main] o.a.c.c.C.[Tomcat].[localhost].[/]       : Initializing Spring embedded WebApplicationContext
2019-11-10 22:04:00.934  INFO 50584 --- [           main] o.s.web.context.ContextLoader            : Root WebApplicationContext: initialization completed in 2233 ms
2019-11-10 22:04:01.165  INFO 50584 --- [           main] o.s.s.concurrent.ThreadPoolTaskExecutor  : Initializing ExecutorService ‘applicationTaskExecutor‘
2019-11-10 22:04:01.398  INFO 50584 --- [           main] o.s.b.w.embedded.tomcat.TomcatWebServer  : Tomcat started on port(s): 8080 (http) with context path ‘‘
2019-11-10 22:04:01.403  INFO 50584 --- [           main] com.cn.starter.MySpringbootApplication   : Started MySpringbootApplication in 3.541 seconds (JVM running for 5.348)
2019-11-10 22:04:19.715  INFO 50584 --- [nio-8080-exec-1] o.a.c.c.C.[Tomcat].[localhost].[/]       : Initializing Spring DispatcherServlet ‘dispatcherServlet‘
2019-11-10 22:04:19.715  INFO 50584 --- [nio-8080-exec-1] o.s.web.servlet.DispatcherServlet        : Initializing Servlet ‘dispatcherServlet‘
2019-11-10 22:04:19.724  INFO 50584 --- [nio-8080-exec-1] o.s.web.servlet.DispatcherServlet        : Completed initialization in 9 ms
通过日志发现Tomcat started on port(s): 8080 (http) with context path " ",tomcat已经启动,端口为8080,web应用的虚拟工程名为空。
打开浏览器访问:http://localhost:8080/quick

(1)Springboot代码解析:
① @SpringBootApplication:标注Springboot的启动类,该注解详细介绍见Springboot原理分析。
② SpringApplication.run(MySpringbootApplication.class),代表运行SpringBoot的启动类,参数为Springboot启动类的字节码对象
(2)Springboot工程的热部署
在开发中我们会反复修改类、页面等资源,每次修改后需要重新启动才会生效,这样每次启动就会很耗时麻烦。Springboot支持热部署,修改代码后不需要重启就能生效,在pom.xml中添加如下配置:
       <dependency>
            <groupId>org.springframework.boot</groupId>
            <artifactId>spring-boot-devtools</artifactId>
            <optional>true</optional> <!-- 这个需要为 true 热部署才有效 -->
        </dependency>
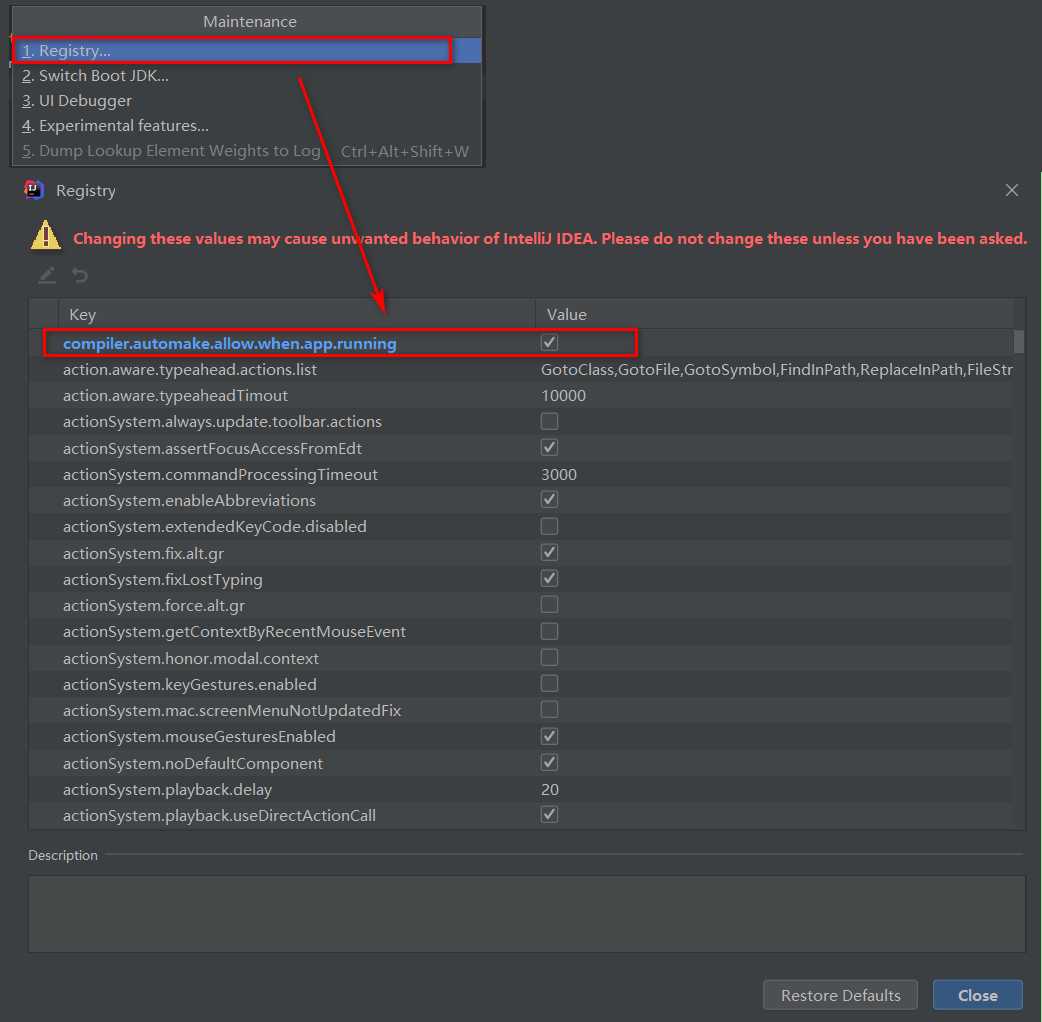
注意:在IDEA中进行SpringBoot热部署失败问题,是因为IDEA默认情况下不会自动编译,需要先对IDEA进行自动编译的设置。
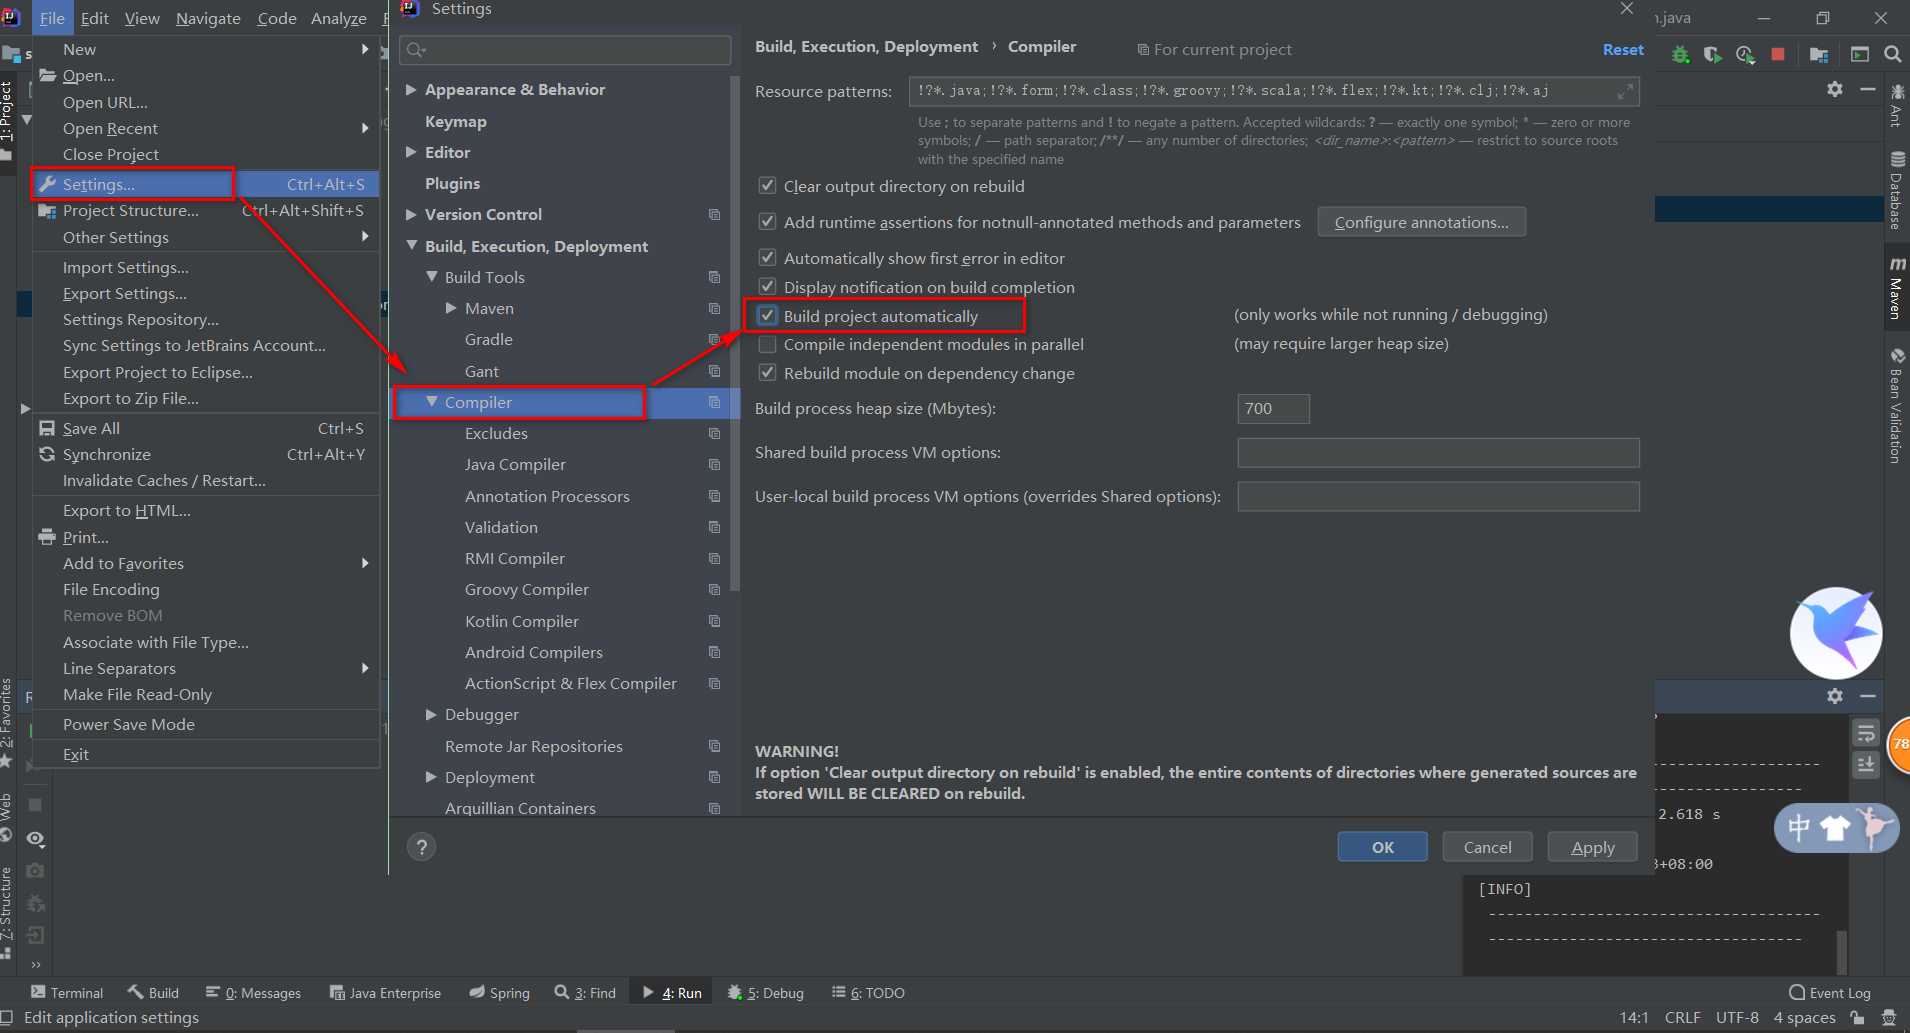
然后shift+ctrl+alt+/,选择registry
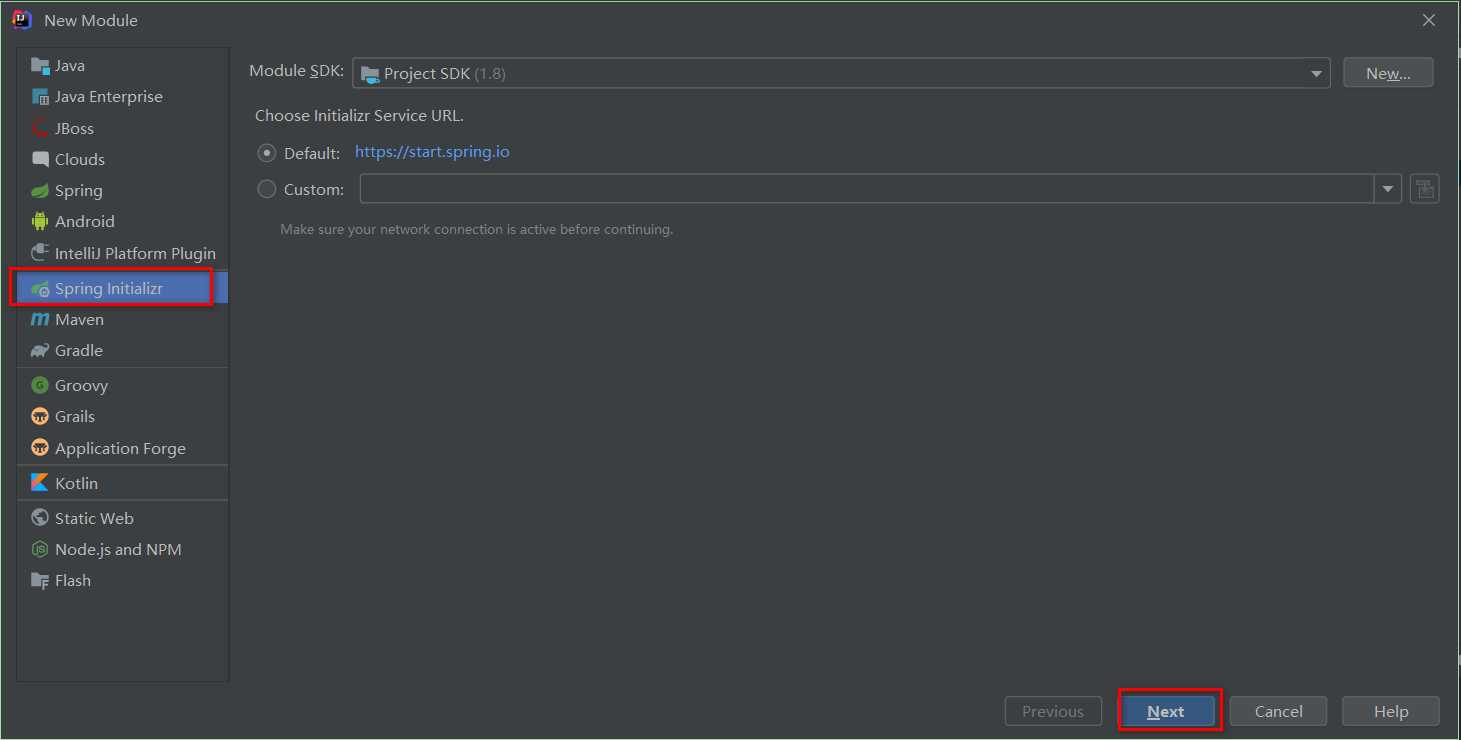
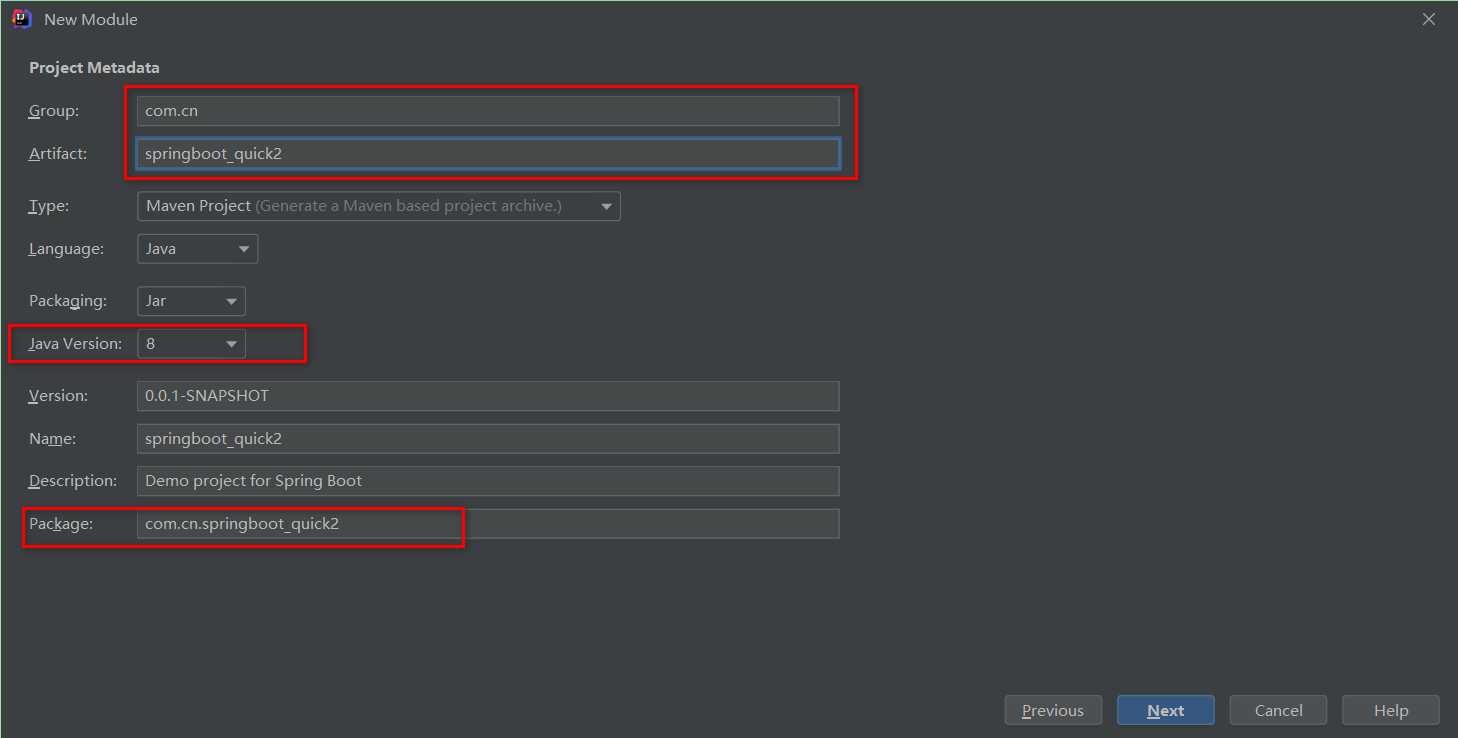
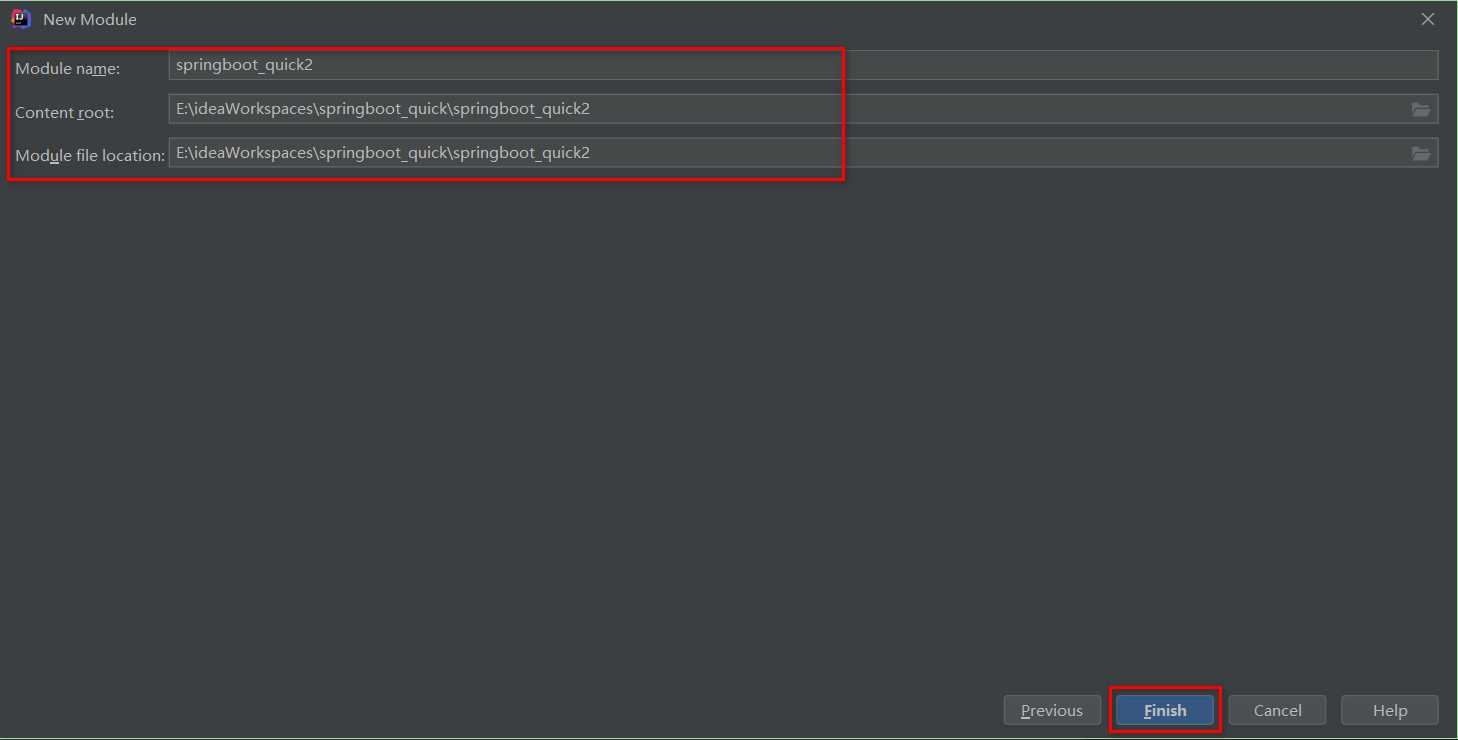
创建好的项目结构如图

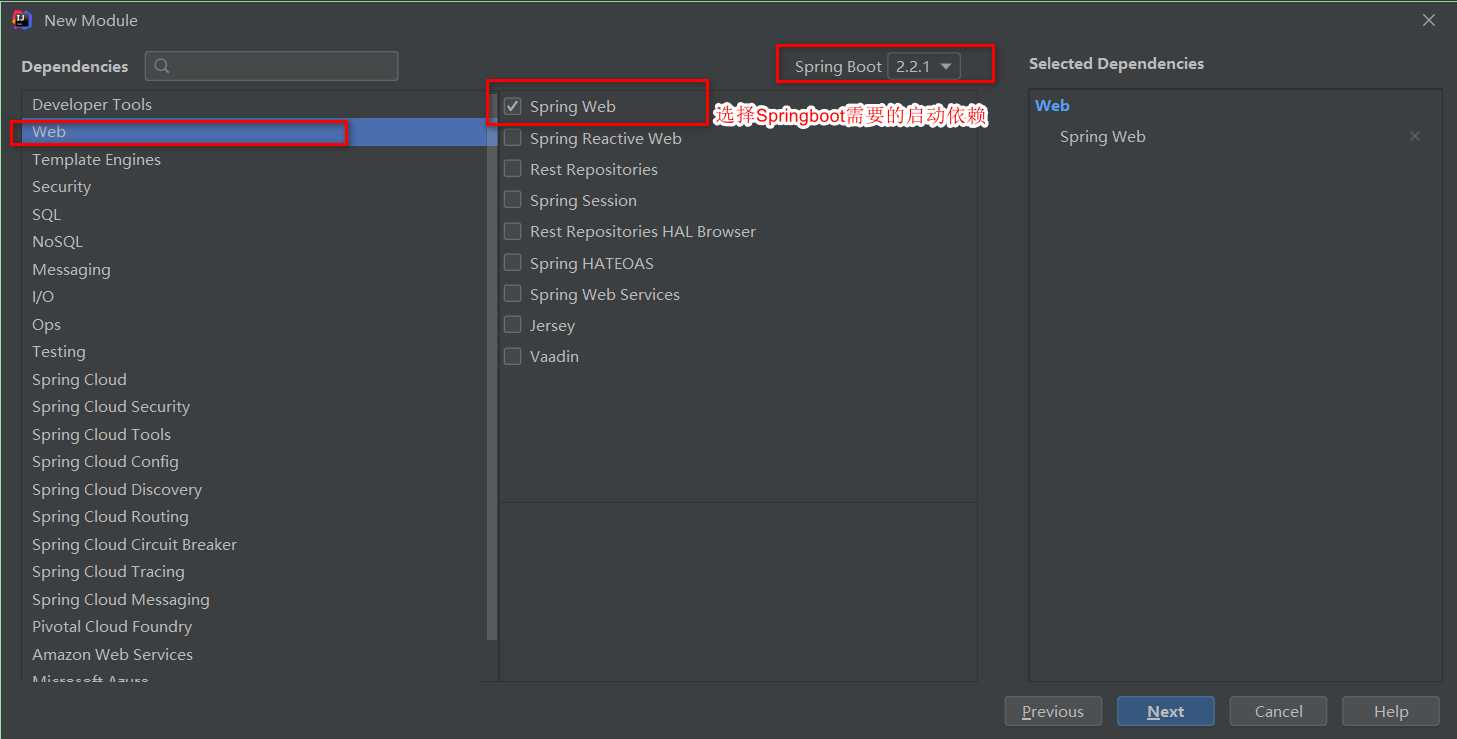
通过idea快速创建的Springboot项目的pom.xml中已经导入了我们选择的web依赖的坐标。
<?xml version="1.0" encoding="UTF-8"?>
<project xmlns="http://maven.apache.org/POM/4.0.0" xmlns:xsi="http://www.w3.org/2001/XMLSchema-instance"
         xsi:schemaLocation="http://maven.apache.org/POM/4.0.0 https://maven.apache.org/xsd/maven-4.0.0.xsd">
    <modelVersion>4.0.0</modelVersion>
    <parent>
        <groupId>org.springframework.boot</groupId>
        <artifactId>spring-boot-starter-parent</artifactId>
        <version>2.2.1.RELEASE</version>
        <relativePath/> <!-- lookup parent from repository -->
    </parent>
    <groupId>com.cn</groupId>
    <artifactId>springboot_quick2</artifactId>
    <version>0.0.1-SNAPSHOT</version>
    <name>springboot_quick2</name>
    <description>Demo project for Spring Boot</description>

    <properties>
        <java.version>1.8</java.version>
    </properties>

    <dependencies>
        <dependency>
            <groupId>org.springframework.boot</groupId>
            <artifactId>spring-boot-starter-web</artifactId>
        </dependency>

        <dependency>
            <groupId>org.springframework.boot</groupId>
            <artifactId>spring-boot-starter-test</artifactId>
            <scope>test</scope>
            <exclusions>
                <exclusion>
                    <groupId>org.junit.vintage</groupId>
                    <artifactId>junit-vintage-engine</artifactId>
                </exclusion>
            </exclusions>
        </dependency>
    </dependencies>

    <build>
        <plugins>
            <plugin>
                <groupId>org.springframework.boot</groupId>
                <artifactId>spring-boot-maven-plugin</artifactId>
            </plugin>
        </plugins>
    </build>

</project>
创建Controller测试部分此处不再赘述。
标签:not xsd 一起 增强 core import name standards 代码解析
原文地址:https://www.cnblogs.com/willncy/p/11831113.html