标签:i386 div nic ini bison 程序 安装 回车 链接
1.下载Linux内核,解压
mkdir shanyan3 #创建实验目录
cd shiyan3
wget https://cdn.kernel.org/pub/linux/kernel/v5.x/linux-5.0.1.tar.xz
#也可以在浏览器中输入https://cdn.kernel.org/pub/linux/kernel/v5.x/linux-5.0.1.tar.xz,手动下载
xz -d linux-5.0.1.tar.xz
tar -xvf linux-5.0.1.tar
cd linux-5.0.1
可以看到解压后
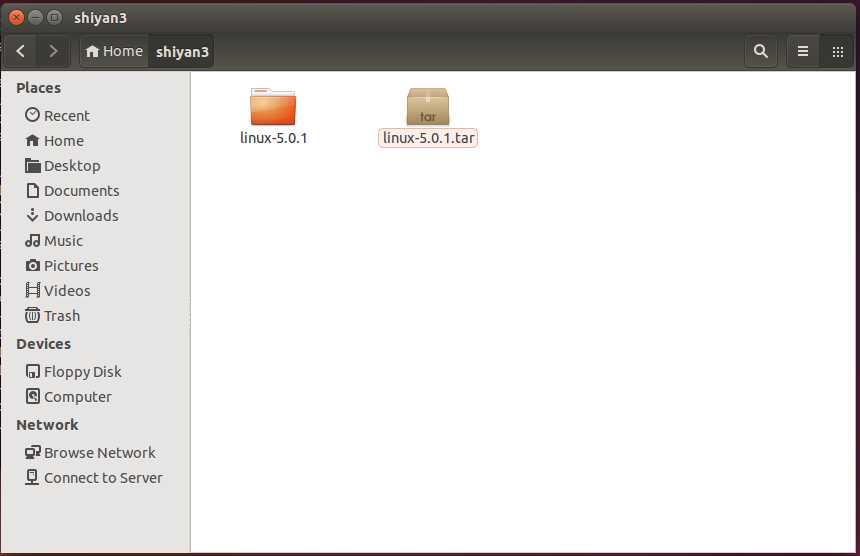
2.安装编译工具
sudo apt install build-essential flex bison libssl-dev libelf-dev libncurses-dev
3.安装qemu虚拟机
sudo apt install qemu
4.配置编译内核生成bzImage文件
make defconfig #默认生成.config ,也可以make x86_64_defconfig为64配置,而make i386_defconfig为32为x86配置
make menuconfig # Kernel hacking—>Compile-time checks and compiler options  ---> [*] Compile the kernel with debug info
make # 或者使用make -j4,其中4为多核CPU核心数,可以加快编译过程
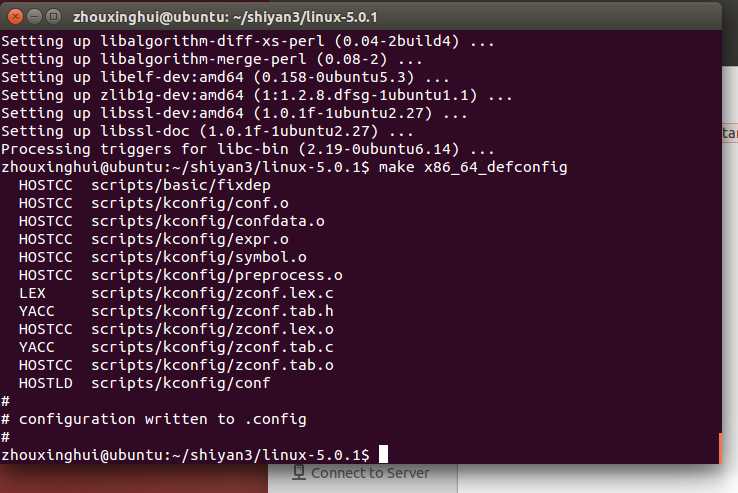
make x86_64_defconfig成功如下图
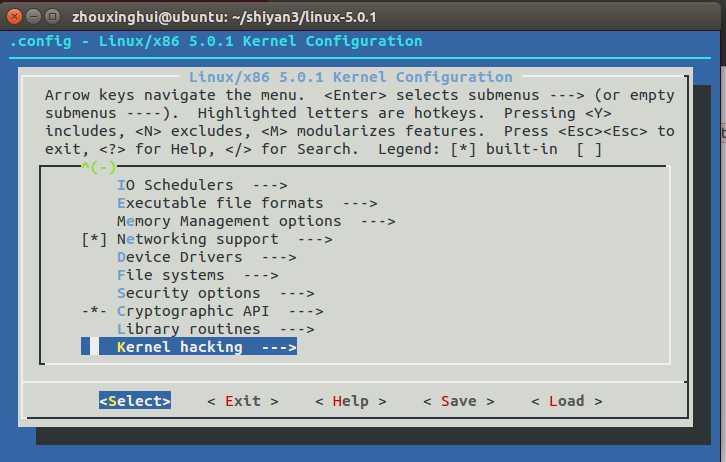
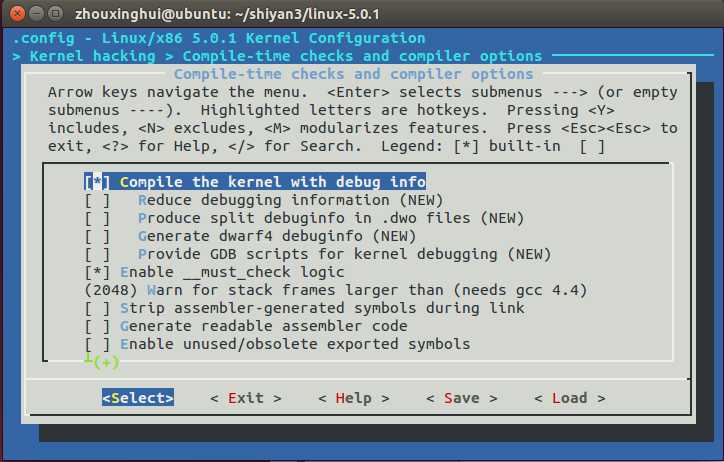
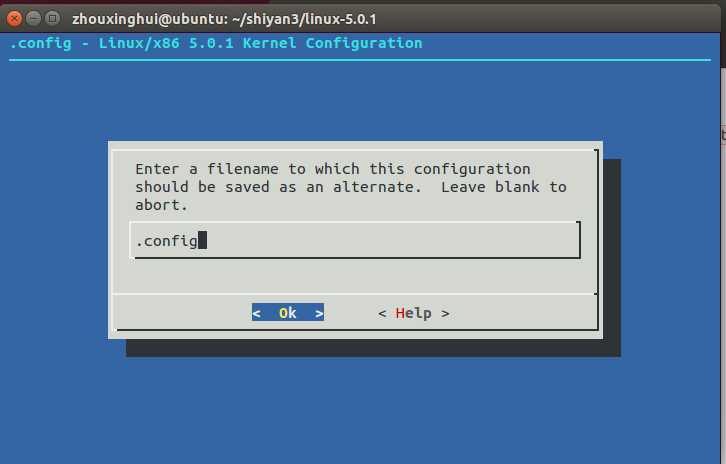
make menuconfig出现下图,按上下键,选中kernel hacking,回车,再选中Compile-time checks and compiler options按下回车,再选中 [*] Compile the kernel with debug info
找到按下键盘y键开启此选项。下面要保存退出,按键盘上左右键,选中save回车,选中ok回车。再一步一步选择exit,按下回车,直到回到terminal。
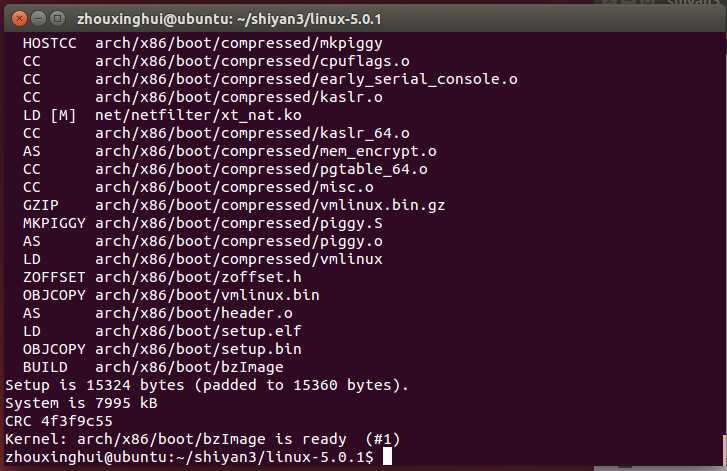
make -j4生成bzImage文件,路径为linux-5.0.1/arch/x86/boot/bzImage
5.测试qemu虚拟机是否能正常启动
qemu-system-x86_64 -kernel linux-5.0.1/arch/x86/boot/bzImage
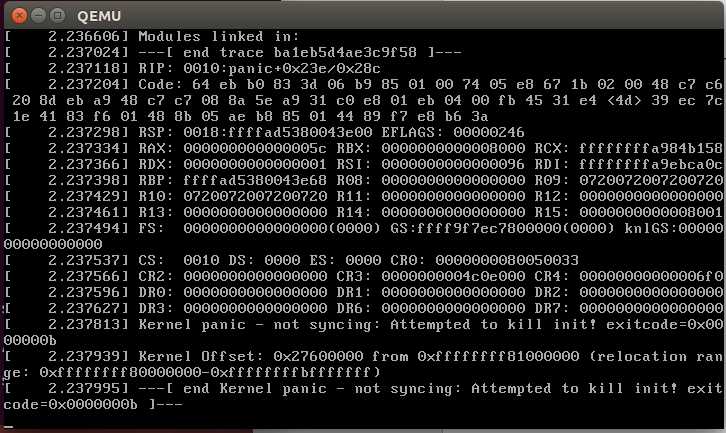
会出现kernel panic问题在于需要挂载文件系统
6.制作文件系统
过程为:制作根文件系统镜像,形成根目录结构(可以用busybox,这里是直接拷贝老师的根文件)
git clone https://github.com/mengning/menu.git
cd menu
sudo ln -s /usr/bin/qemu-system-x86_64  /usr/bin/qemu #创建qemu的软链接
sudo apt-get install gcc-multilib
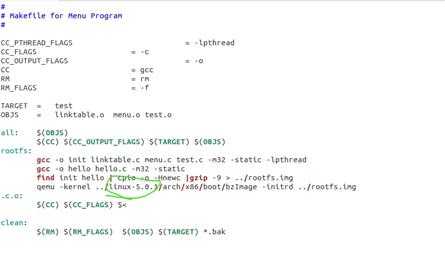
make rootfs#Makefile中的命令中的目录与我们自己的不符,需要根据自己的实际修改再编译,如下图所示

#会发现shiyan3目录下生成了rootfs.img,使用如下命令可以再次运行QEMU
cd ..
qemu-system-x86_64 -kernel linux-5.0.1/arch/x86_64/boot/bzImage -initrd rootfs.img
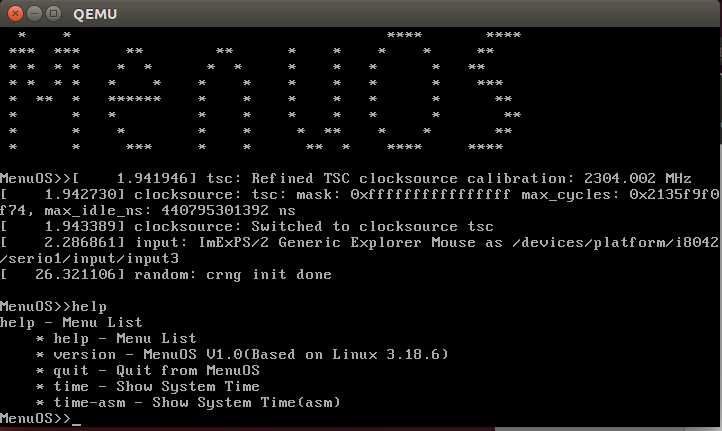
运行成功后按回车可以输入命令,现在只有help、version和quit三个命令,可以尝试自己添加更多的命令
Makefile中的命令中的目录与我们自己的不符,根据自己的实际修改,这里是我修改后的。
7.gdb调试
启动gdbserver
qemu-system-x86_64 -kernel linux-5.0.1/arch/x86_64/boot/bzImage -initrd rootfs.img -append nokaslr -s -S
打开另一个terminal,输入gdb,运行gdb。
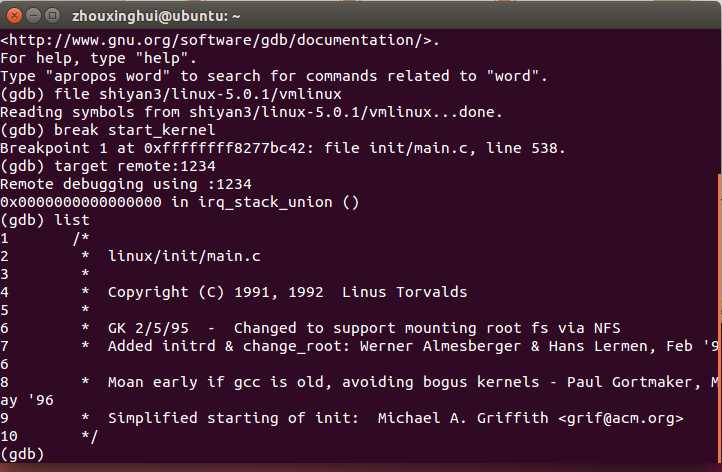
file shiyan3/linux-5.0.1/vmlinux
break start_kernel   #设置断点
target remote:1234   #继续运行
list                  #查看断点处相关源代码
8.将TCP网络通信程序的服务端集成到MenuOS系统中
git clone https://github.com/mengning/linuxnet.git
cd linuxnet/lab2
make
cd ../../menu/
make rootfs
9将TCP网络通信程序的客户端也集成到MenuOS系统中
../linuxnet/lab3
make rootfs #这里同样需要修改Makefile中命令中的目录
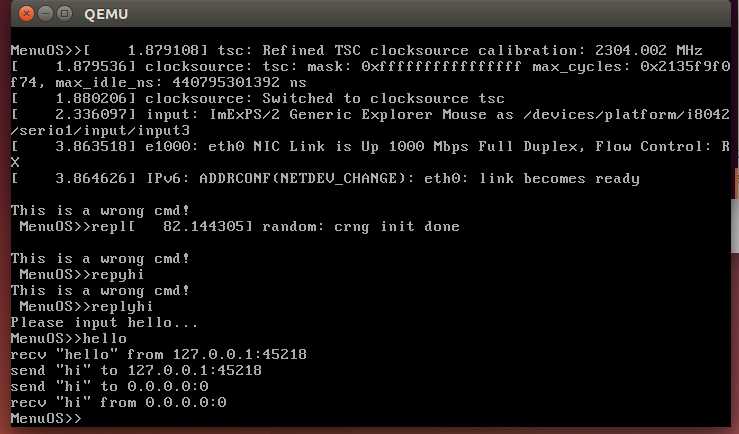
现在可以输入replthi和hello了
标签:i386 div nic ini bison 程序 安装 回车 链接
原文地址:https://www.cnblogs.com/qfdzztt/p/12018425.html