标签:项目 方法 配置 注释 work class parent imp context
有时在使用idea通过Spring Initailizr创建项目时,默认只能创建最近的版本的SpringBoot项目。
这是如果想要换成版本,就可以在项目创建好了之后,在pom文件中直接将版本修改过来。
如下所示
比如在创建项目时默认的版本为2.2.2版本:
    <parent>
        <groupId>org.springframework.boot</groupId>
        <artifactId>spring-boot-starter-parent</artifactId>
        <version>2.2.2.RELEASE</version>
        <relativePath/> <!-- lookup parent from repository -->
    </parent>
然后我们修改为1.5.10的低版本:
    <parent>
        <groupId>org.springframework.boot</groupId>
        <artifactId>spring-boot-starter-parent</artifactId>
        <version>1.5.10.RELEASE</version>
        <relativePath/> <!-- lookup parent from repository -->
    </parent>
这时可能会遇到一个问题,那就是——在高版本时,默认的测试类是没问题可以使用的
import org.junit.jupiter.api.Test;
import org.springframework.boot.test.context.SpringBootTest;

@SpringBootTest
class SpringBootTestWebApplicationTests {

    @Test
    void contextLoads() {
        System.out.println("hello world");
    }

}
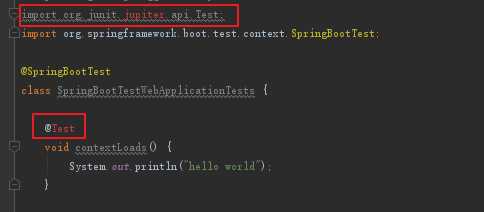
但是在更换成低版本之后,测试类将会报错,如下所示,无法导入在2.2.2高版本中使用的org.junit.jupiter.api.Test类
此时可以做如下修改
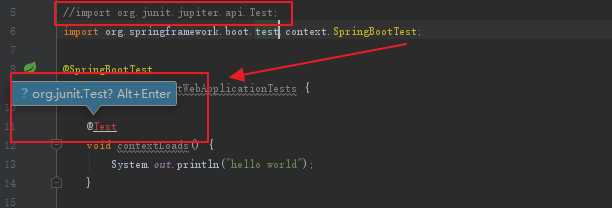
1、删除高版本默认导入的org.junit.jupiter.api.Test类,重新导入org.junit.Test类
2、在类上添加注释@RunWith(SpringRunner.class),如下图:
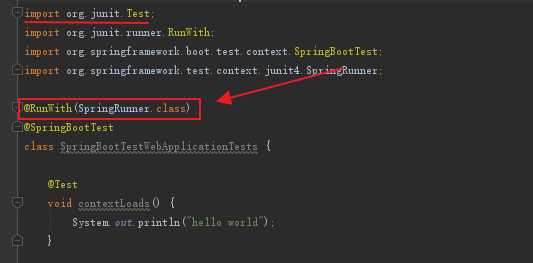
注:
3、将测试类和测试方法都修改为public
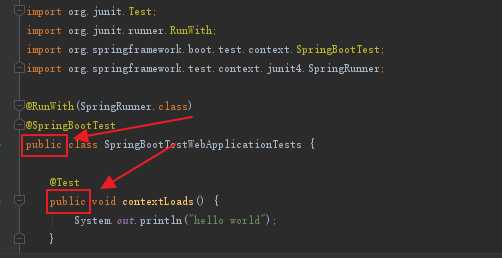
4、最后修改的测试类如下所示:
package com.susu.springboot;

import org.junit.Test;
import org.junit.runner.RunWith;
import org.springframework.boot.test.context.SpringBootTest;
import org.springframework.test.context.junit4.SpringRunner;

@RunWith(SpringRunner.class)
@SpringBootTest
public class SpringBootTestApplicationTests {

    @Test
    public void contextLoads() {
        System.out.println("hello world");
    }

}
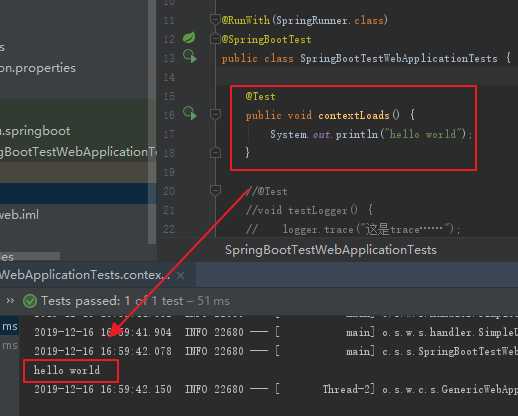
运行结果:
标签:项目 方法 配置 注释 work class parent imp context
原文地址:https://www.cnblogs.com/suhaha/p/12050040.html